
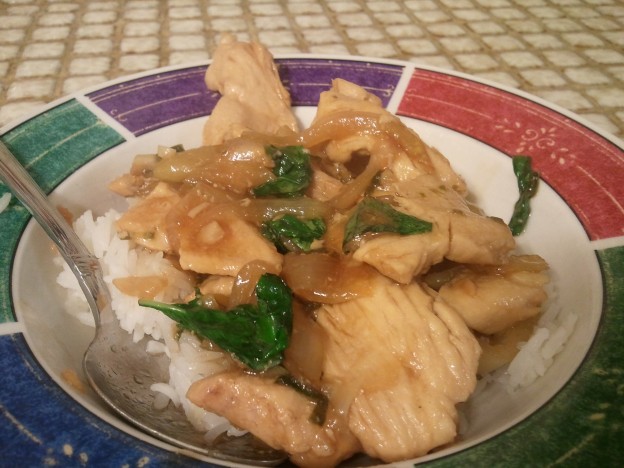
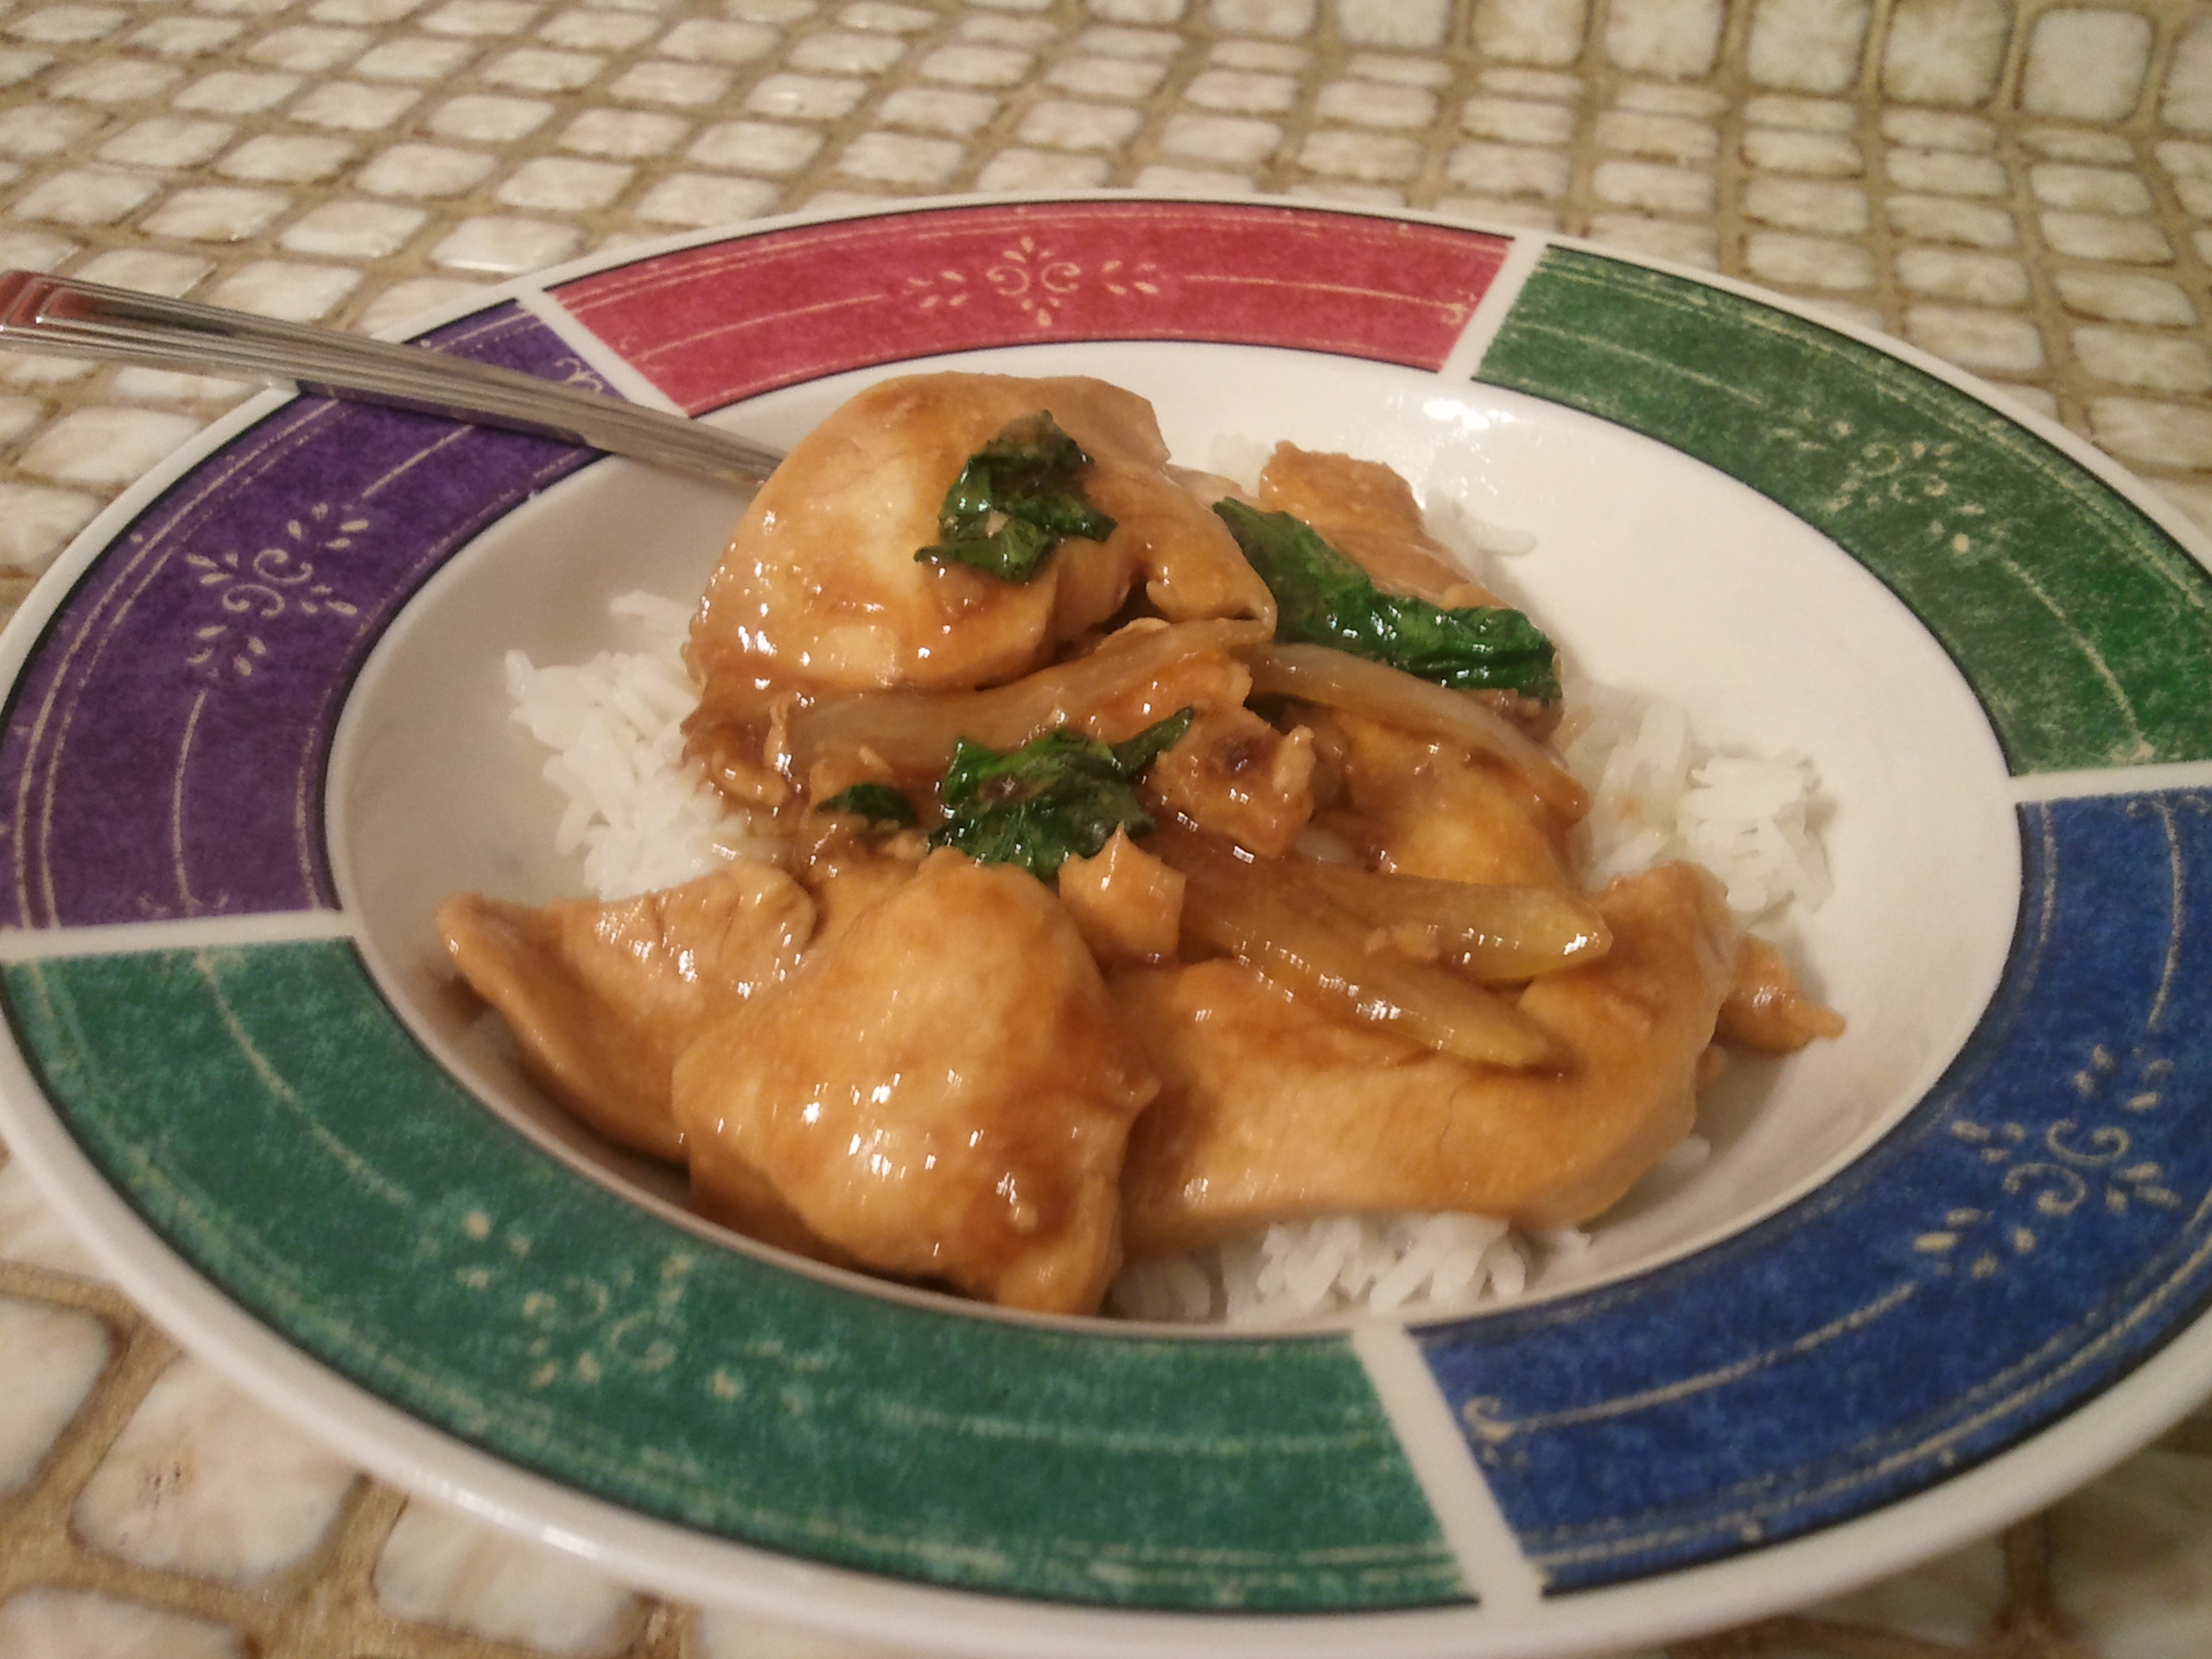
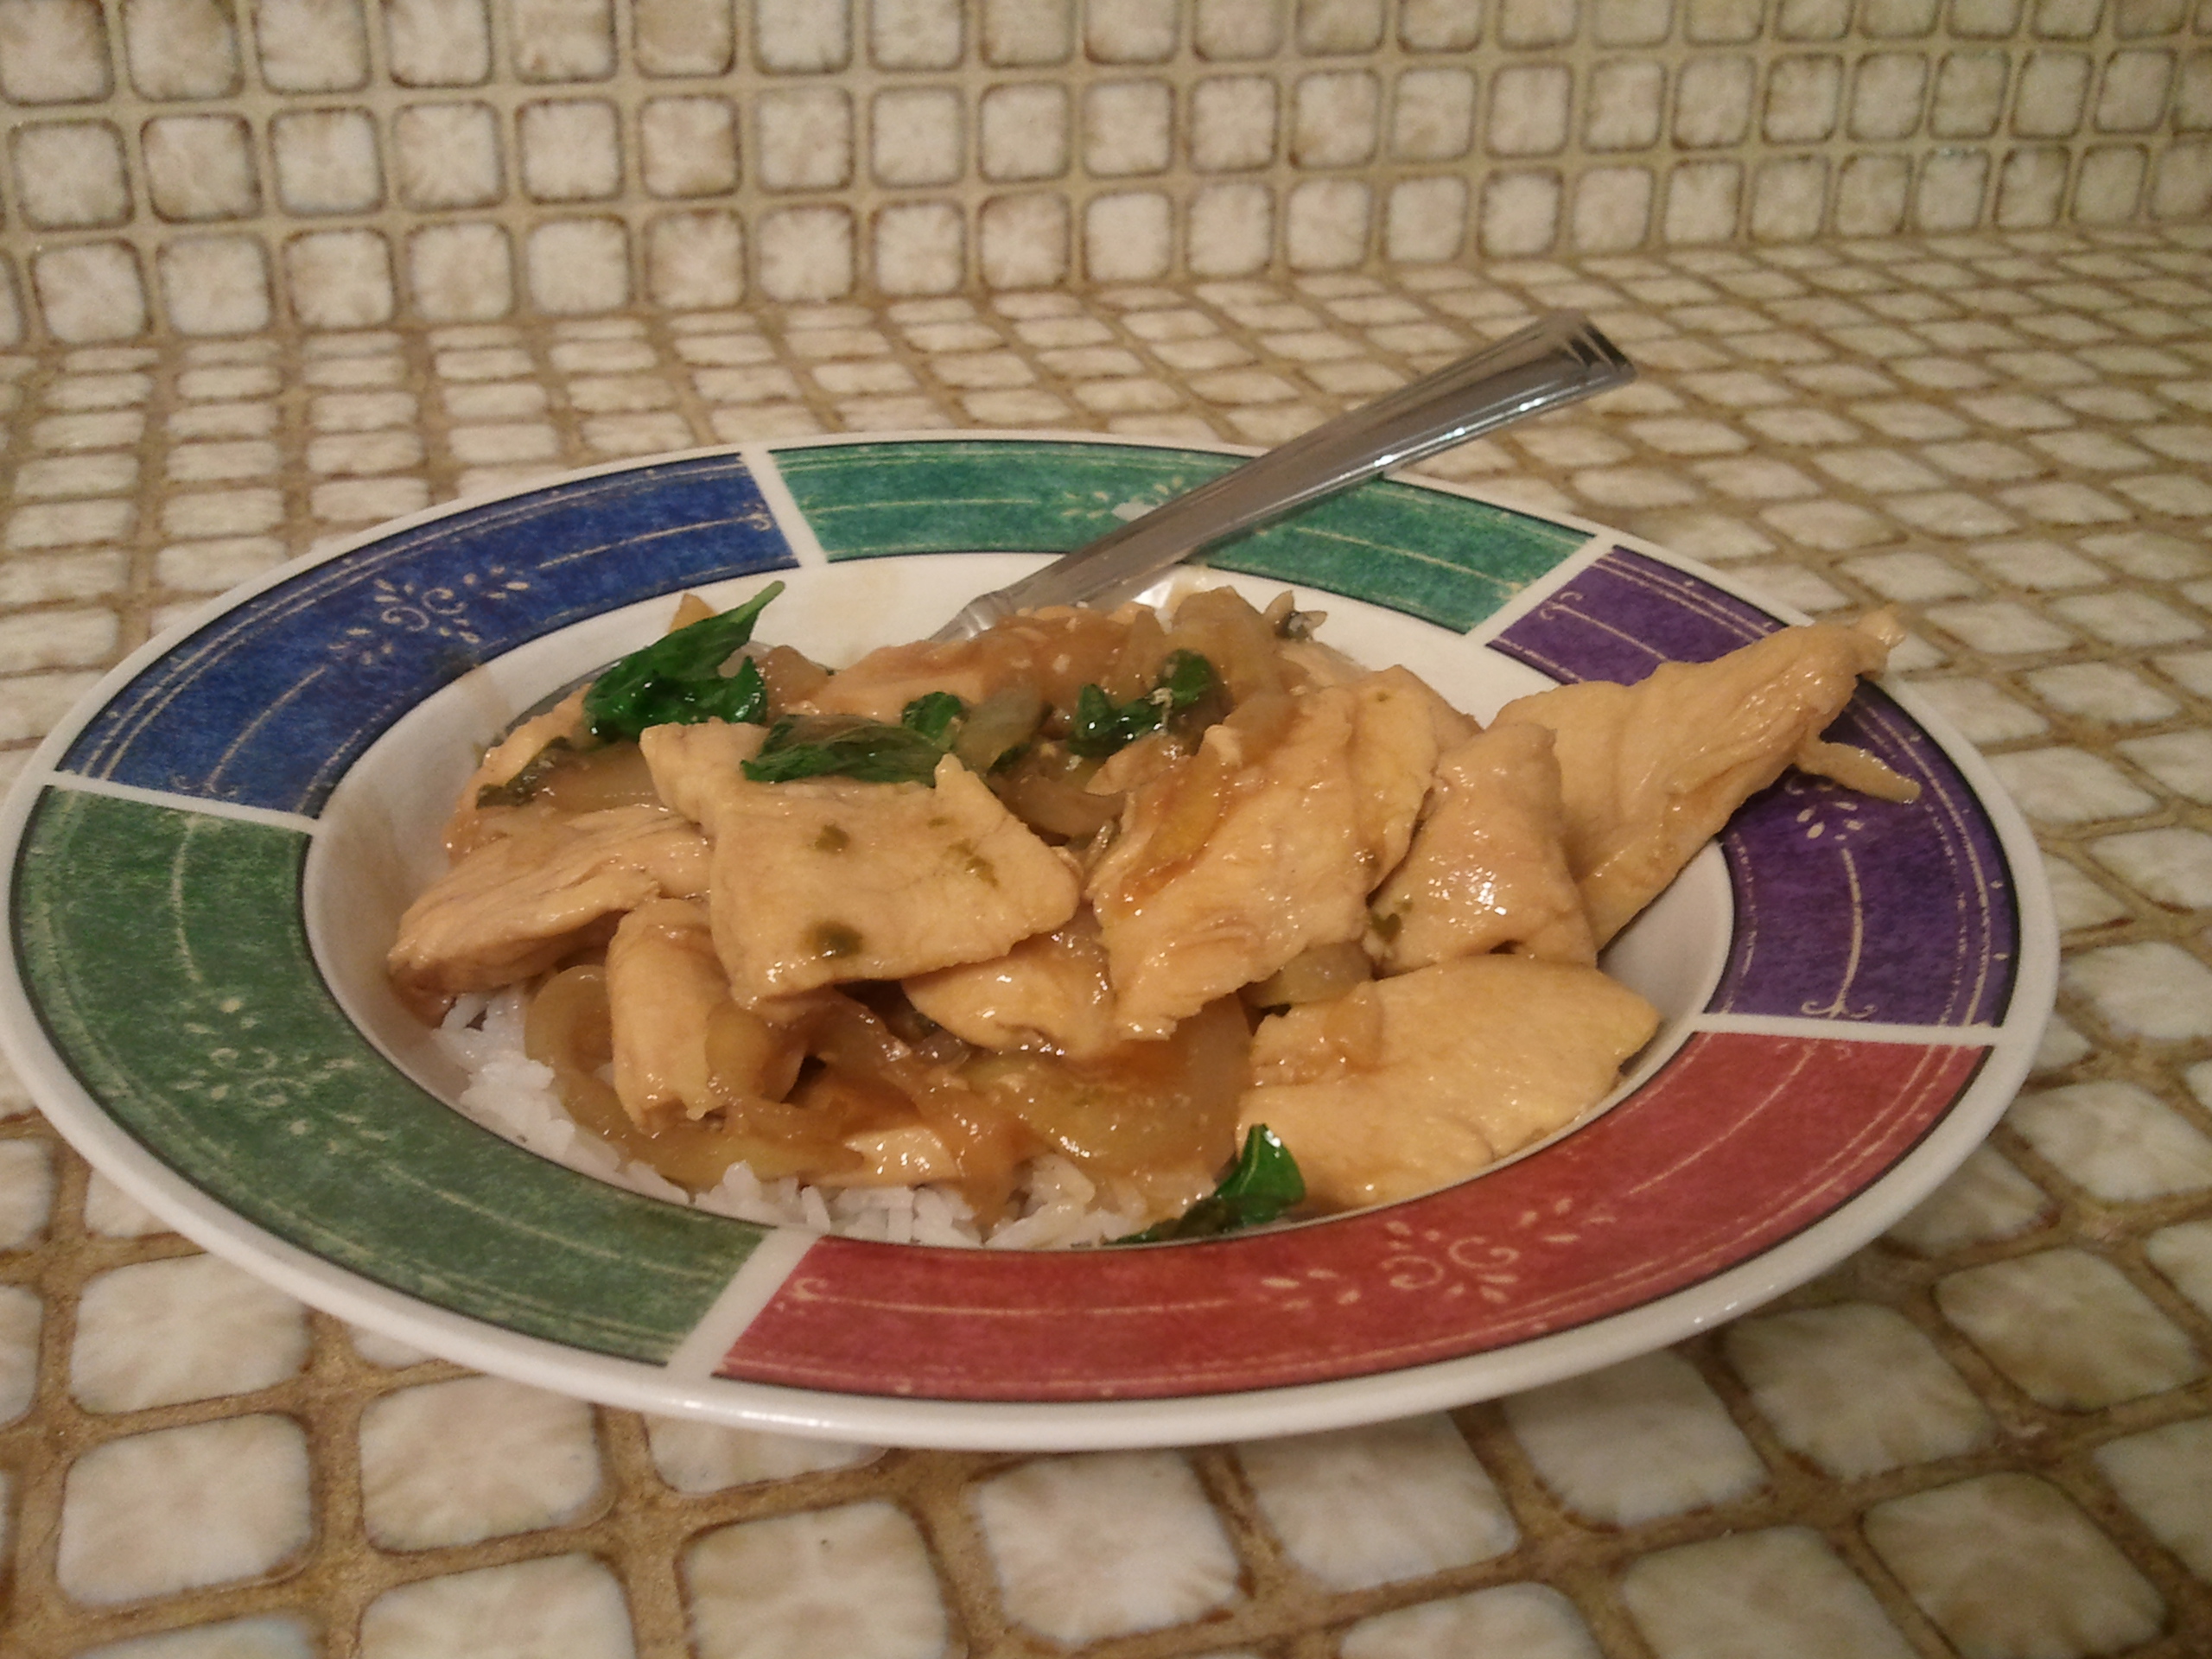
So another dish I learned to make in cooking class was Drunken Noodles. Now, if your Thai grandmother was making both Garlic Basil Chicken and Drunken Noodles, I’m sure the two dishes would be totally different from each other. But with my foggy memory and American palate, well, my versions are VERY similar. One has fish sauce and is served over rice, the other has carrots and noodles, but I’m not sure I could name which was which in a blind taste test.
NOTE: If you have a Thai grandmother who can shame me into truly appreciating the differences, please contact me soonest because I WANT to be in that blind taste test!

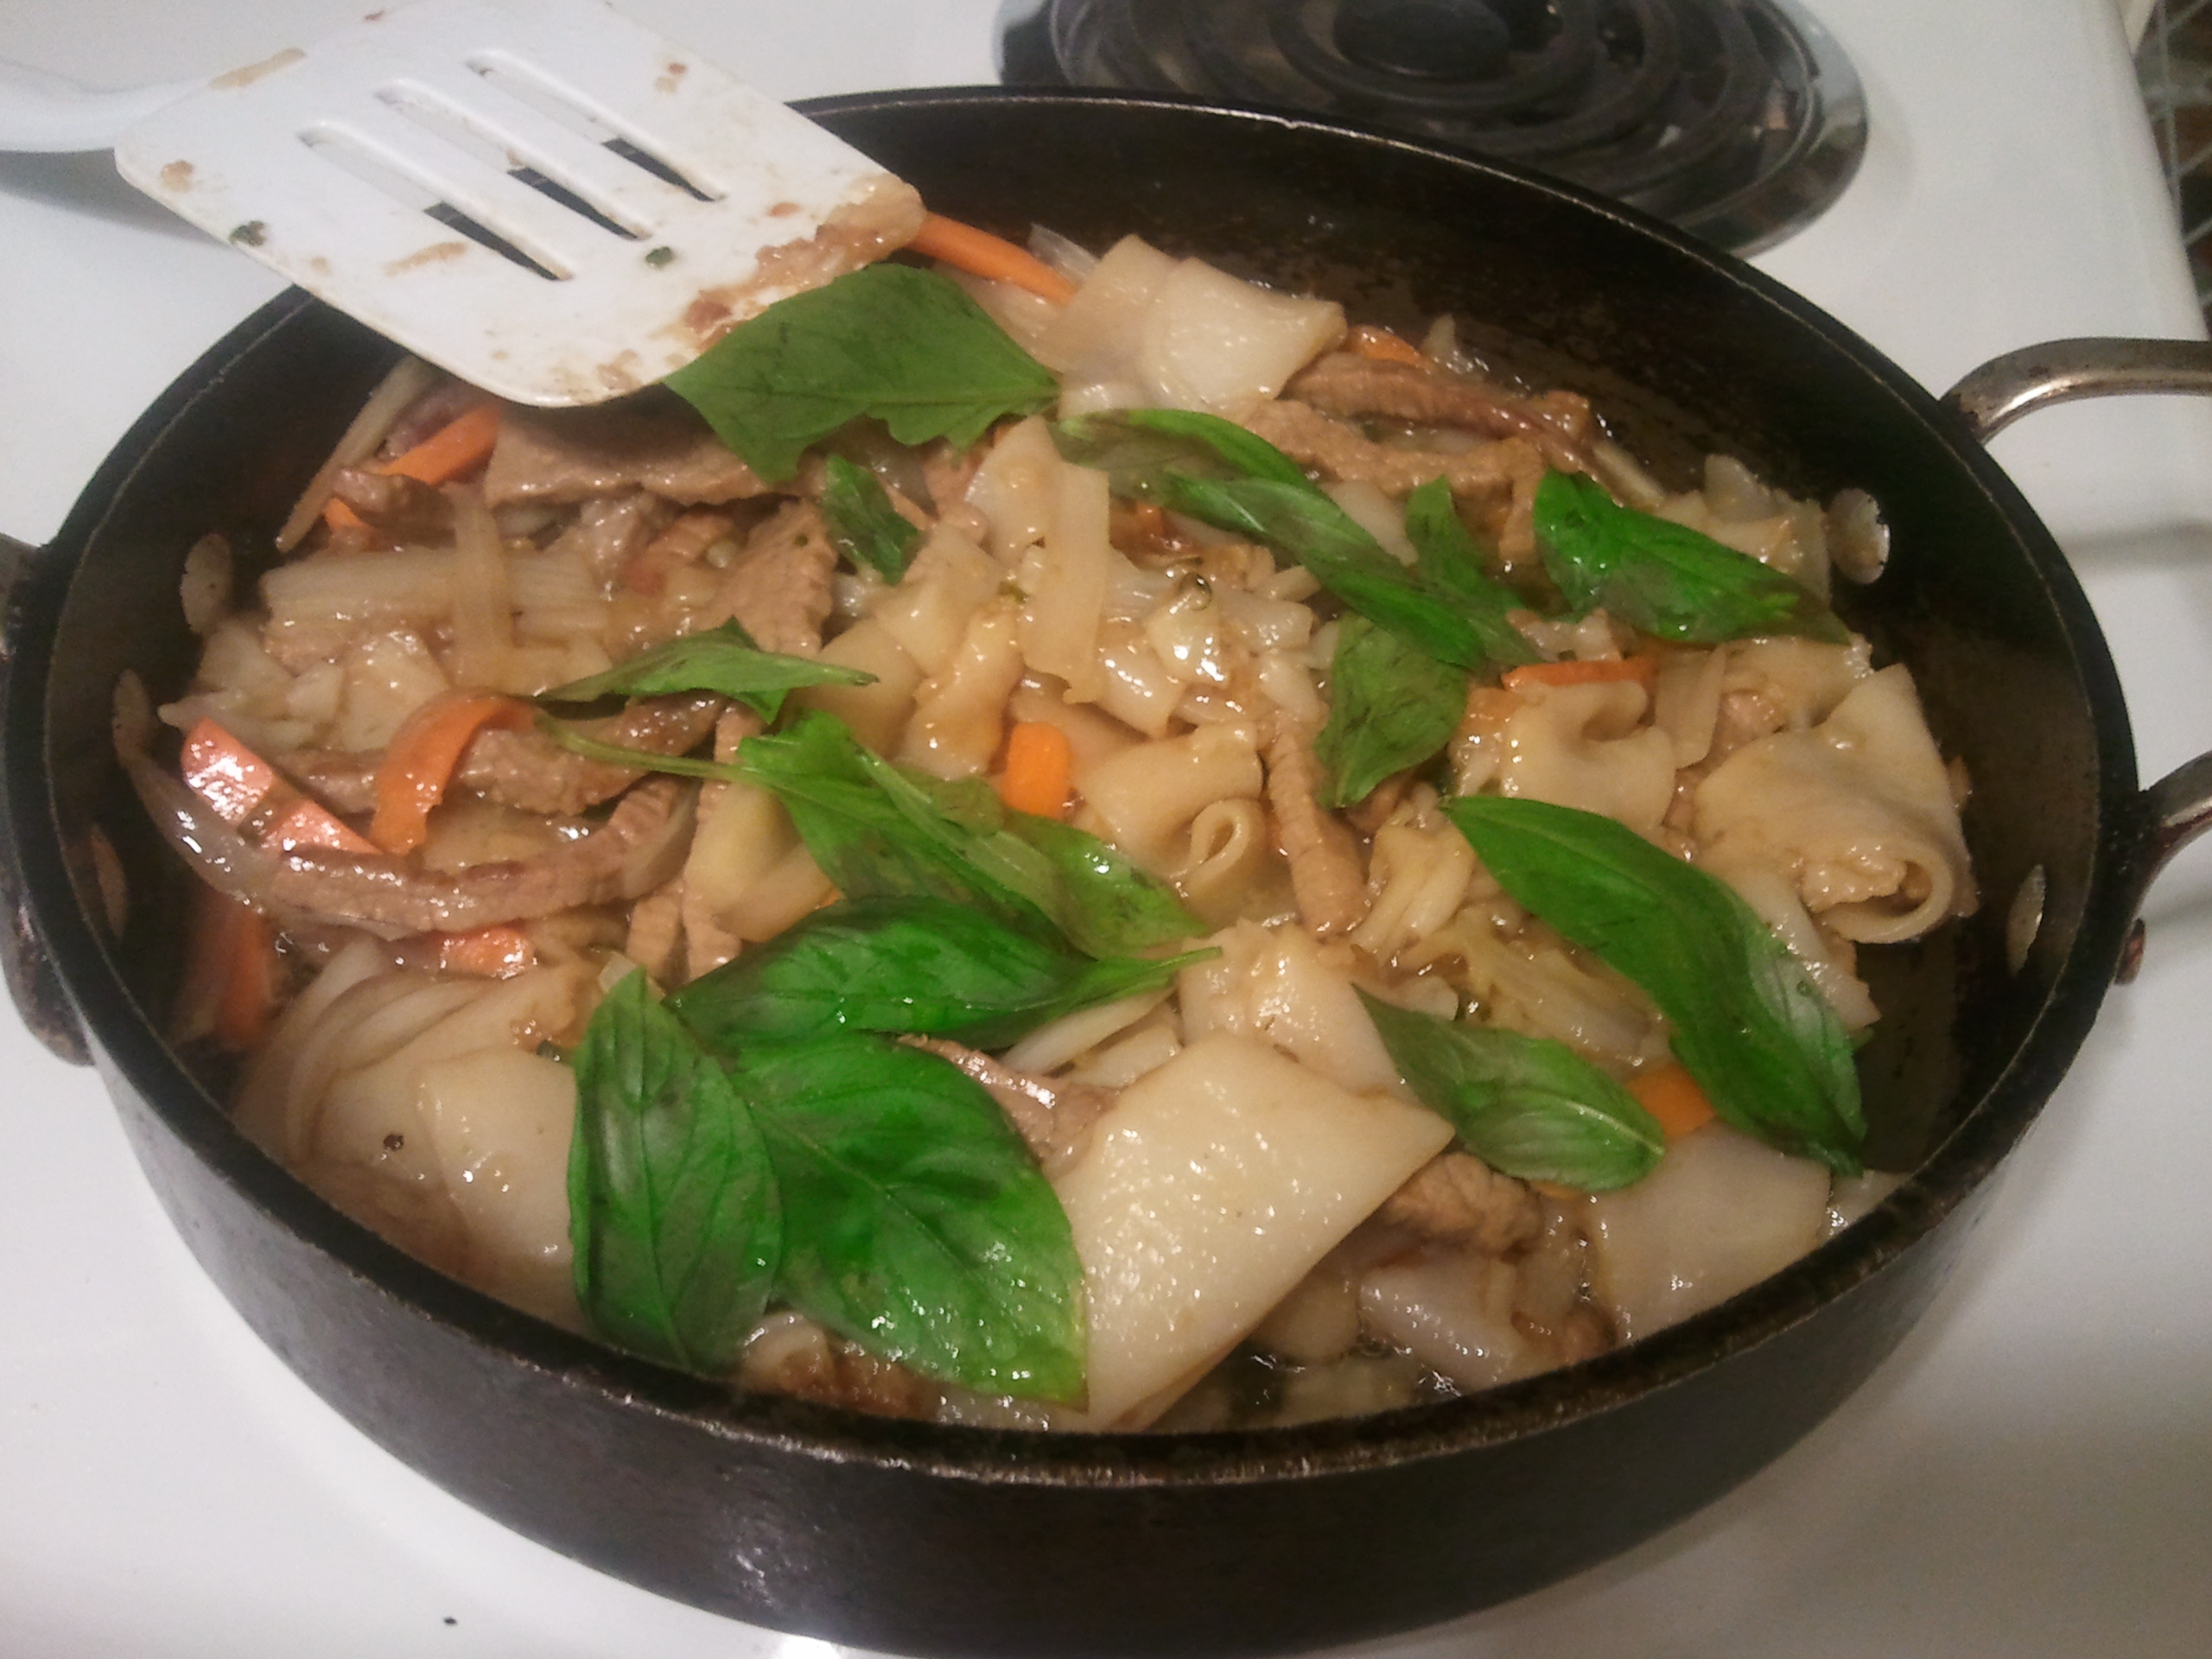
Drunken Noodles
Serves 2+, but I usually double this to serve 4+
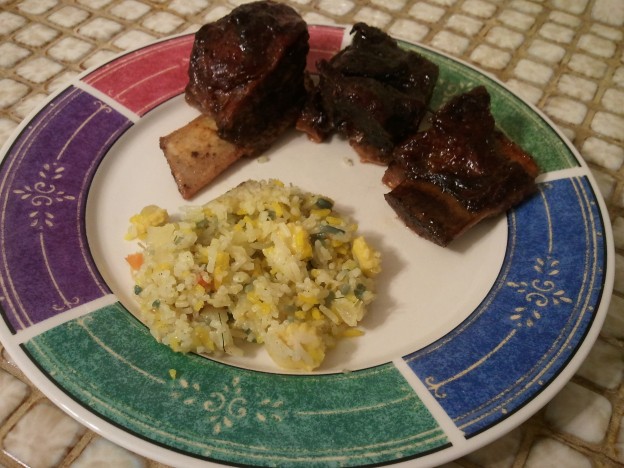
Typically when I make this, I make about 1/3 as a kid-approved version and 2/3 as a spicy adult version, which you will see in the pictures. So I will try to explain that as I go.
3 – 4 garlic cloves, minced
3 – 5 Thai chile peppers, minced fine
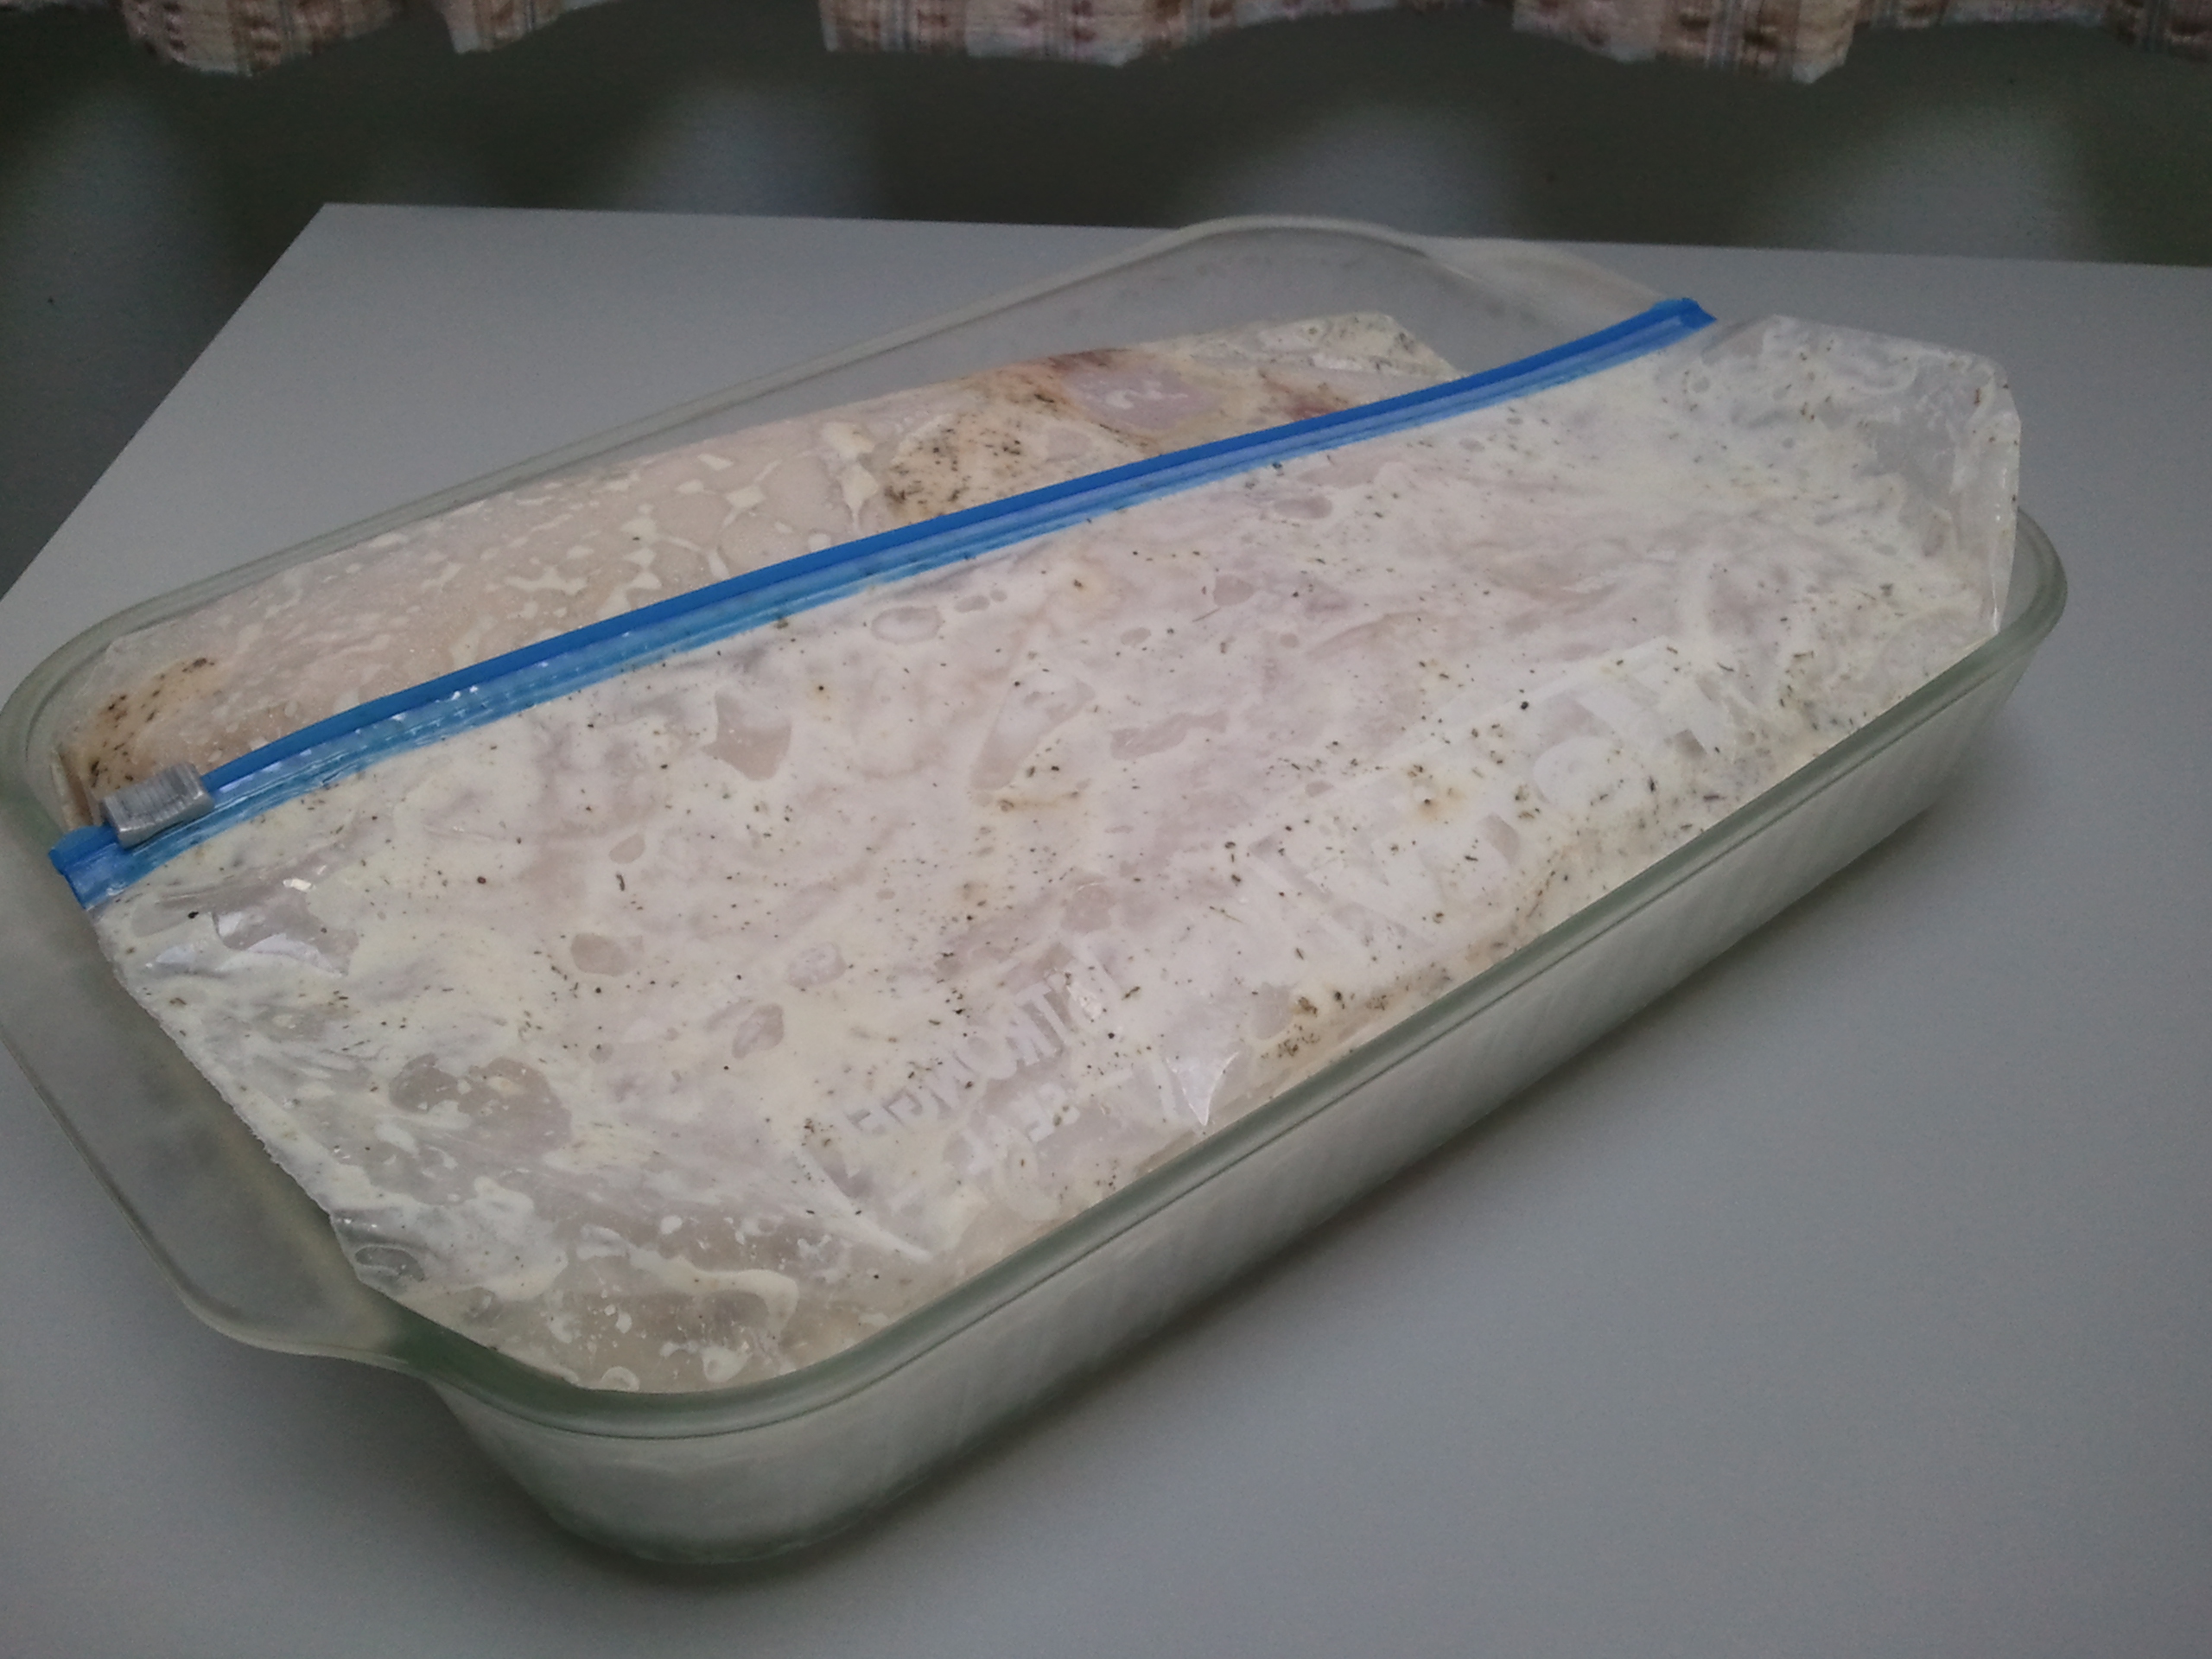
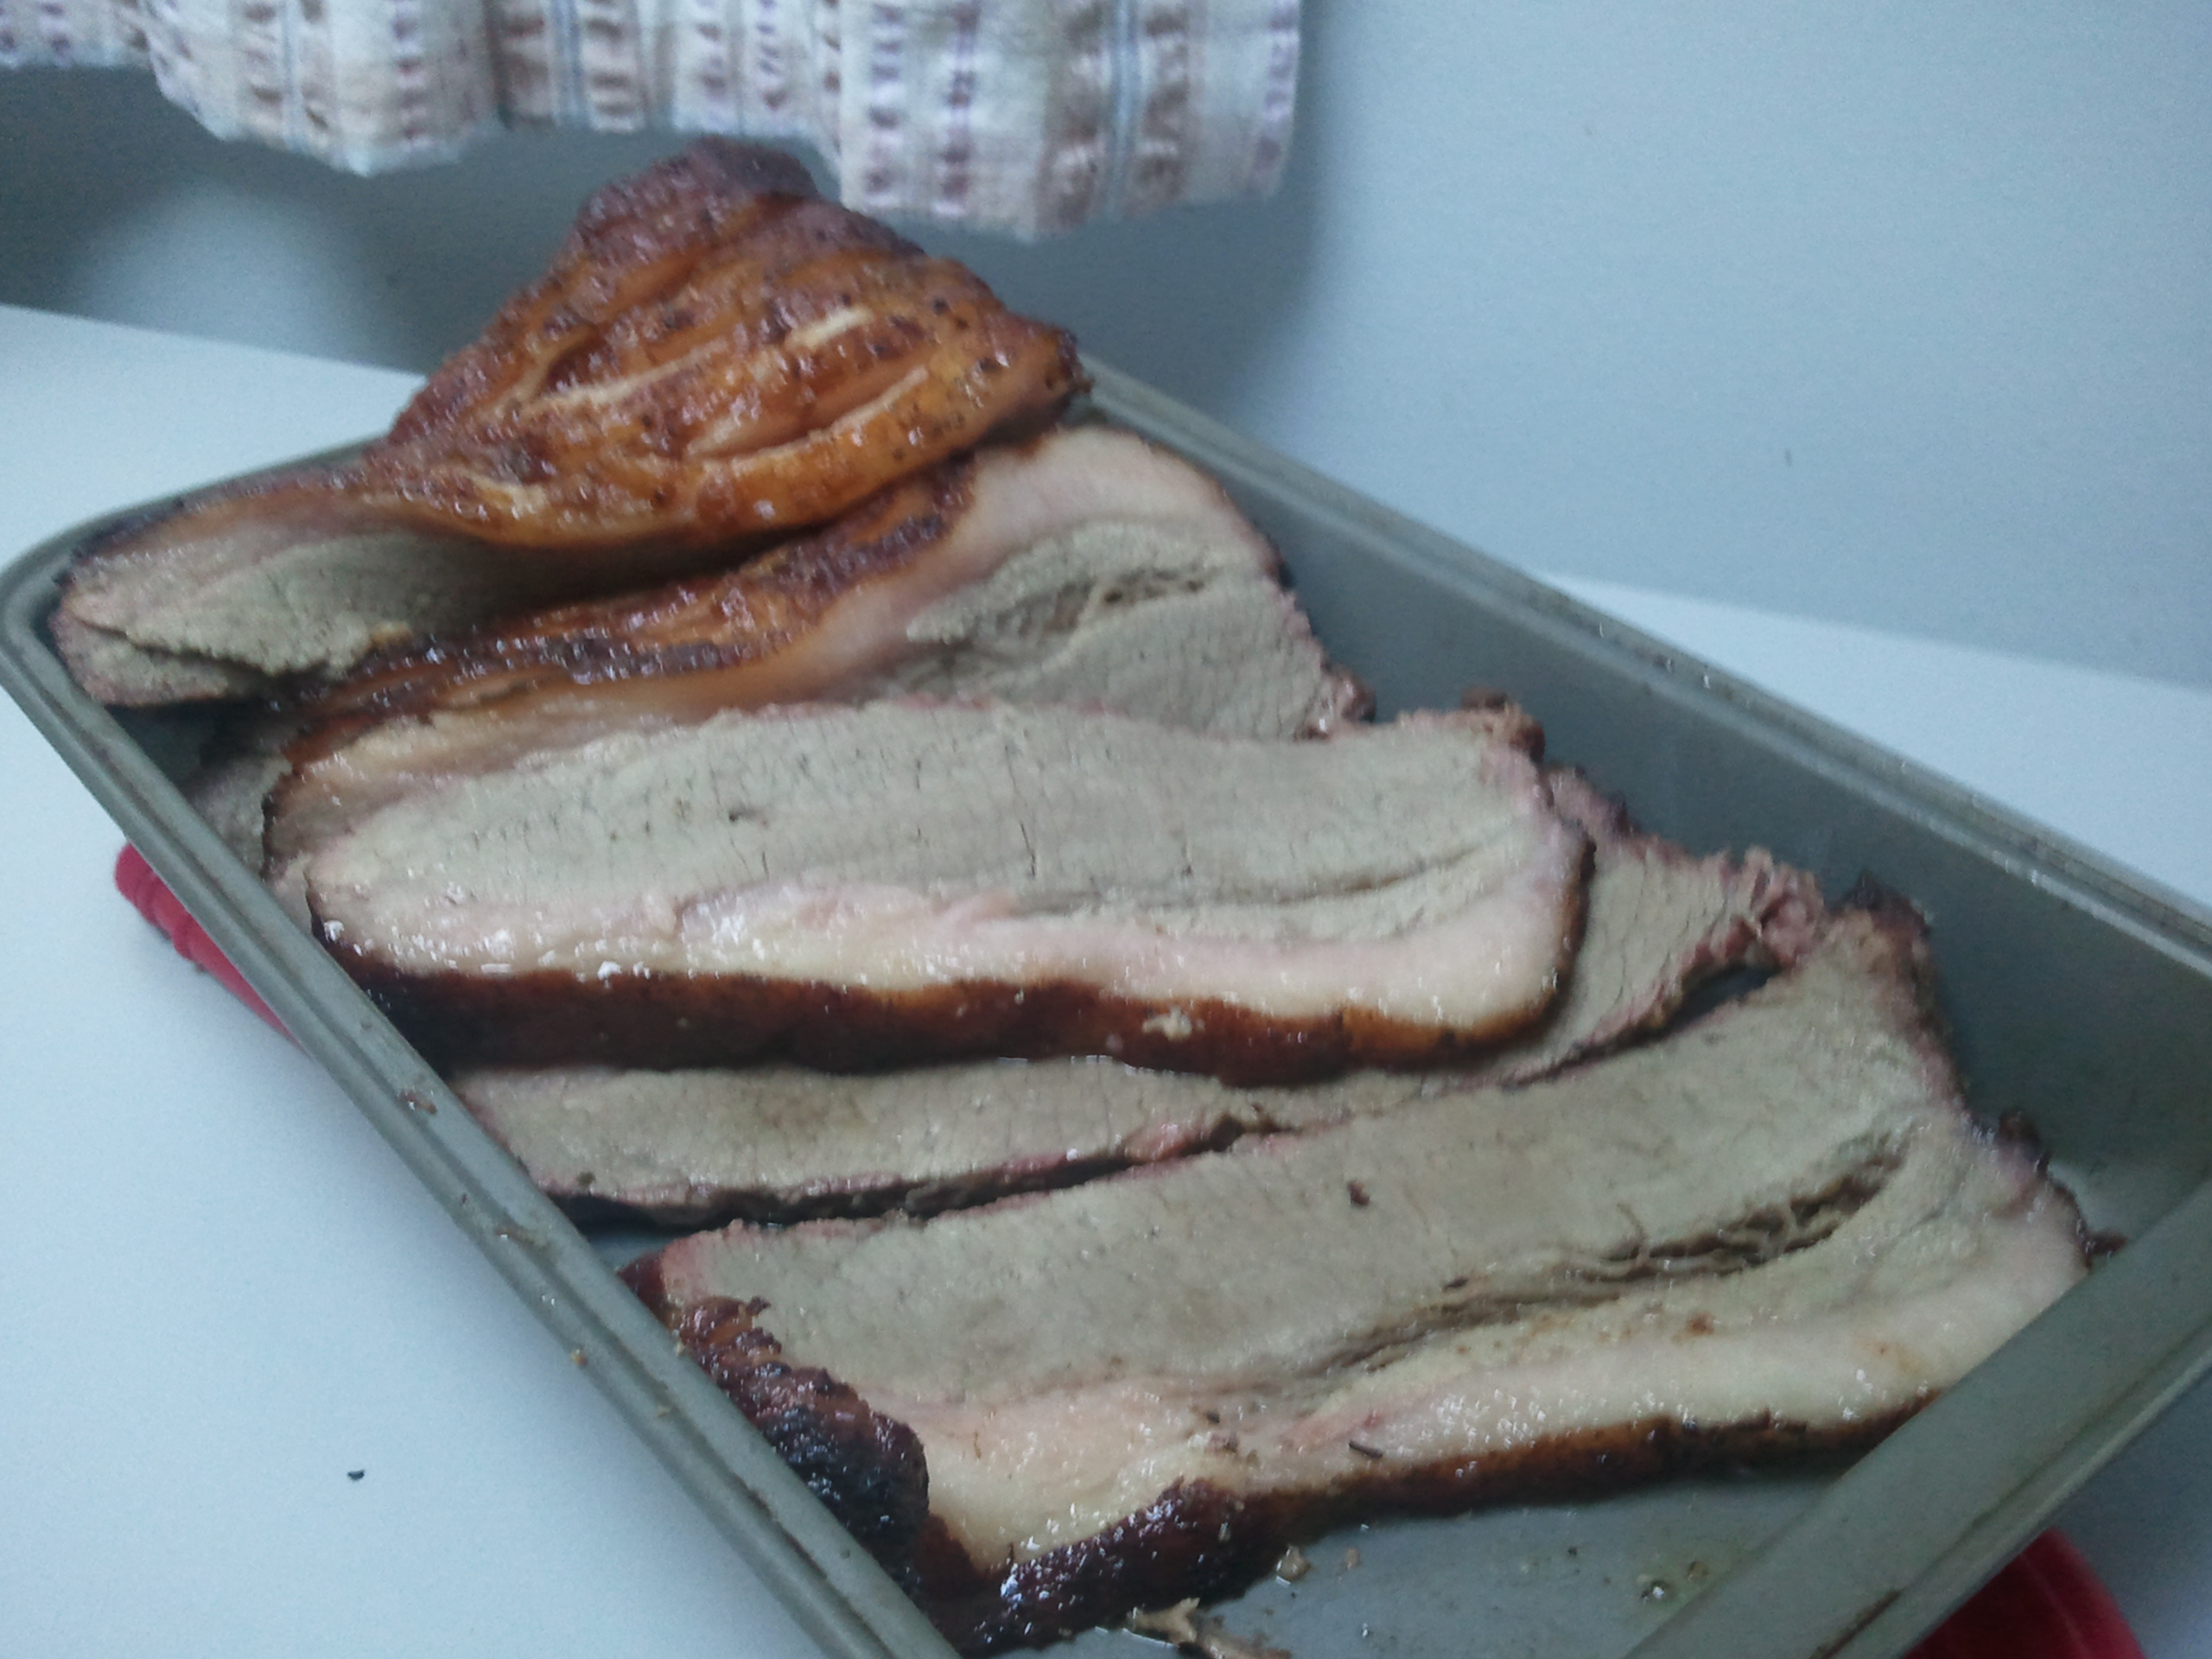
3/4 lb lean beef, sliced thin (can use chicken or pork)
12 ounce package of rice noodle sheet, cut into wide noodles
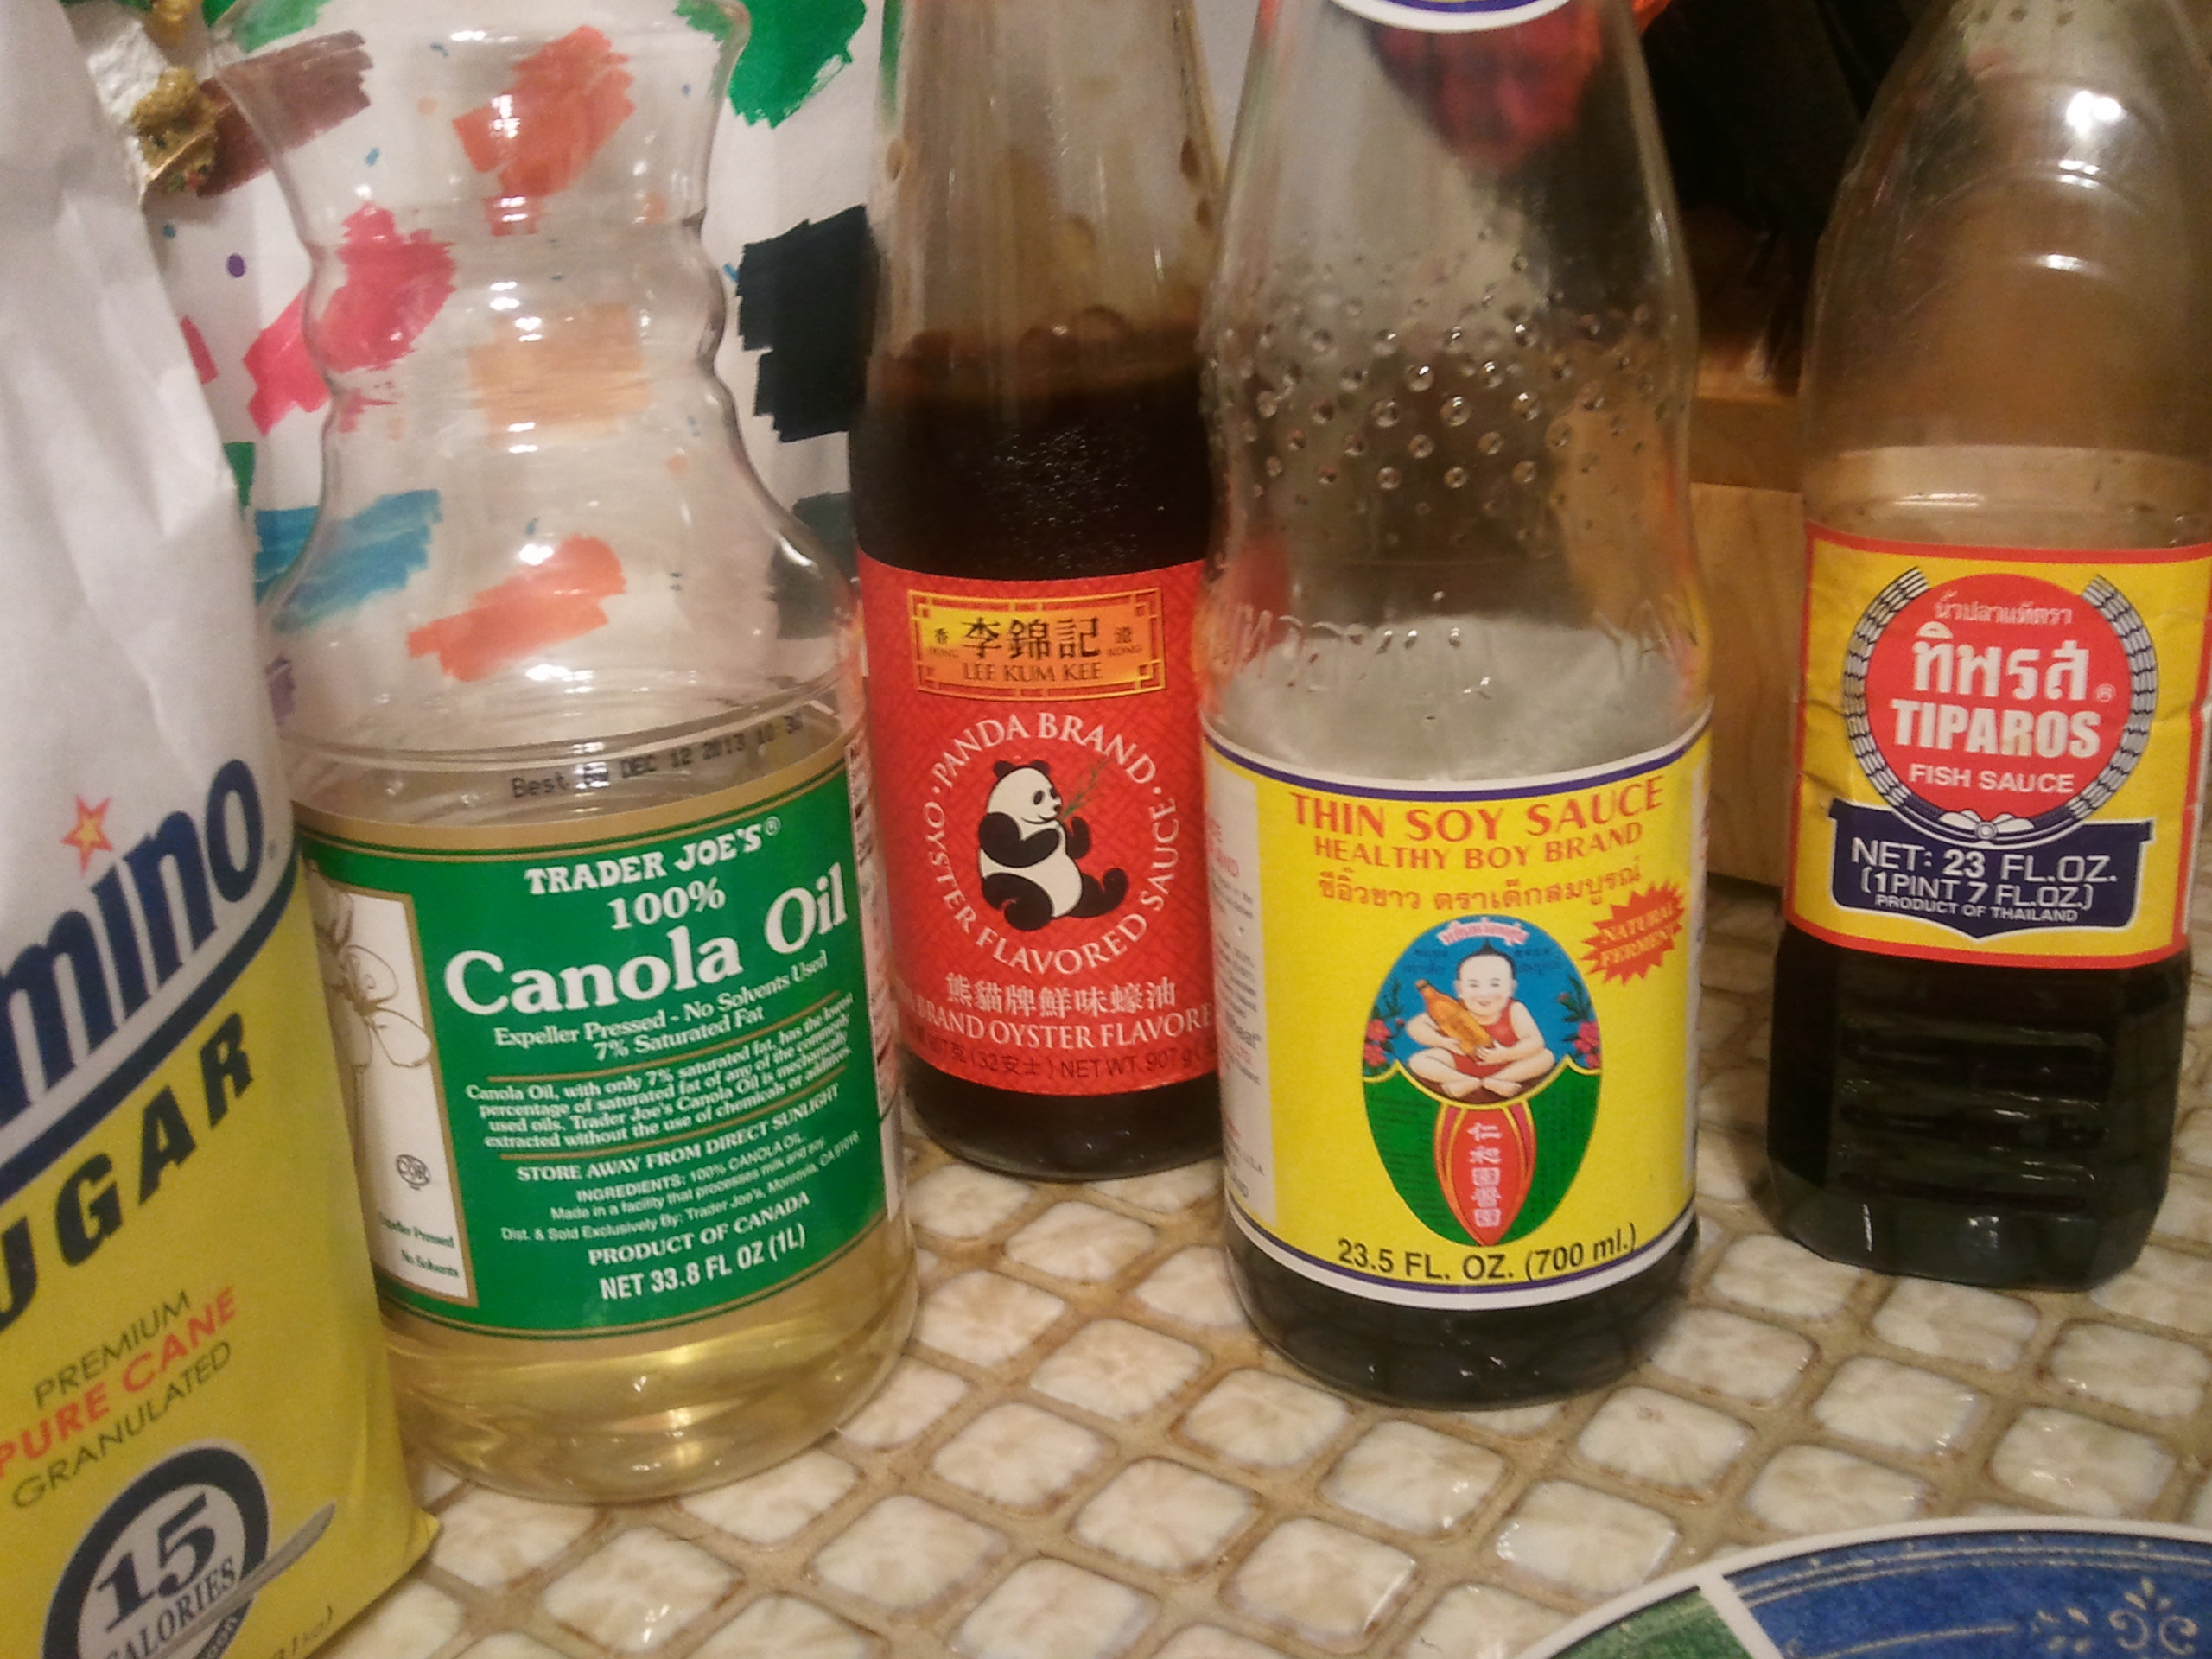
2 – 3 tablespoons canola oil
3 teaspoons granulated sugar, divided
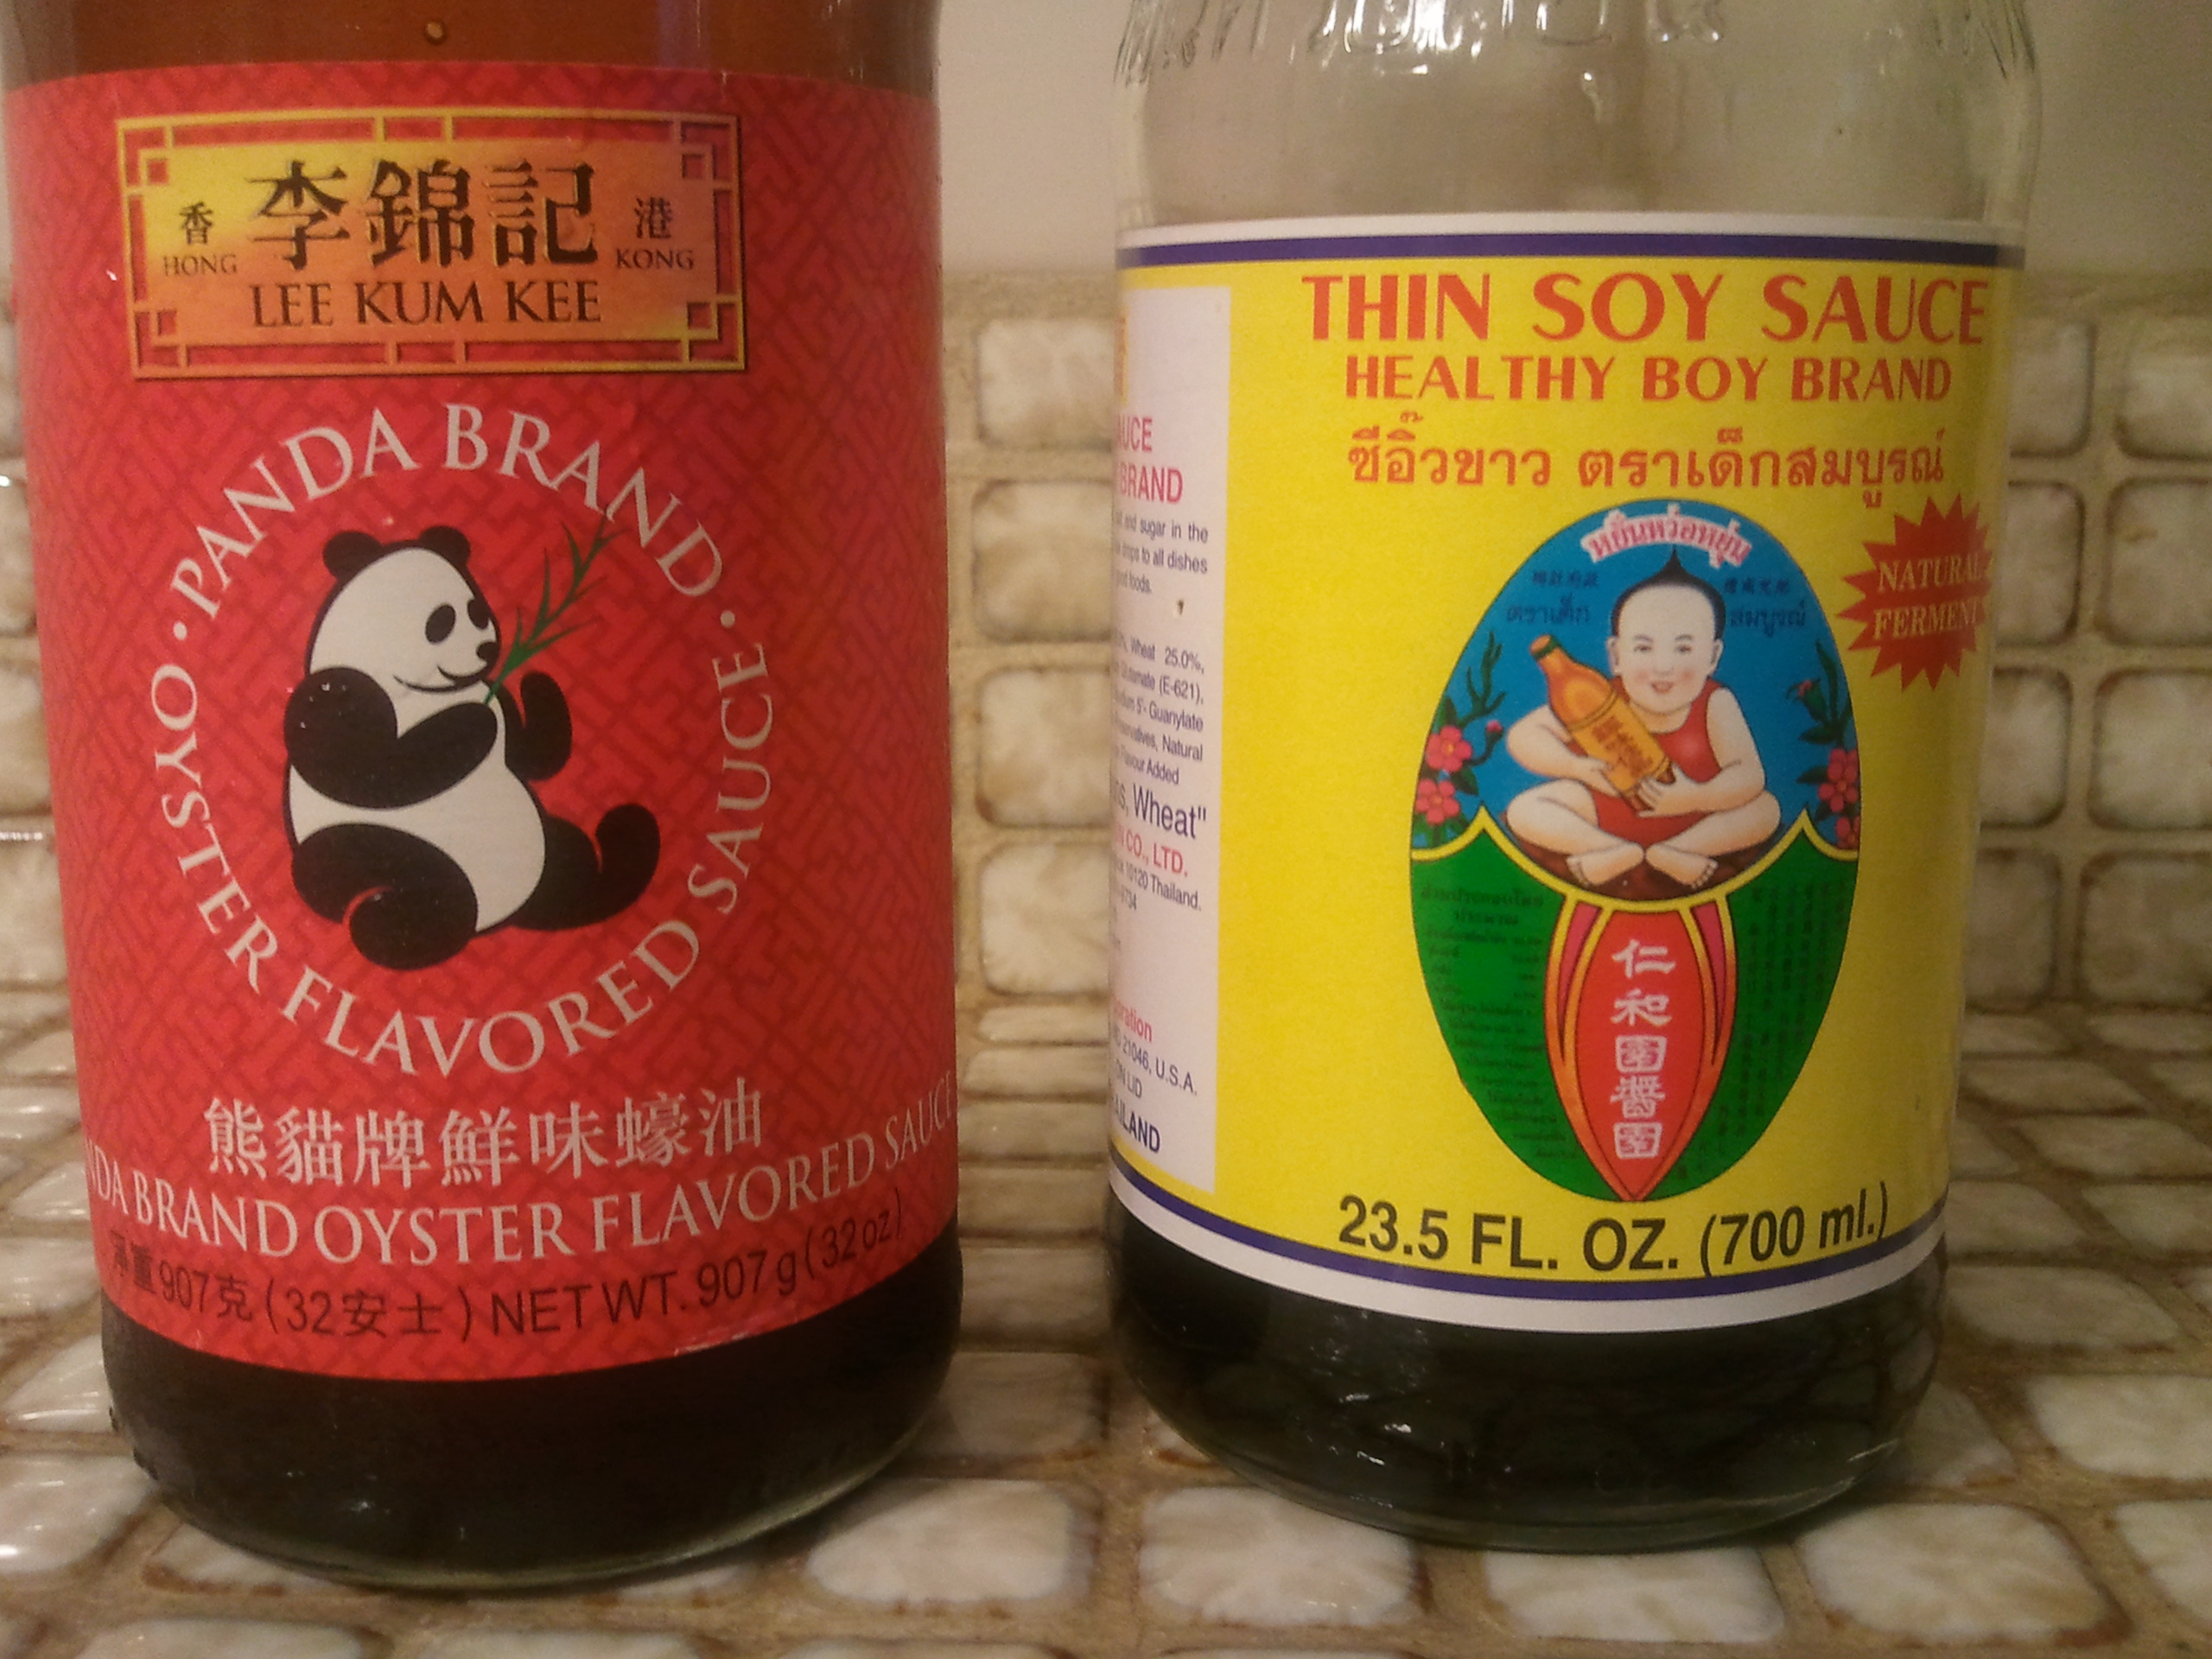
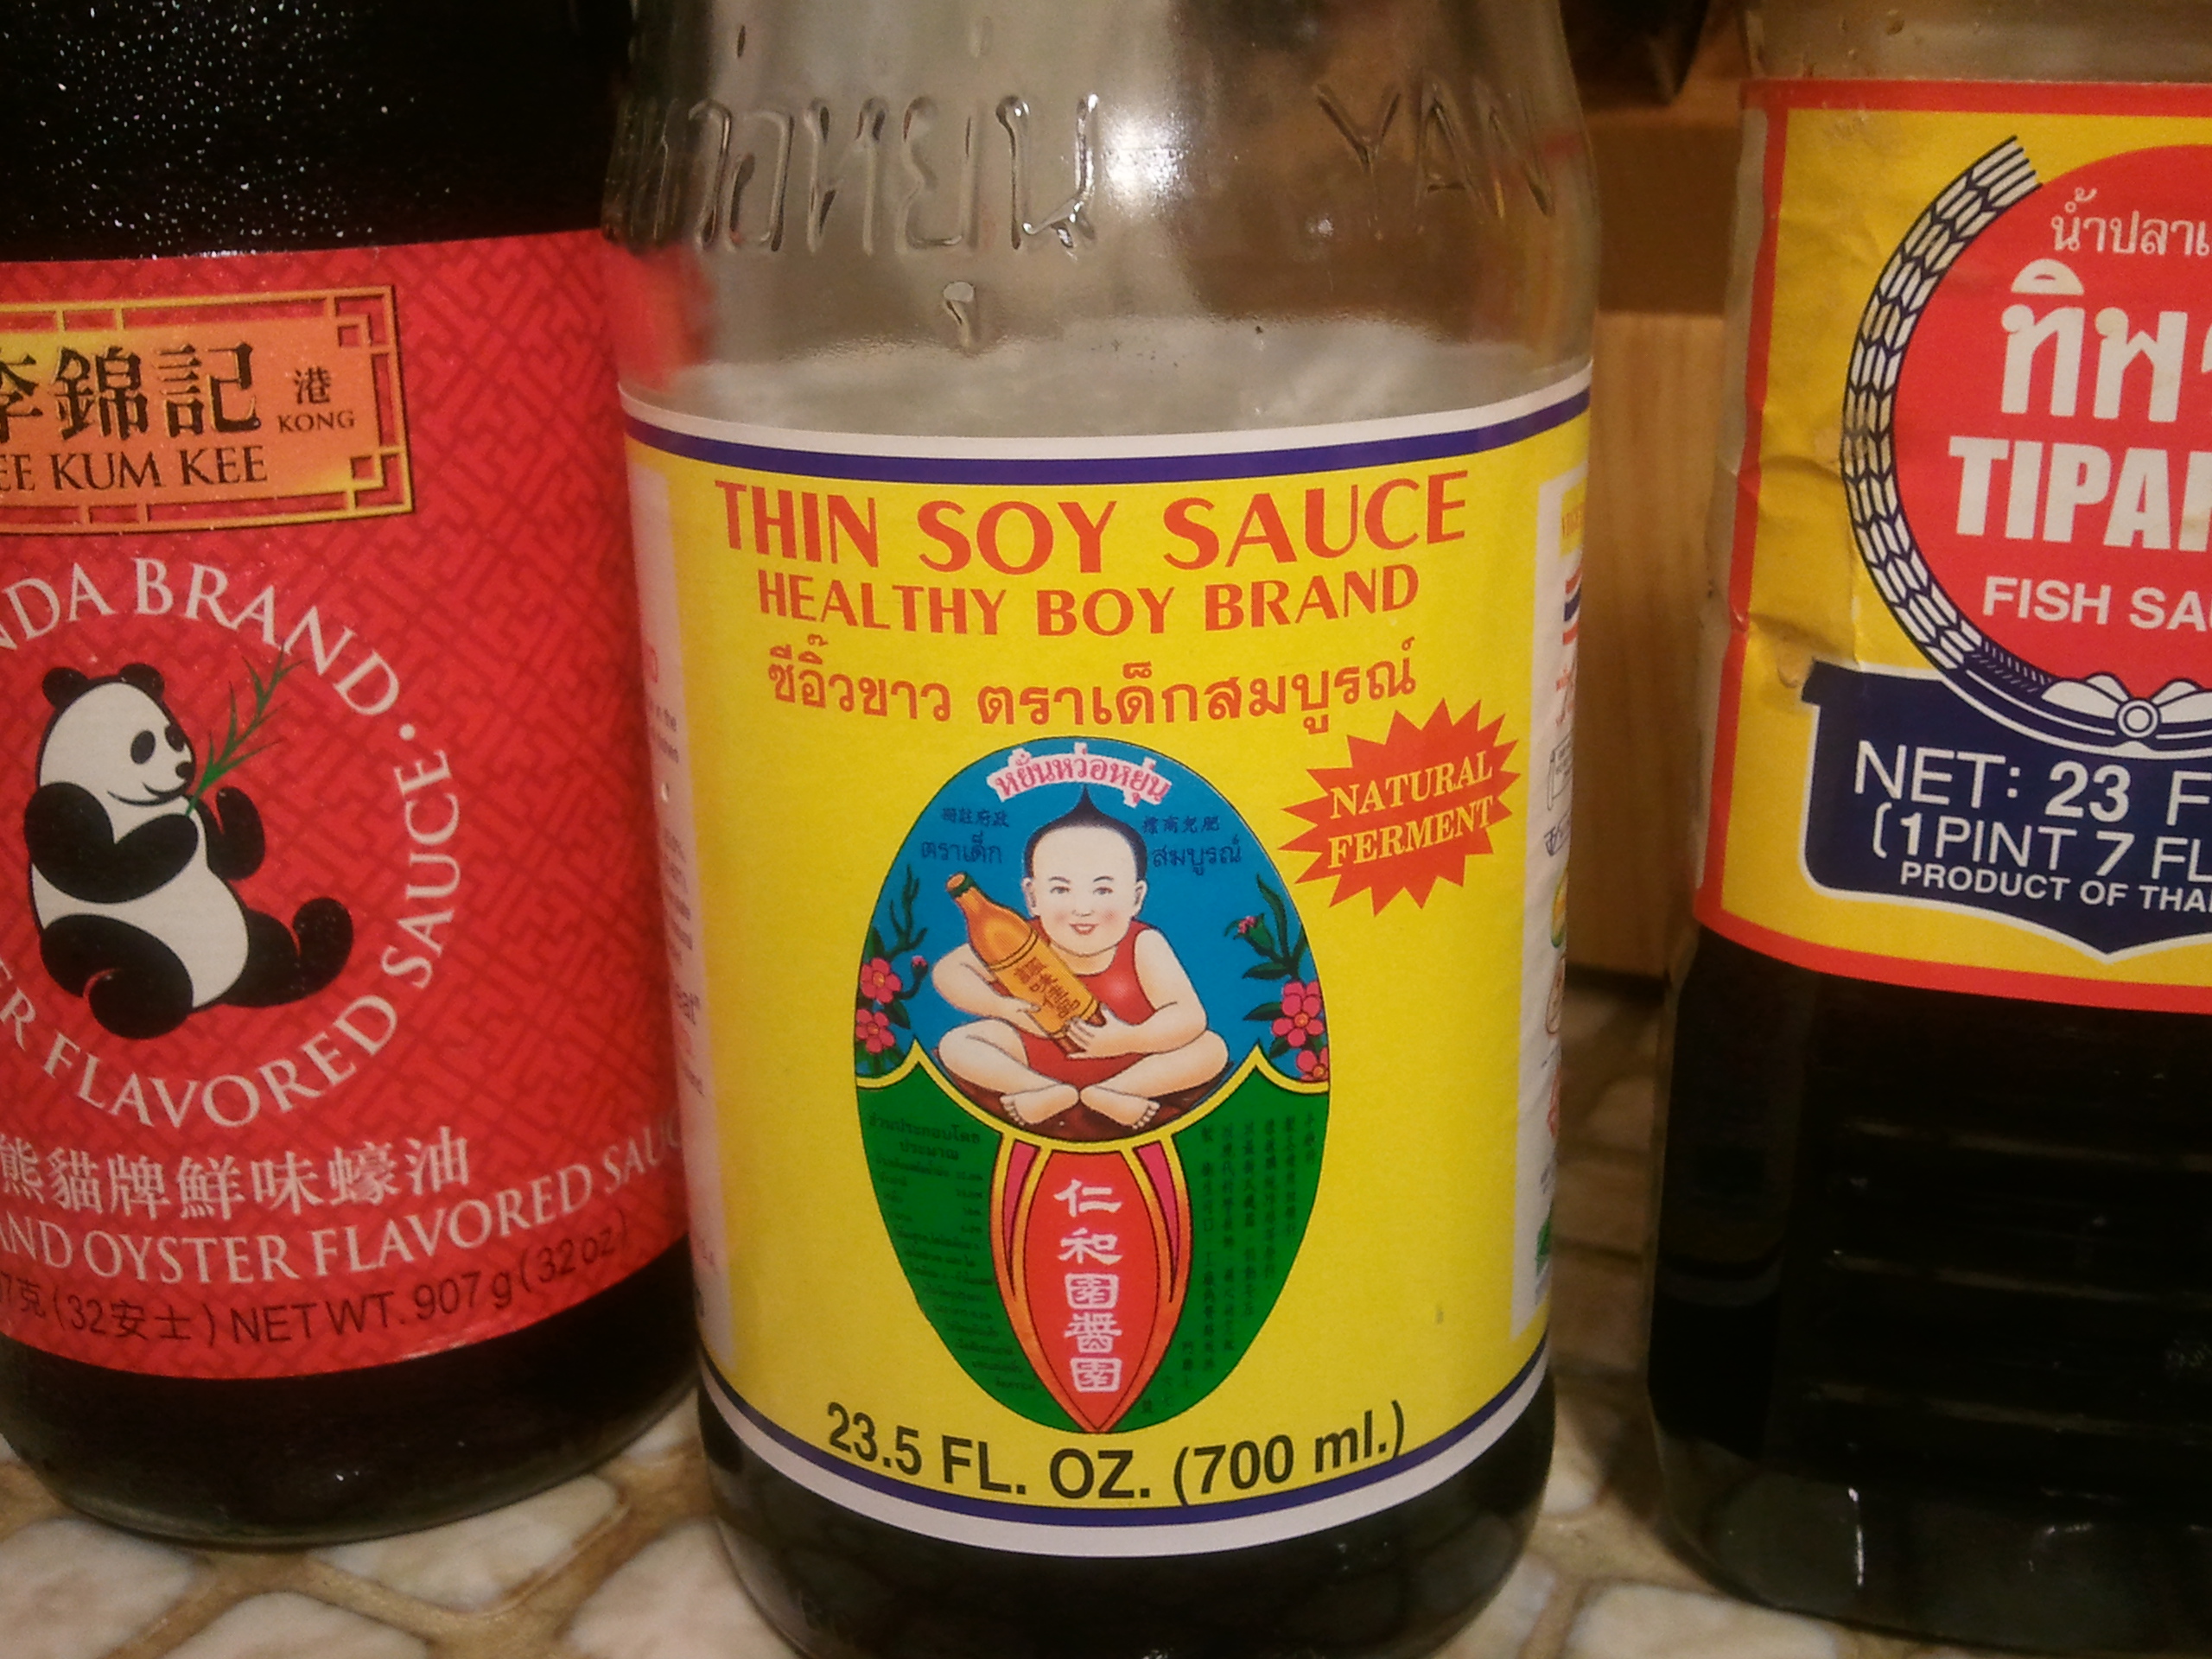
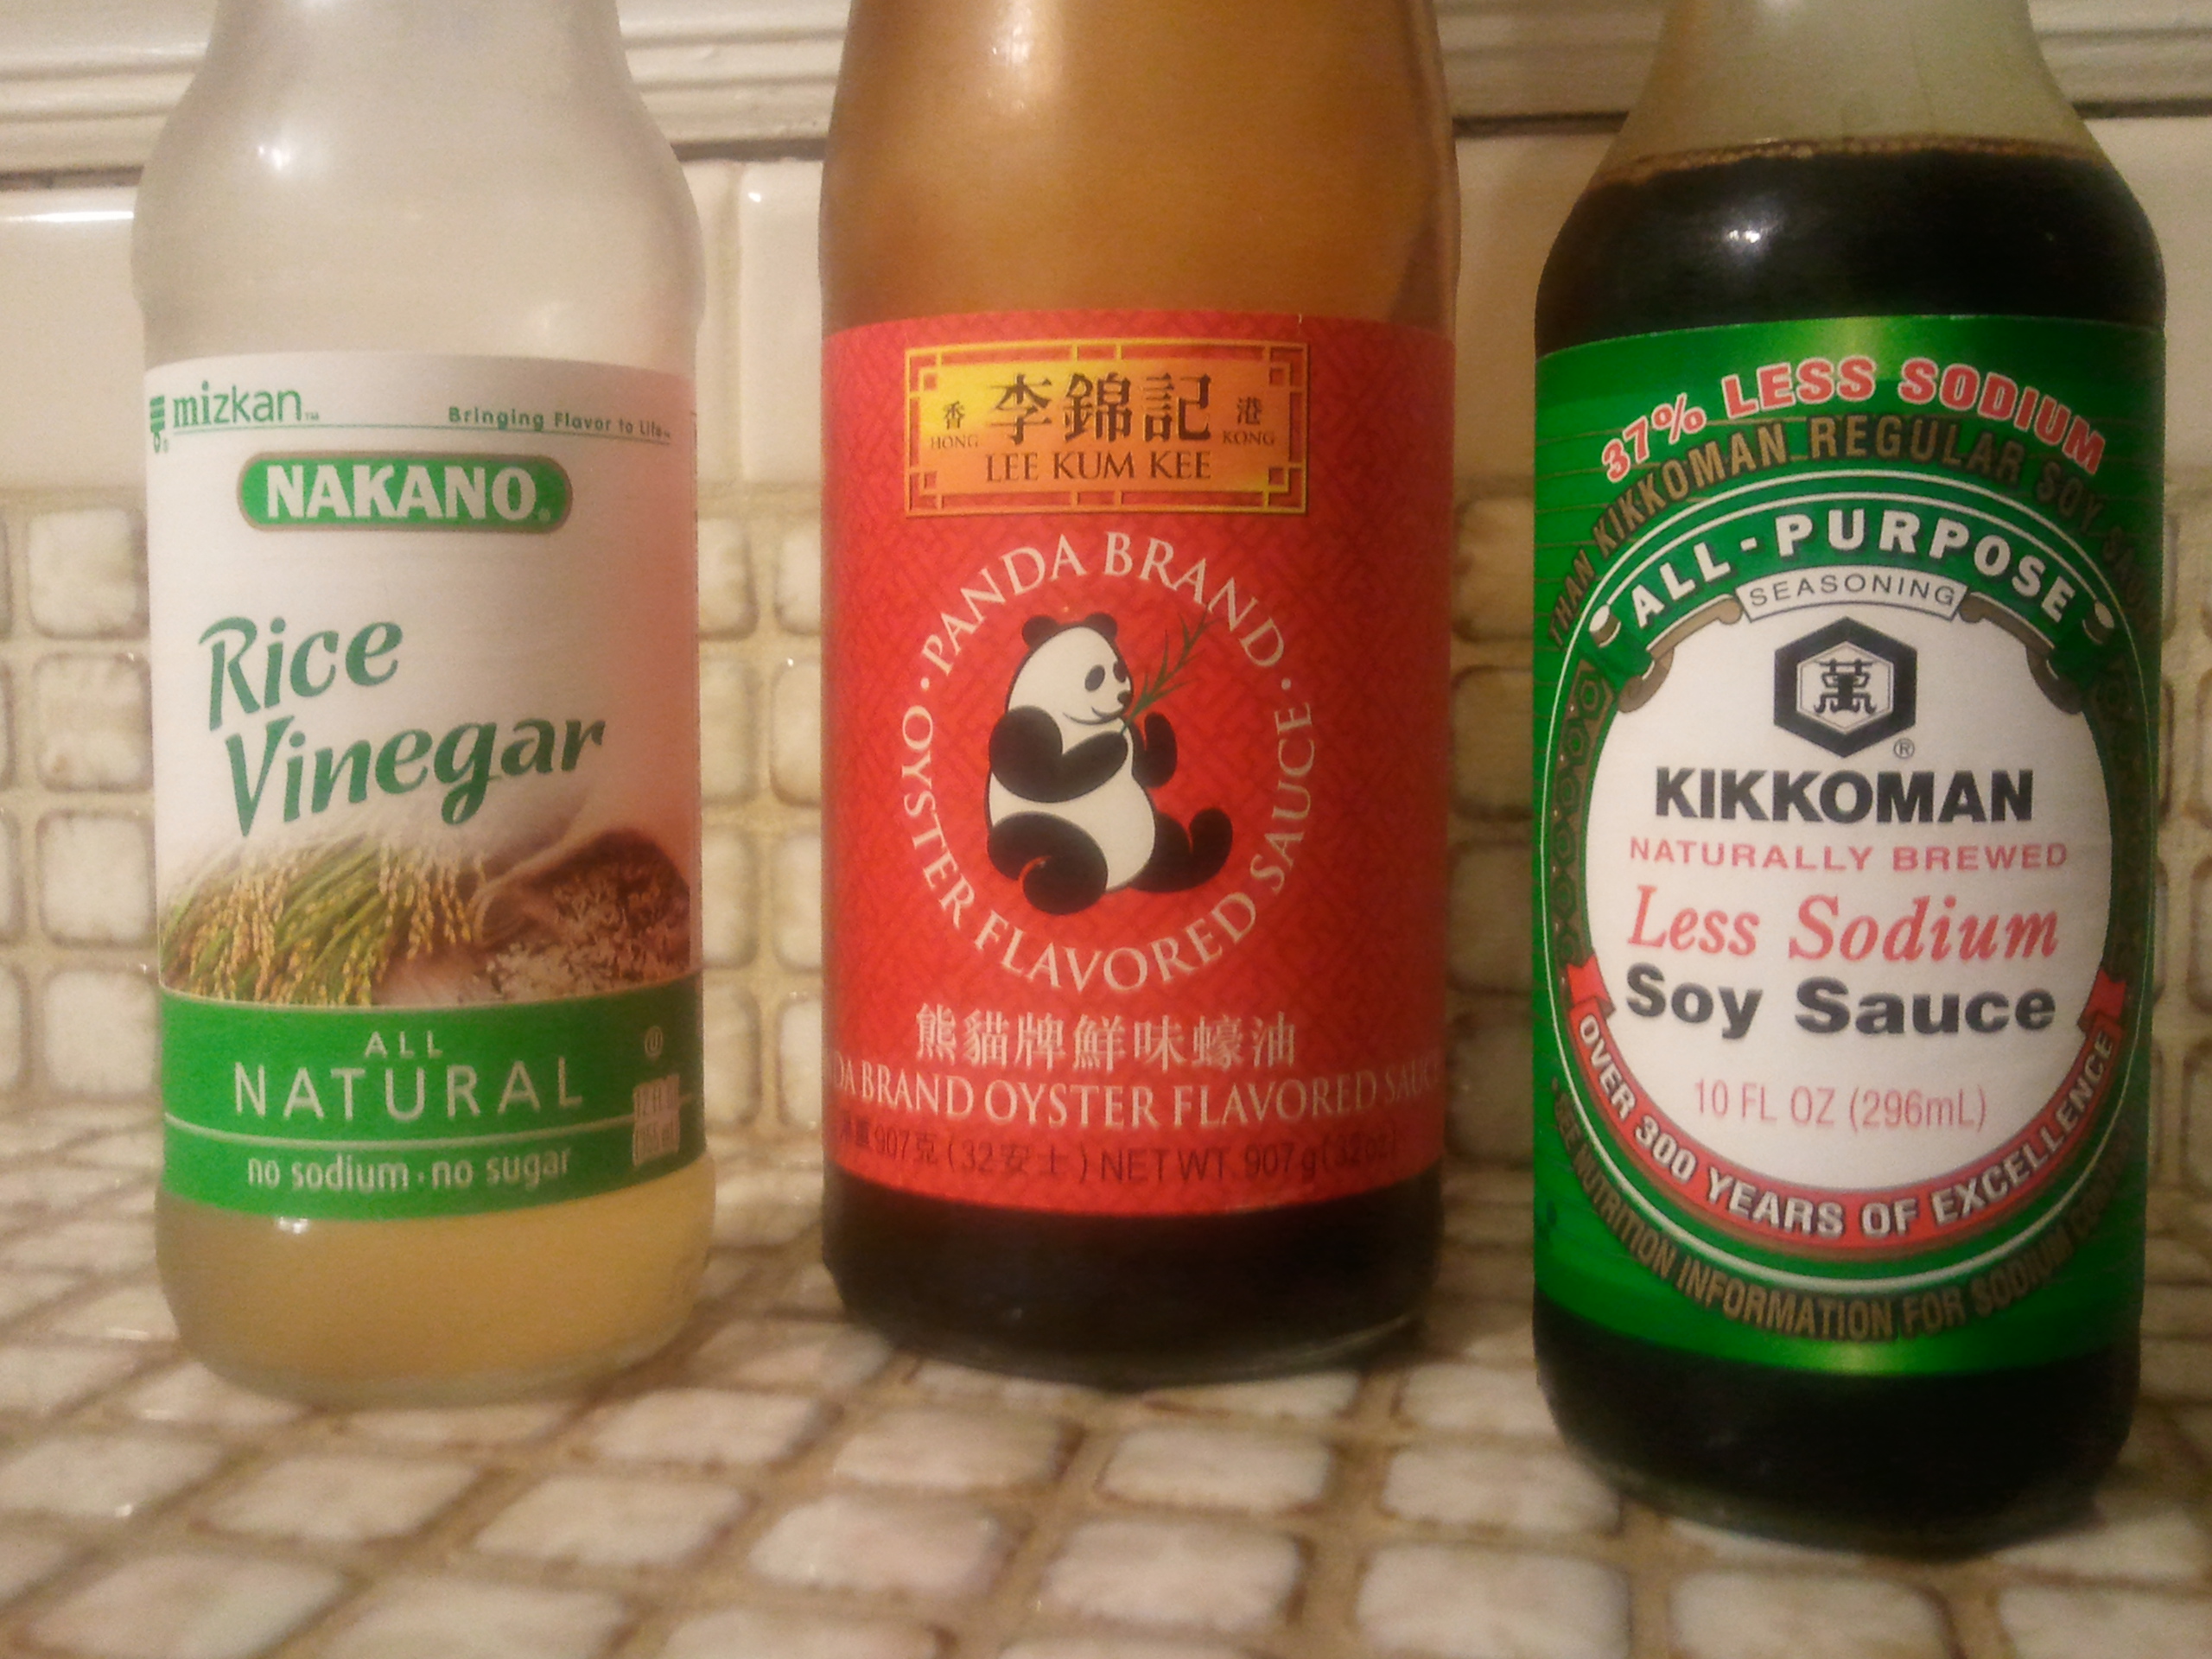
2 1/2 teaspoons seasoning soy sauce, divided
3 tablespoons oyster sauce, divided
1 medium-sized white or yellow onion, sliced thin (root to stem) [I used a giant shallot this time since I had no onion!]
A large handful of baby carrots, cut into matchsticks
A bunch of Thai basil leaves
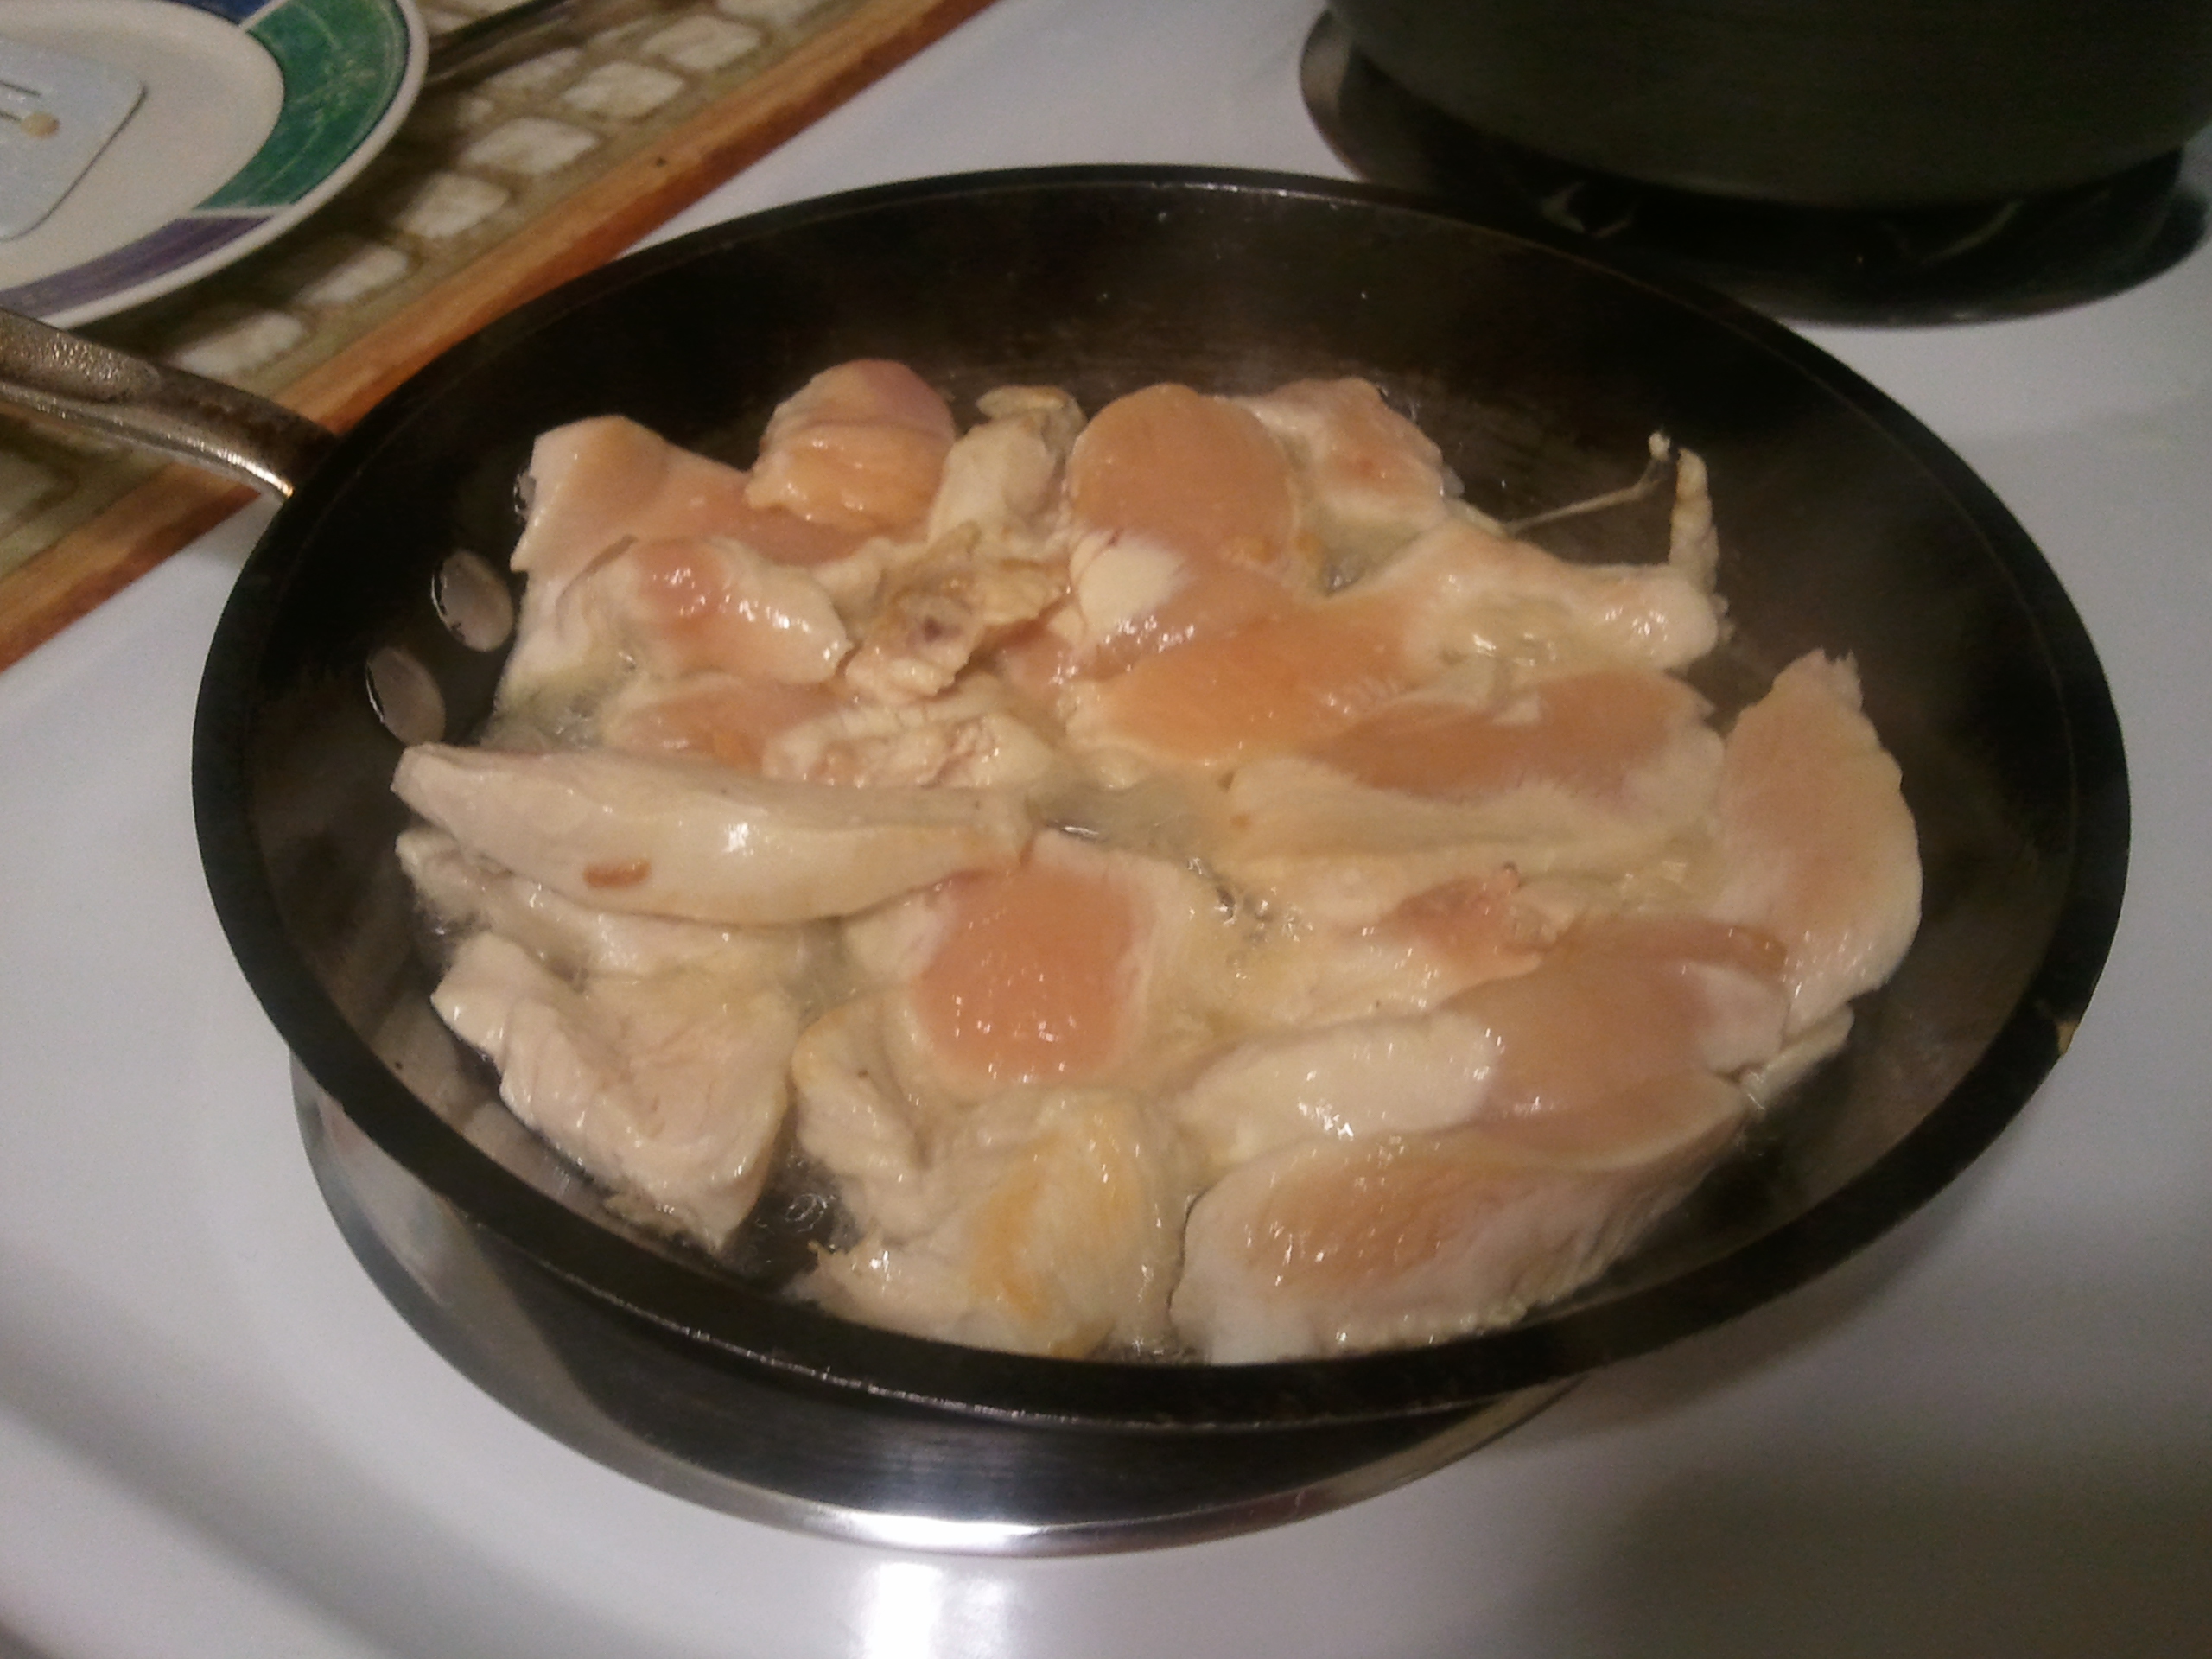
Your garlic, chiles, beef, noodles, onion, and carrots should be prepared before you ever turn on the stove. Have your condiments setting to the side with lids off.
Heat both a small saute pan (I use an 8″ omelet pan) and a medium saute pan (I use a 10″ fry pan) over medium to medium-high heat. Swirl about a tablespoon of canola oil in the small pan and a tablespoon or two of canola oil in the large pan.
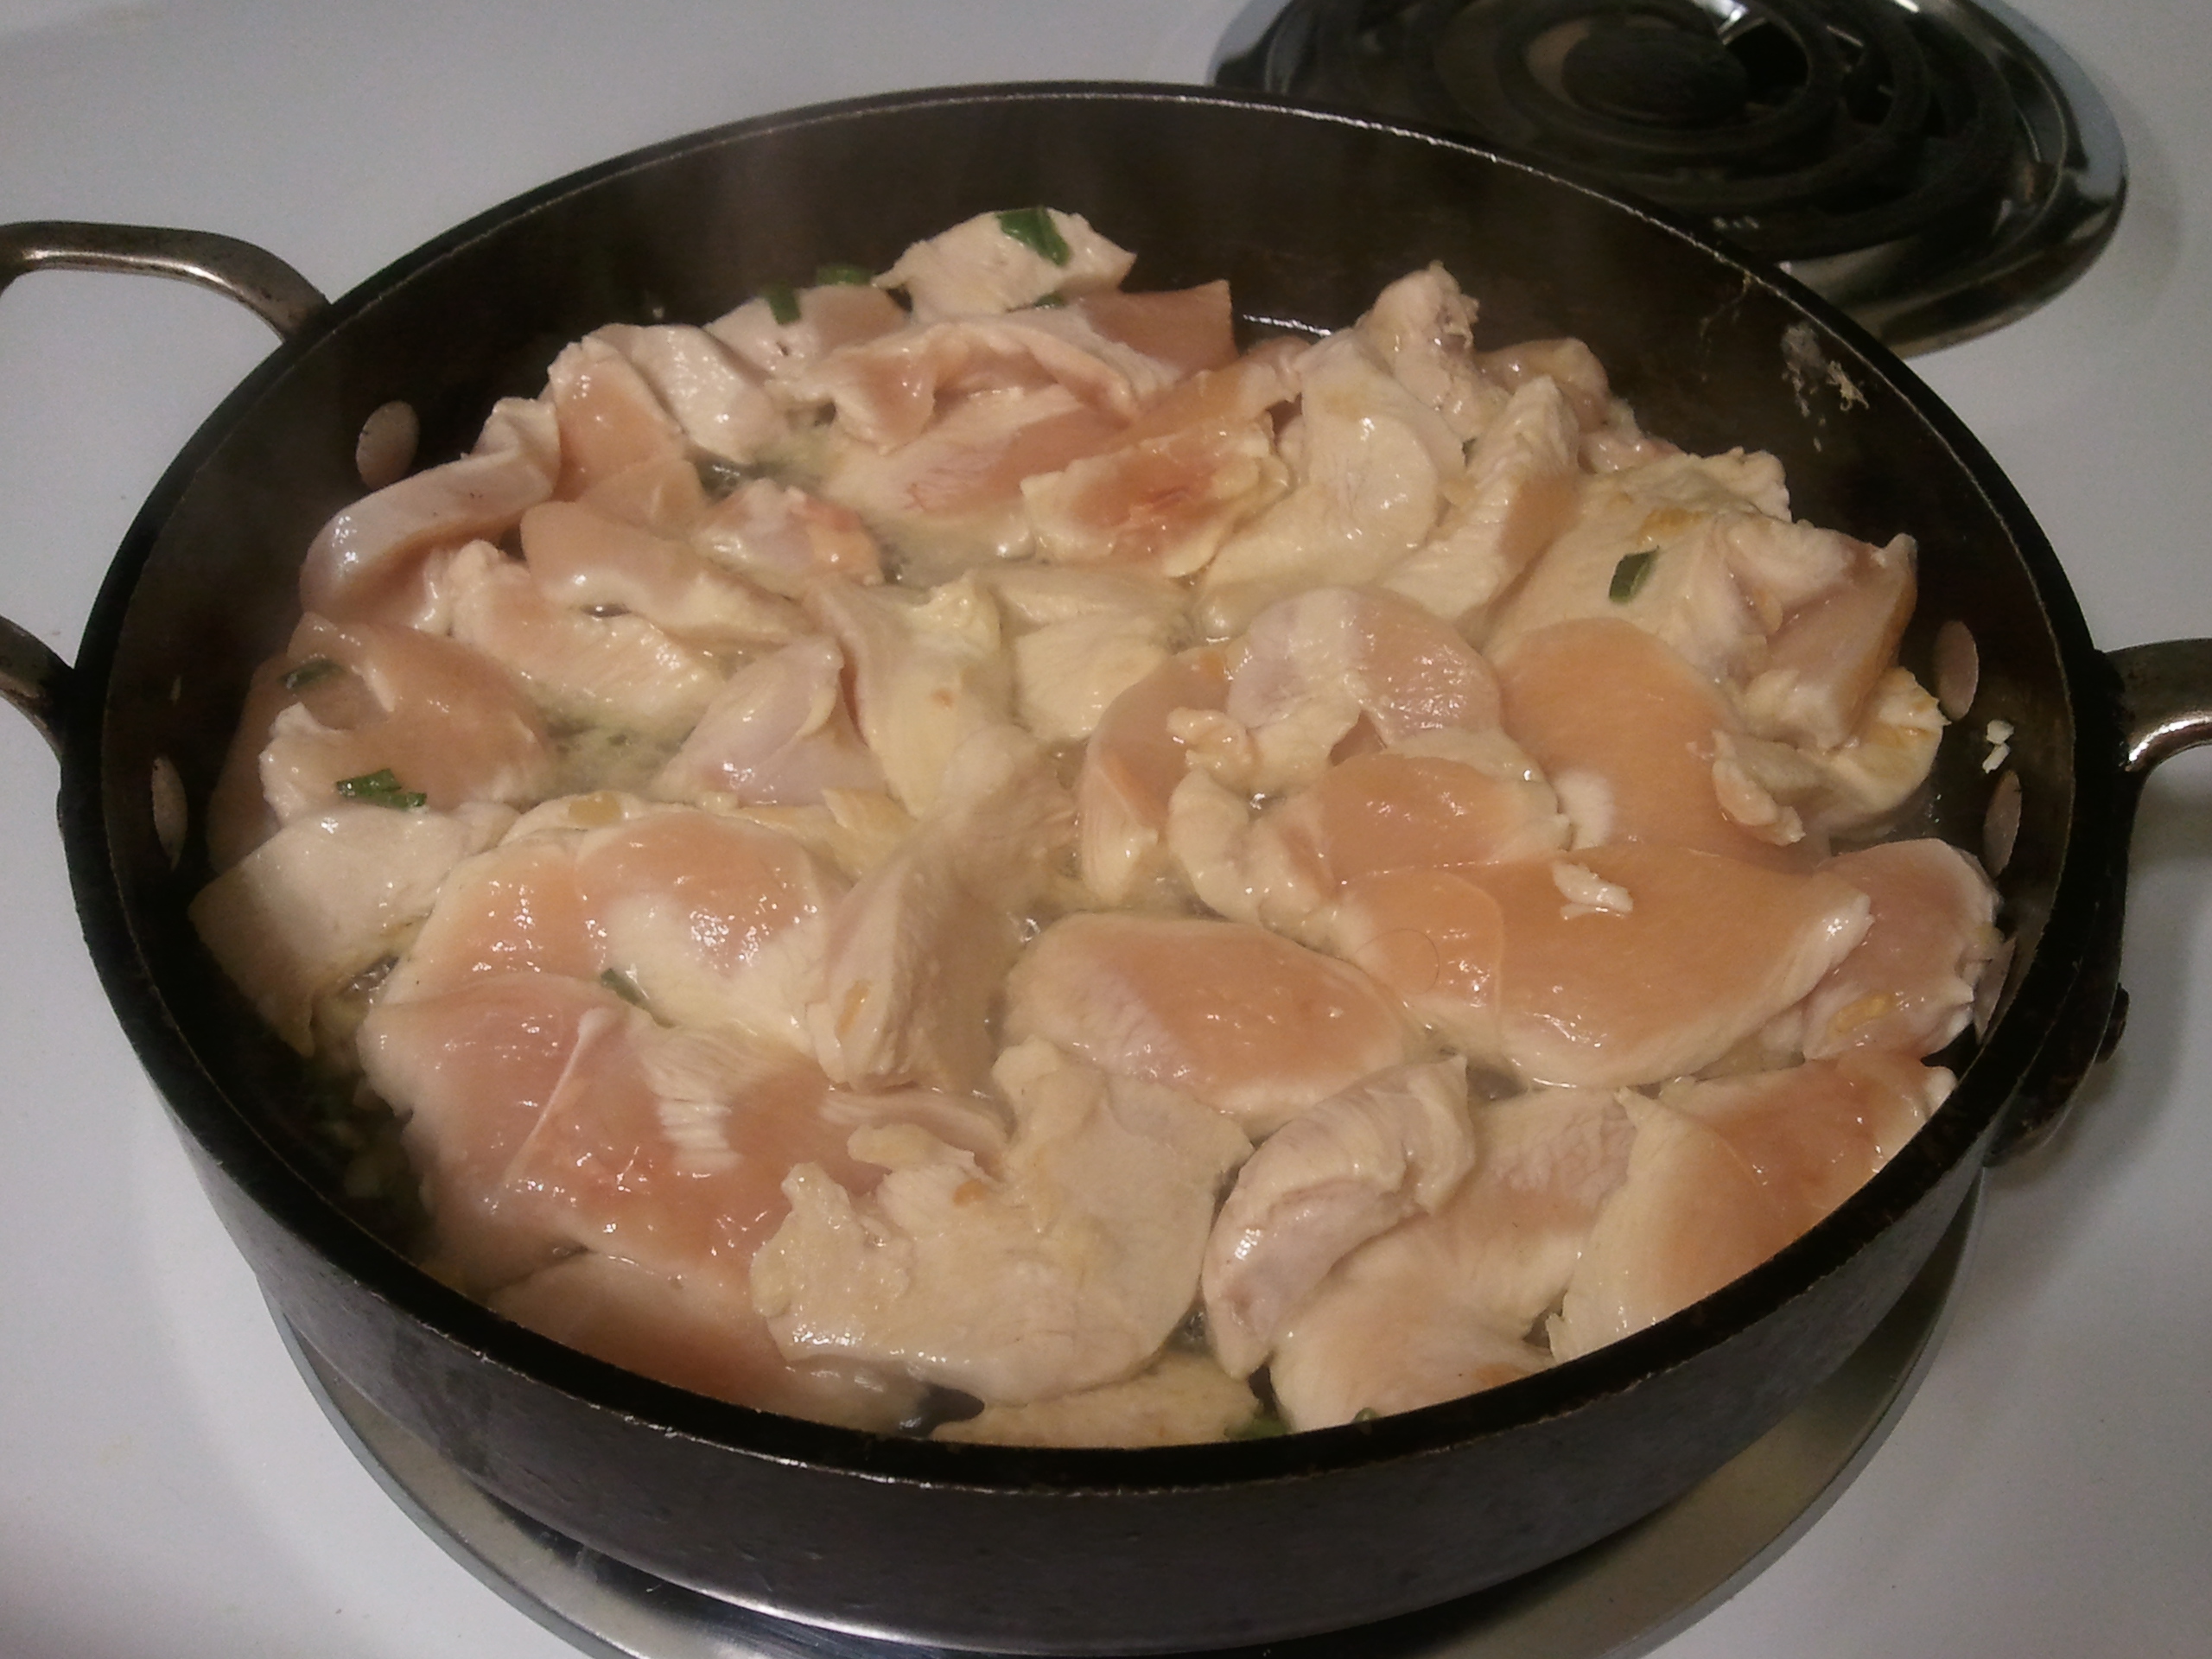
Turn on your exhaust fan (trust me). Add 1/3 of the garlic to the small pan. Add the remaining garlic and the chiles to the large pan. Adjust the heat if needed — you are going to cook these just until fragrant. Add 1/3 of the beef to the small pan and 2/3 of the beef to the large pan — stir them around to coat the beef in the garlic and the oil. Cook the beef, stirring occasionally, until it’s about 1/2 done (a little pink is okay).
Add about 1/3 of the noodles to the small pan and 2/3 of the noodles to the large pan — stir them around to coat the noodles in the meat juice and oil. Don’t play with them too much — they tend to fall apart — and it’s okay if they caramelize a little — some color is okay.
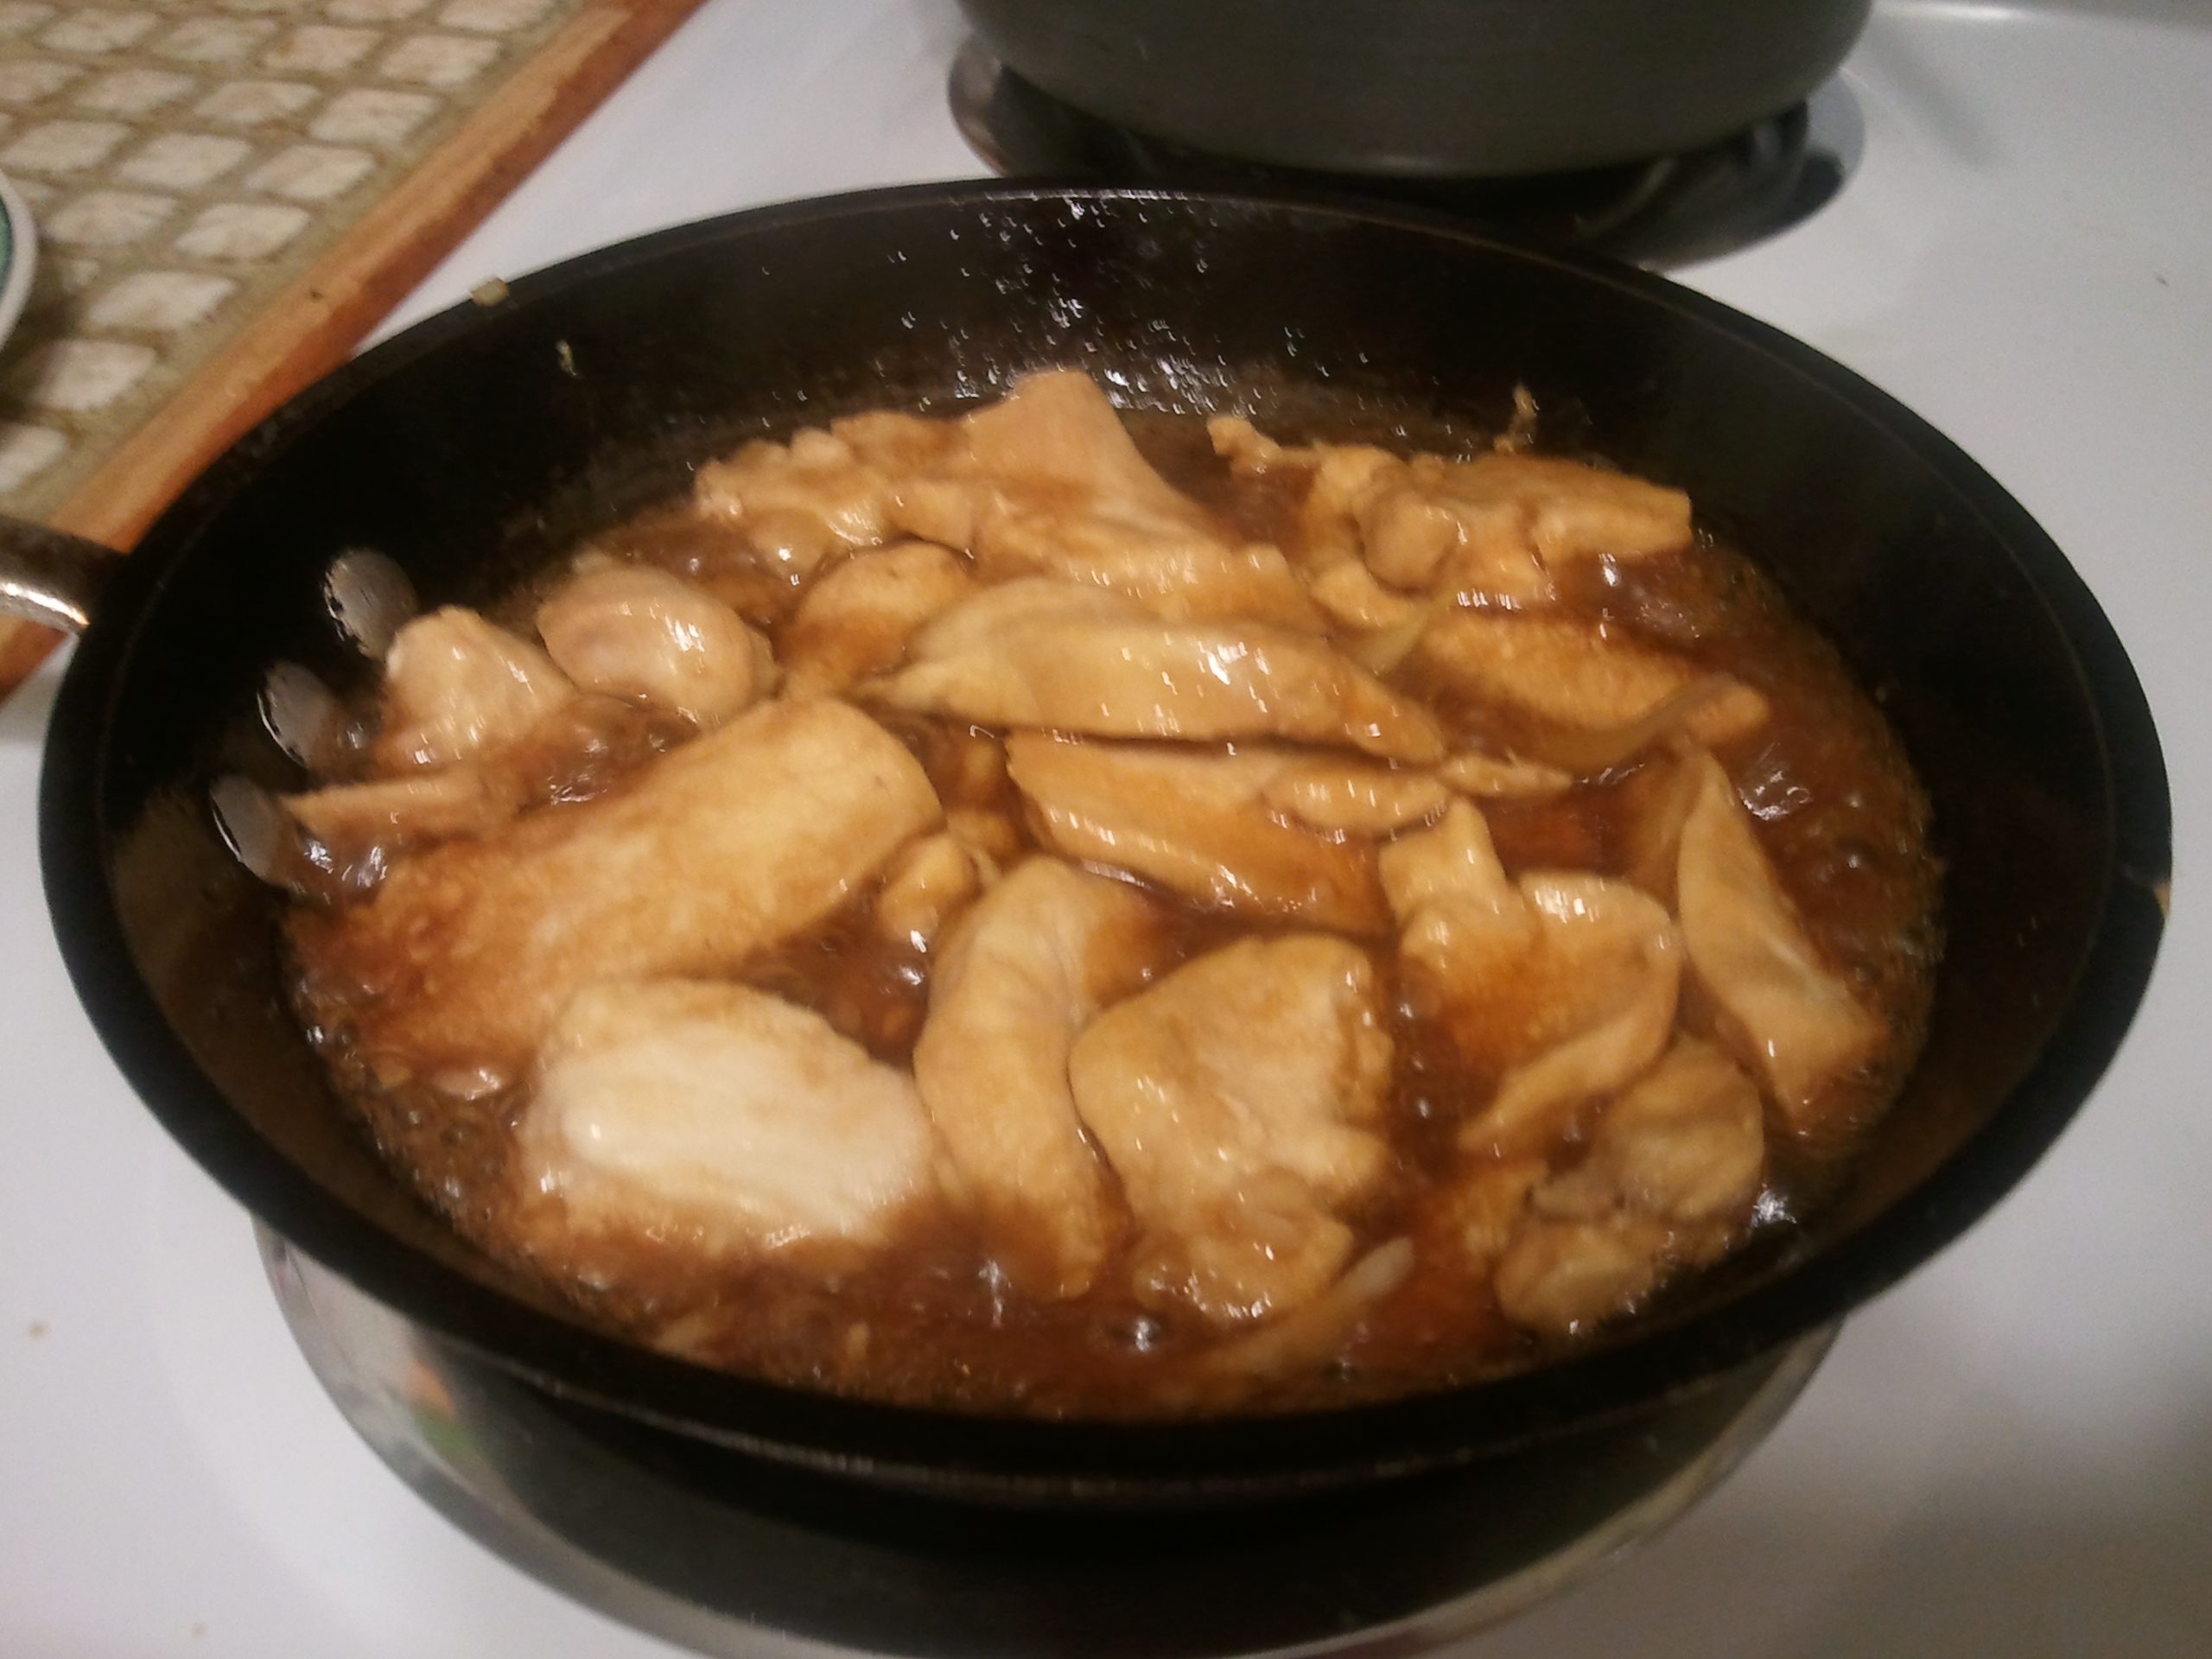
Sprinkle 1 to 1 1/2 teaspoons of sugar, 1/2 teaspoon seasoning soy sauce, and 1 tablespoon oyster sauce over the beef in the small pan and stir.
Sprinkle 1 – 2 teaspoons of sugar, 2 teaspoons seasoning soy sauce, and 2 tablespoons oyster sauce over the beef in the large pan and stir.
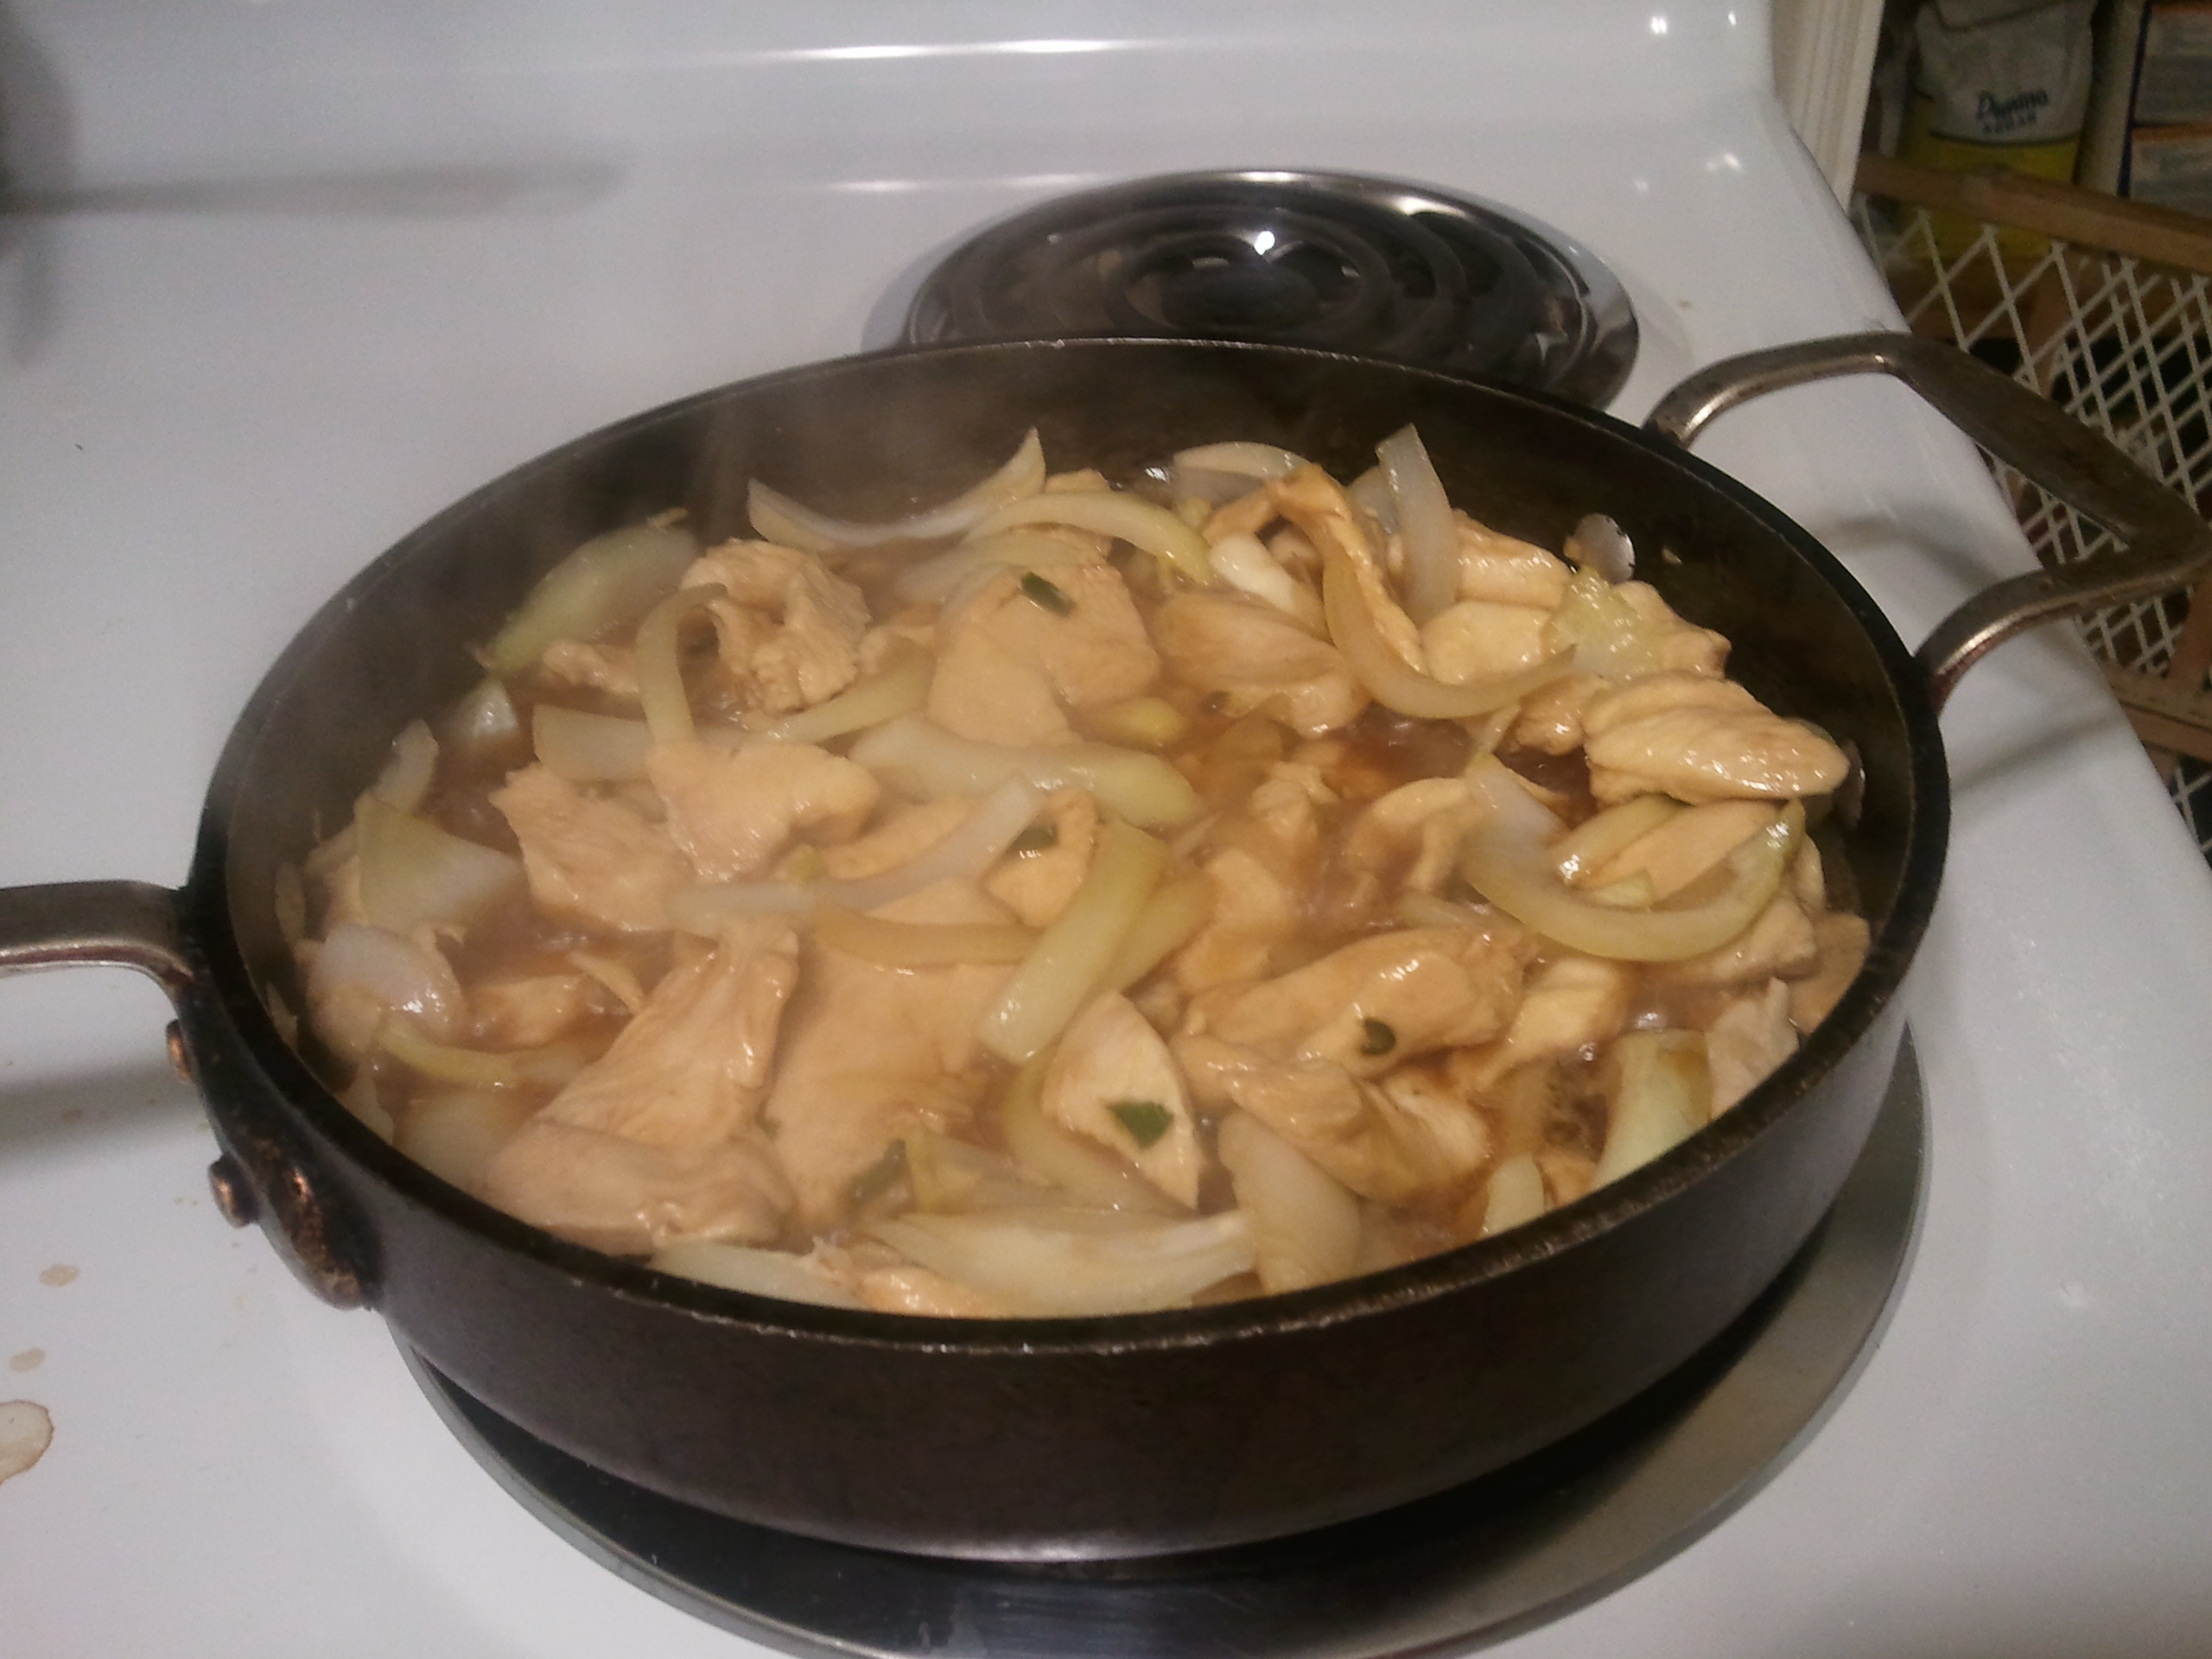
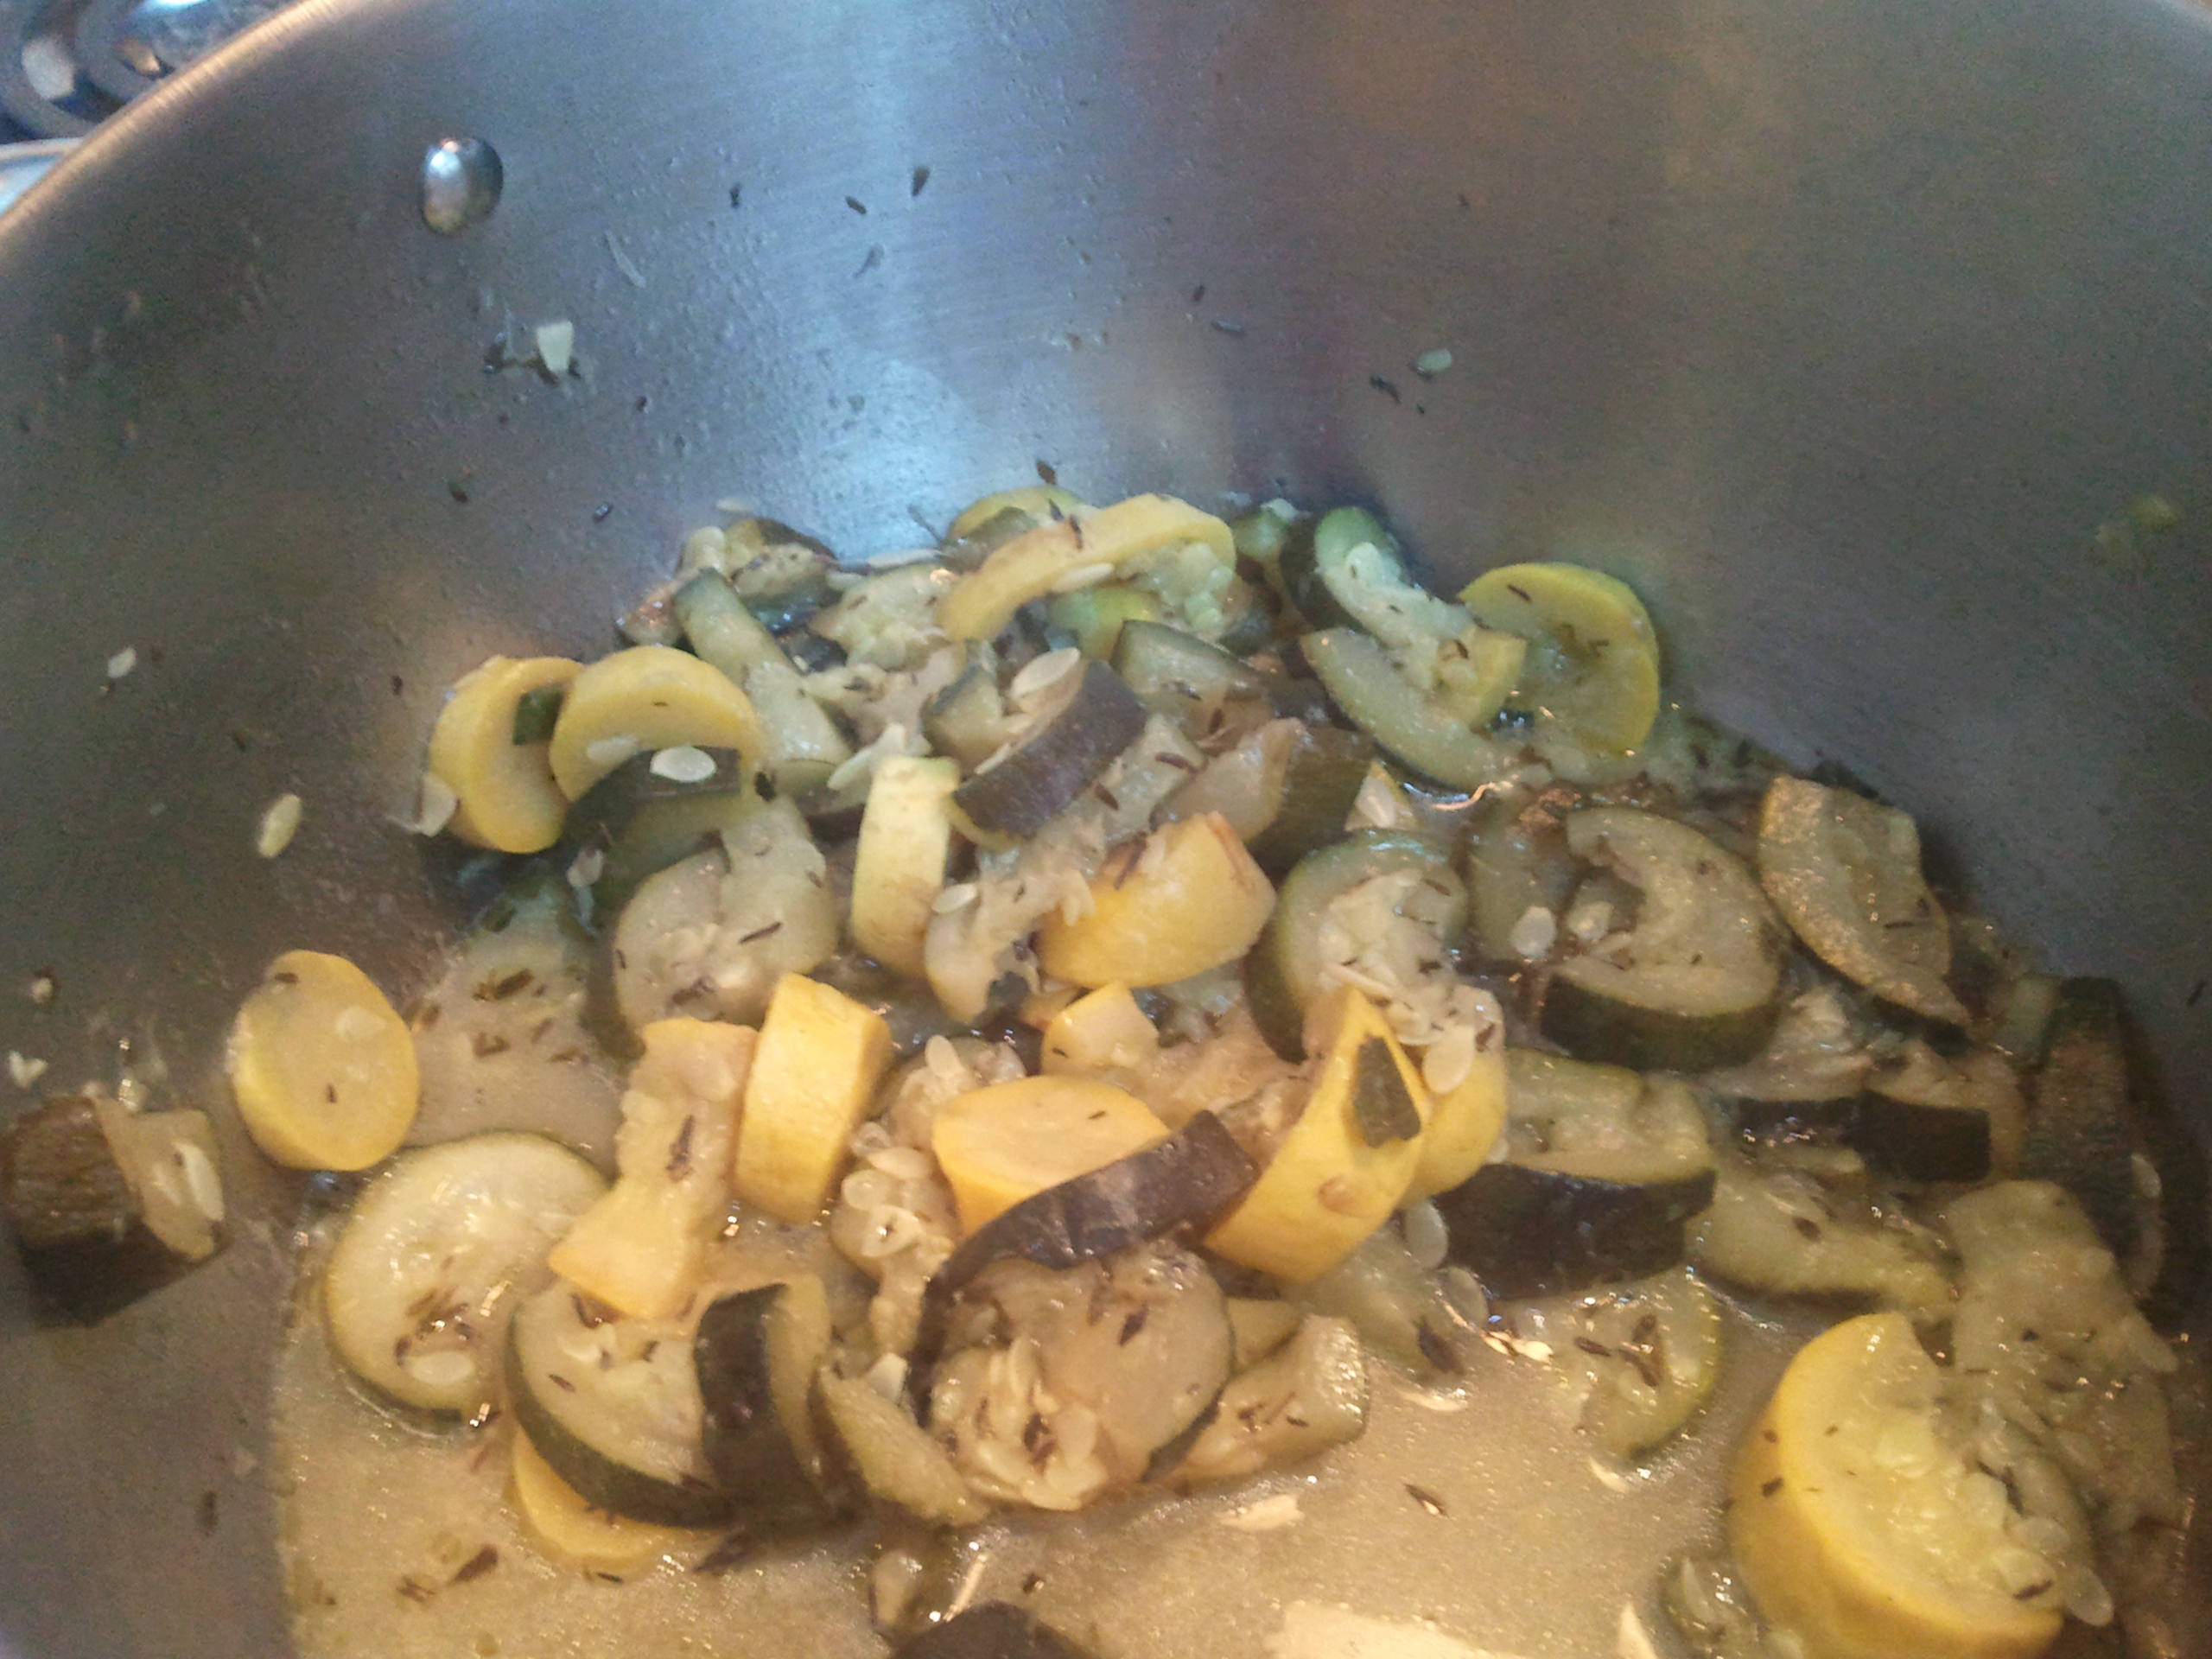
Put a few slices of onion in the small pan (the kids will pick it out probably) and the remainder of the onion in the large pan. Put about 1/3 of the carrots in the small pan and the remainder in the large pan.
Turn the heat down a bit and cook a few minutes until the vegetables softens but are still tender-crisp. Sometimes I will put a lid on the pan to reduce evaporation while they cook a bit.
Toss in the basil leaves and stir until they wilt a bit. Serve immediately.


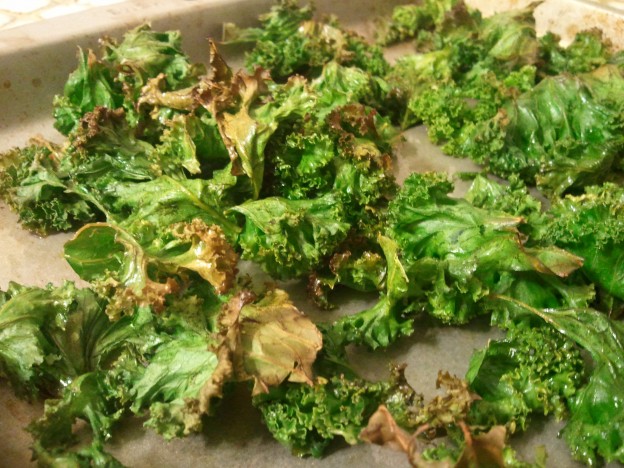

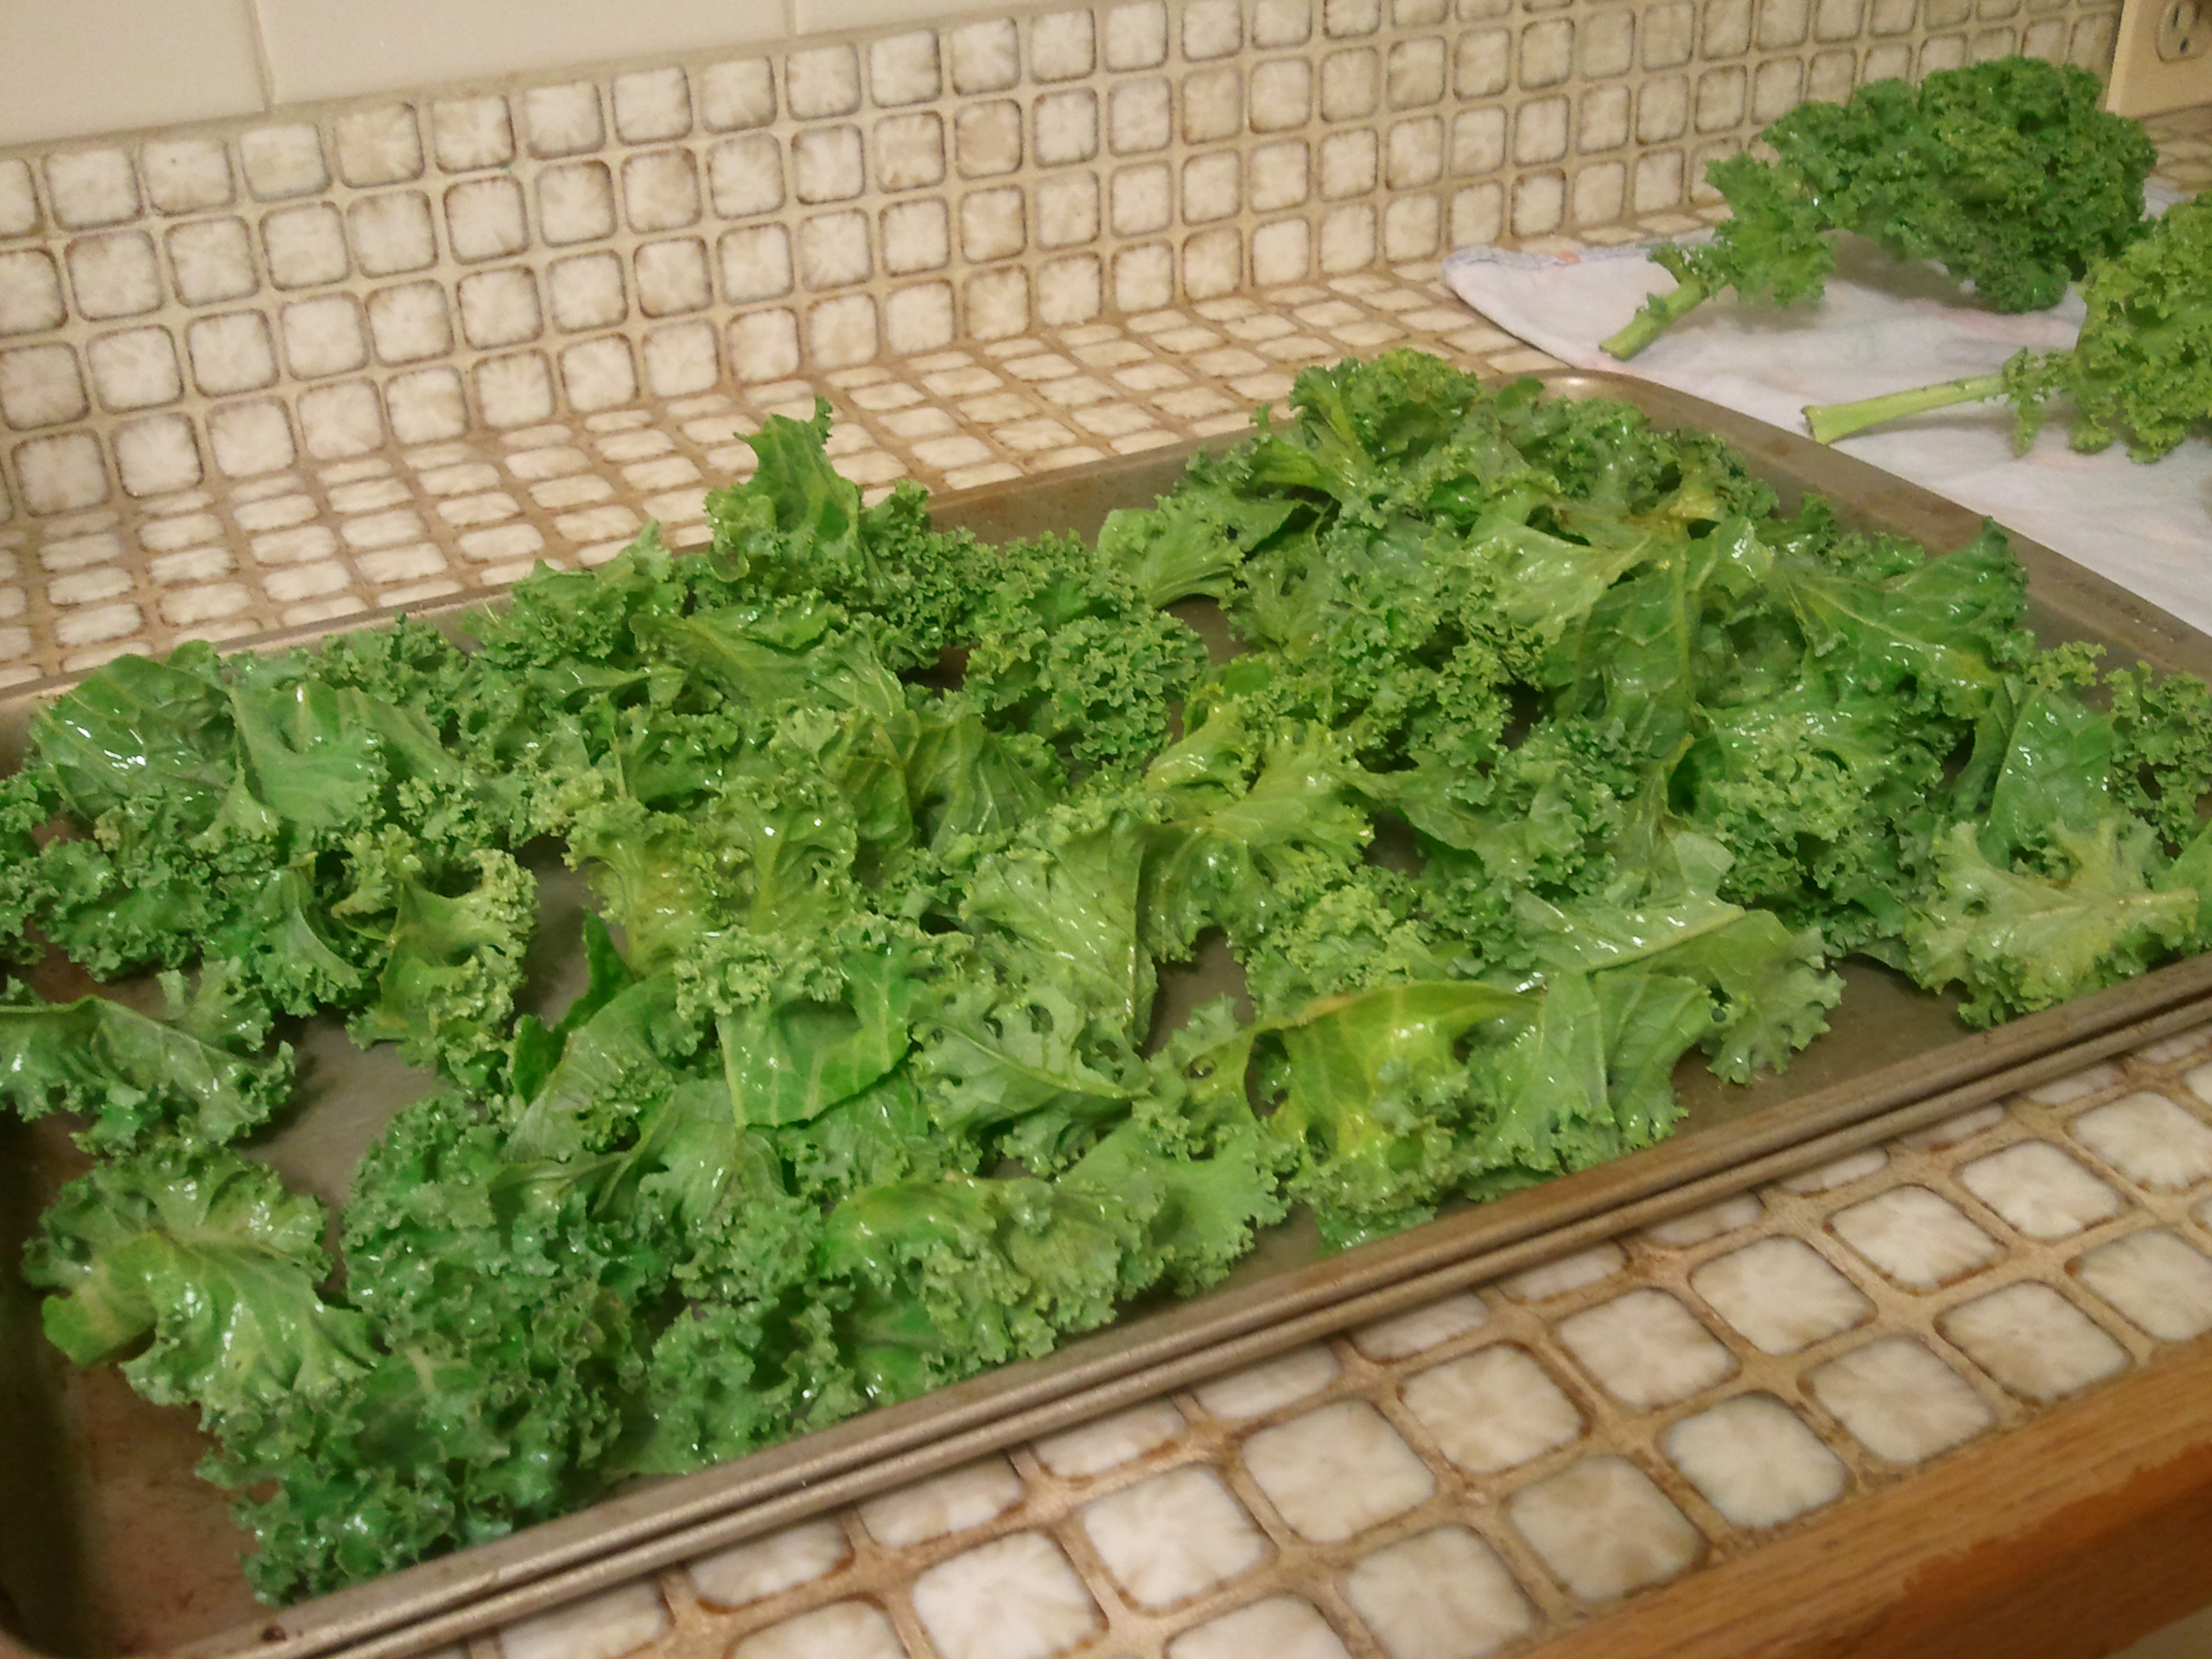
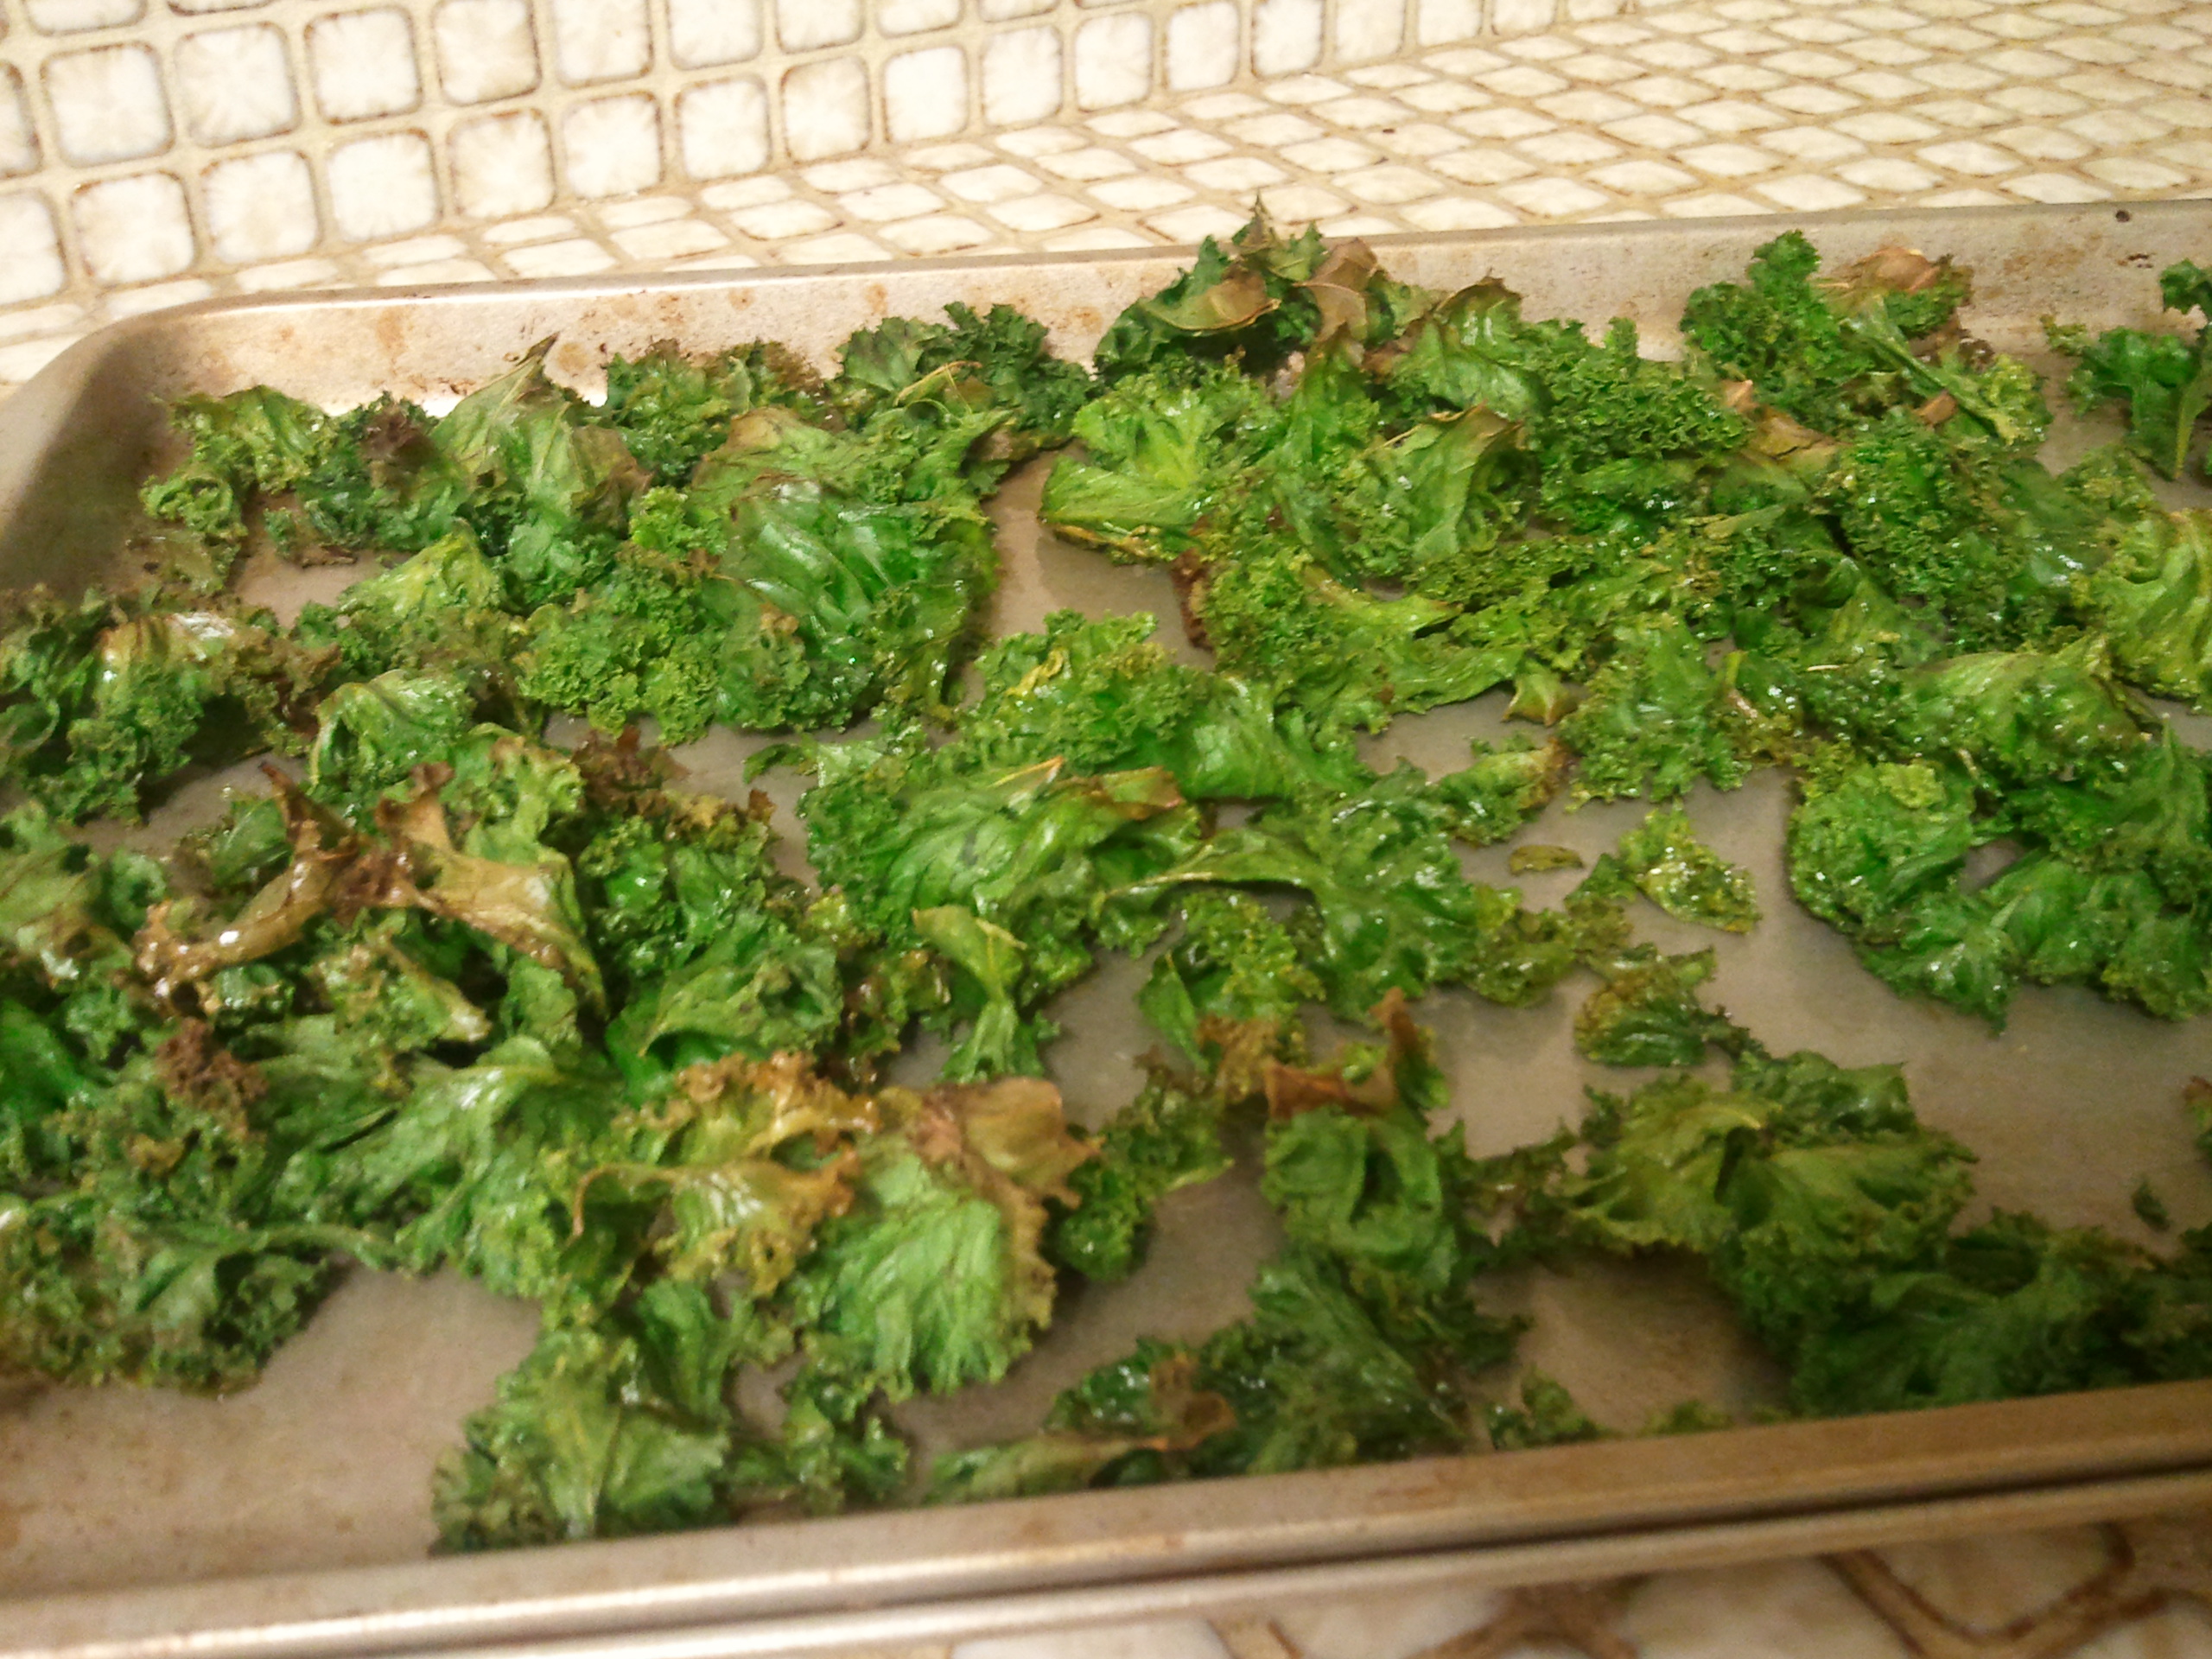
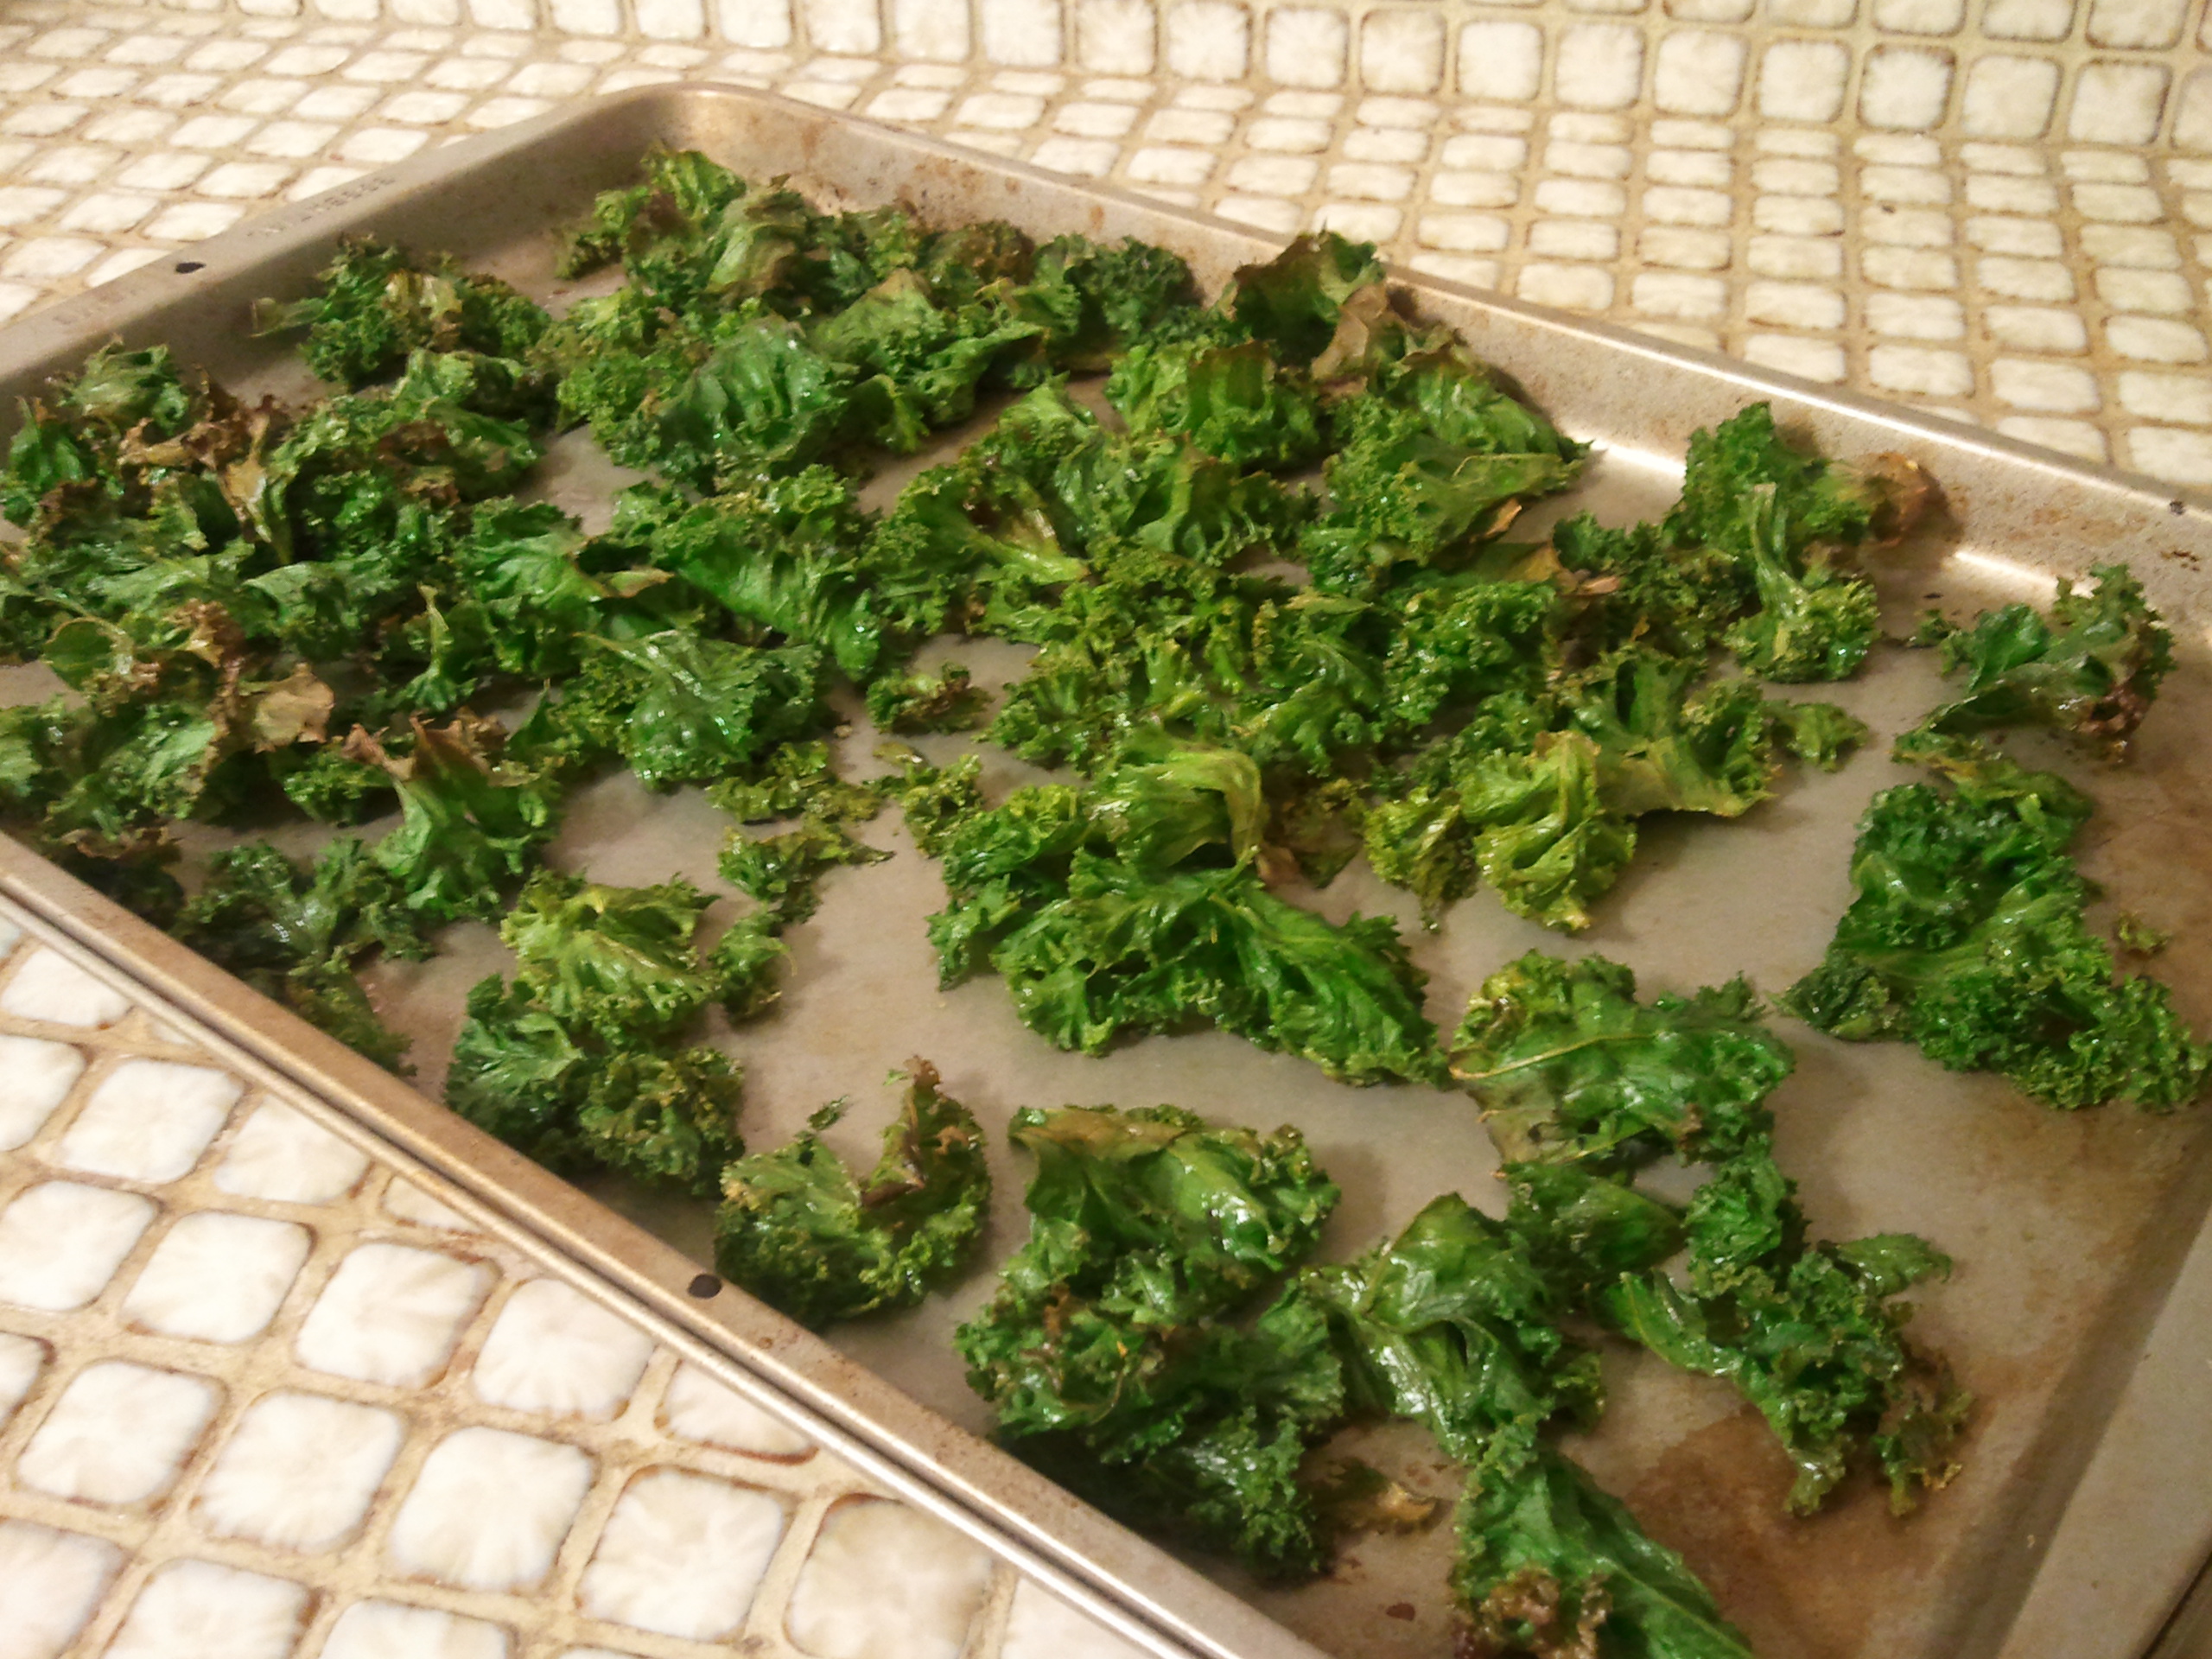
 Use tongs or a spatula to flip the leaves over and around and then BACK in the oven with these babies. Continue to check every 3 or 4 minutes, moving them around a bit, until crispy and brown and very little moisture is left. You may want to turn the oven down to 350F partway through if they seem to be browning too fast.