Author Archives: Michelle Matlack

SAMSUNG

Continuing with the pumpkin obsession …

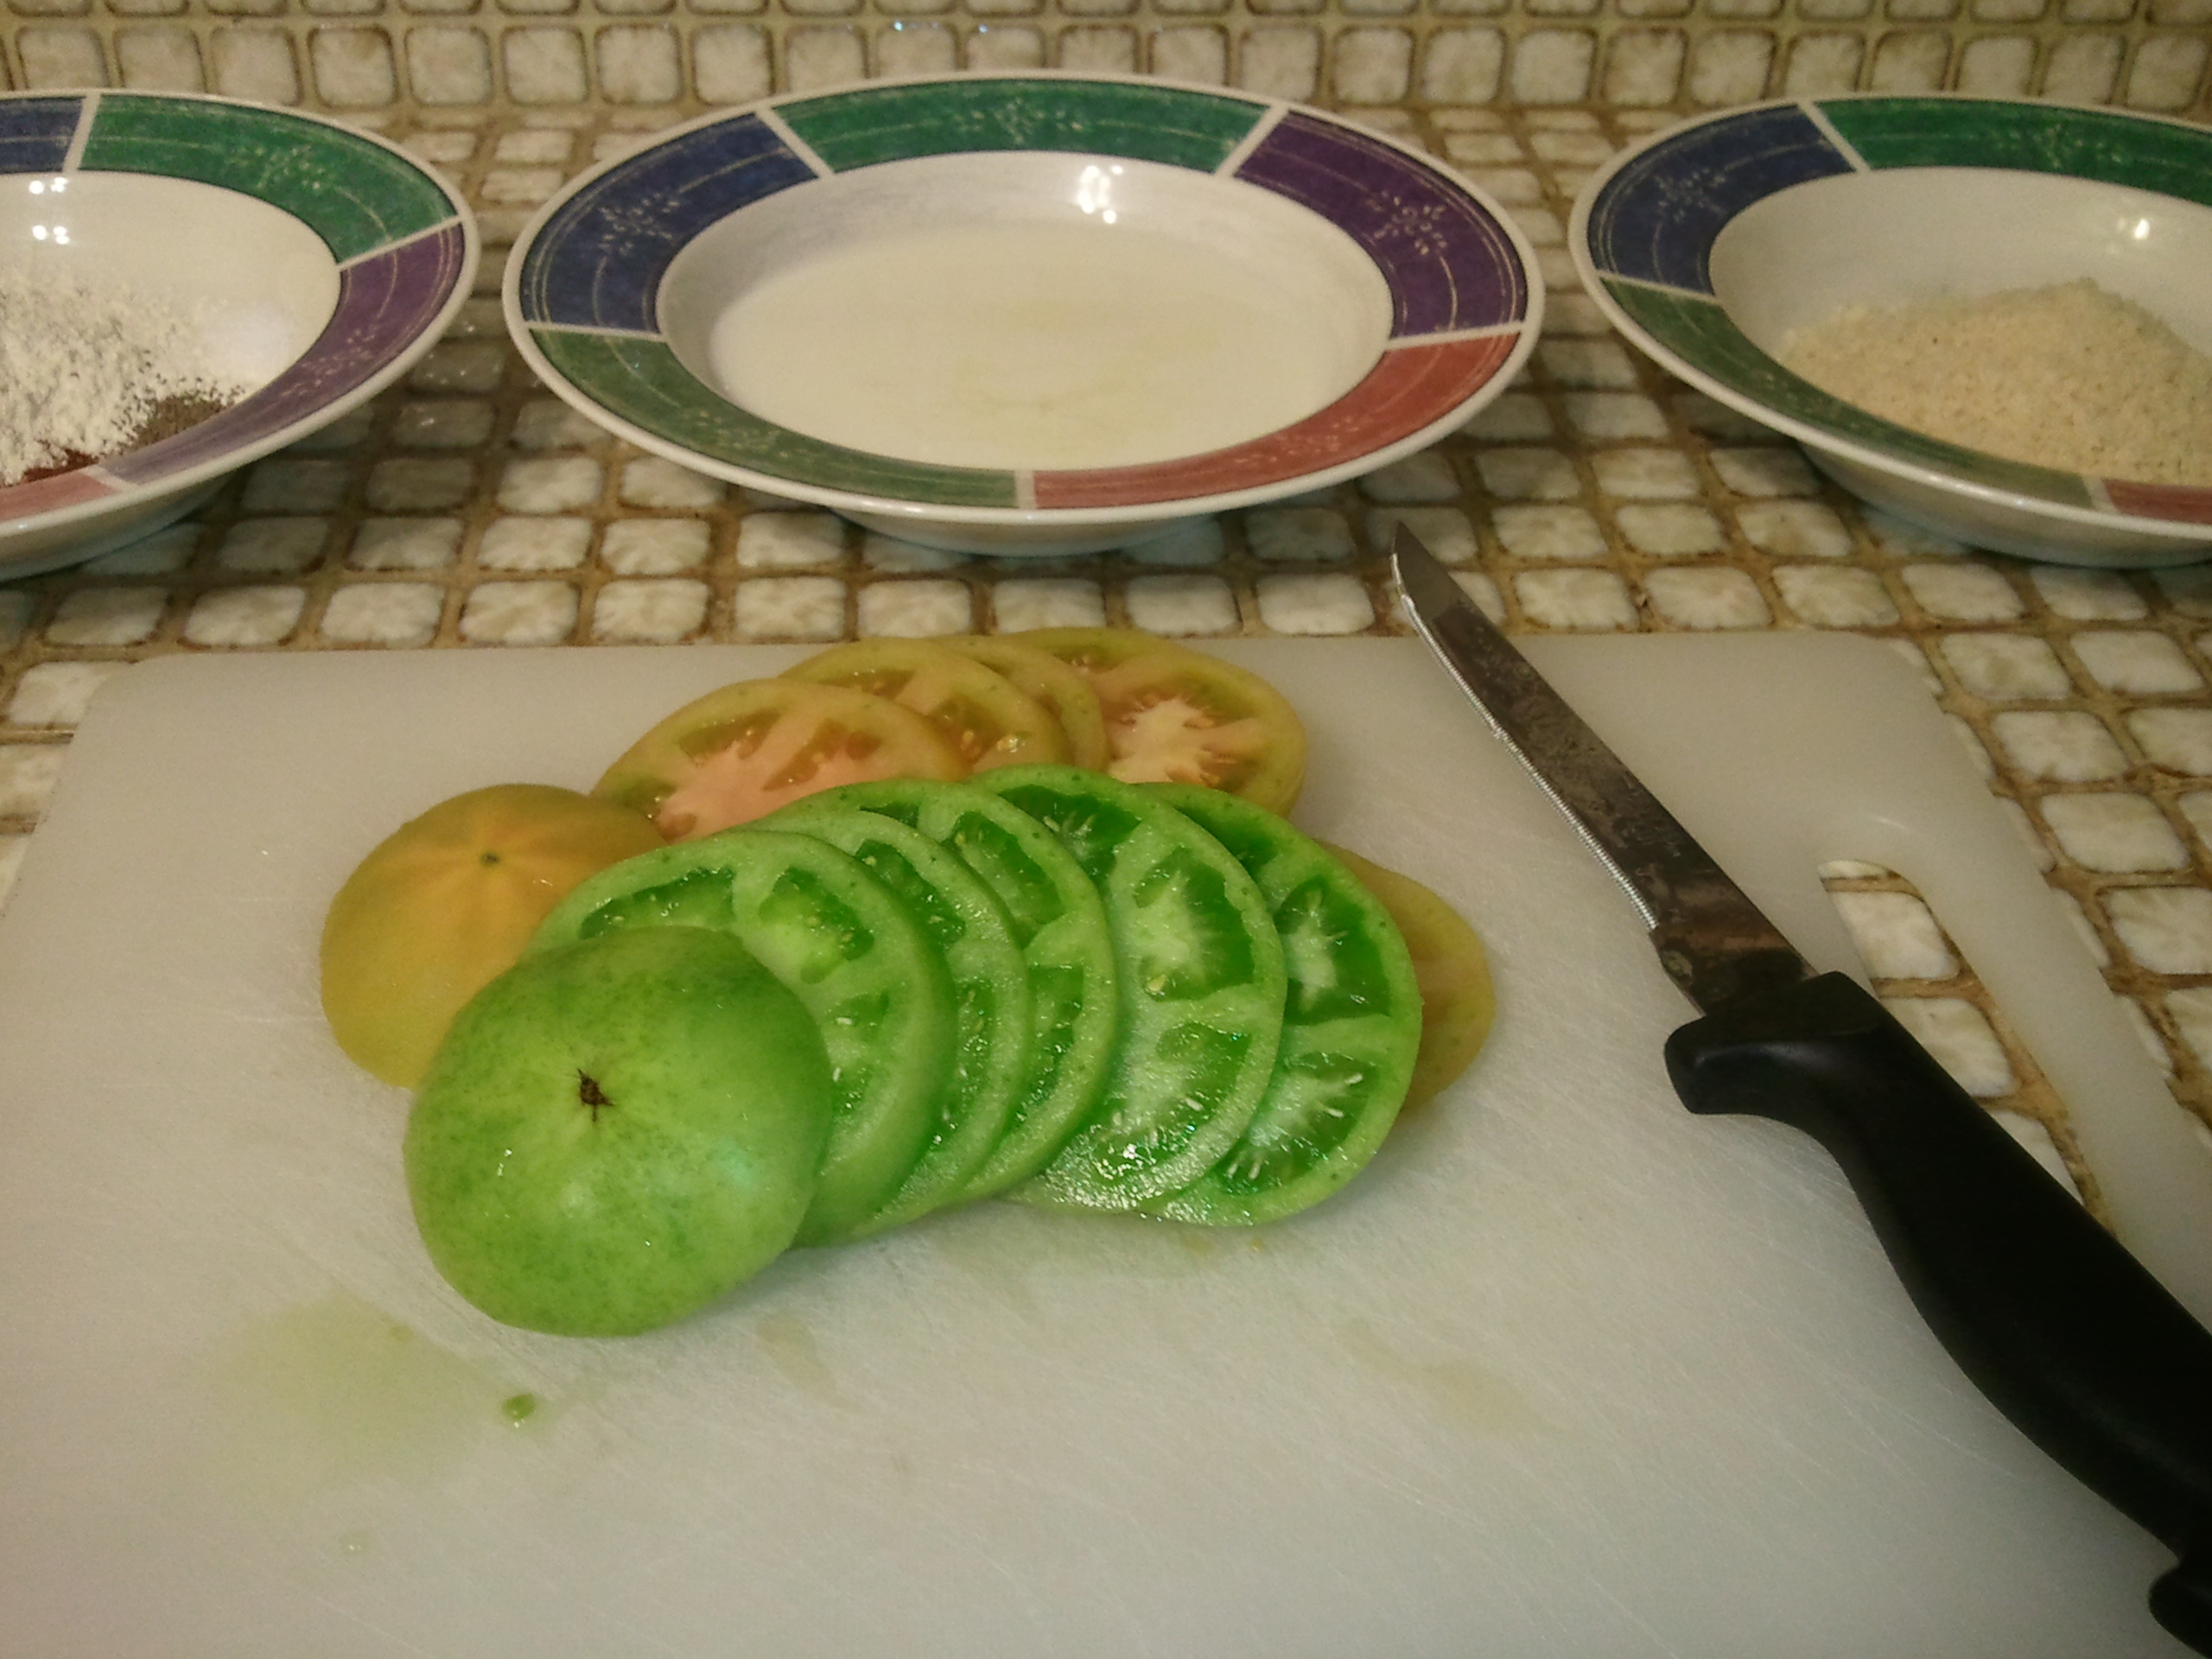
I’ve been hankering for a good pumpkin cookie. I’ve made some in the past, but they were cakey and a little wimpy in flavor. I wanted a cookie, not an unfinished whoopie pie. A crisp cookie. Something to give my classic Toll-House cookie a run for its money. So I wandered around the web and stumbled onto this chick Sally who had gone on a similar journey. Sally says “pumpkin can replace the eggs.” WHAAAA? This was crazy talk. I did a little more googling, and sure enough, a number of vegan sites suggest pumpkin as an egg replacement (1/3c pumpkin puree ~ 1 large egg).

SAMSUNGSo why reinvent the wheel? I took my classic Toll-House recipe and dropped the egg for some pumpkin. Because it’s pumpkin, I added a dash of classic fall spices (cinnamon, nutmeg, and the like). I had bought some toffee bits on a whim, and they sounded like they might be good in there. But you know what, I tasted the batter after adding the toffee and thought it a tad too sweet, so I tossed in a just a handful of dark chocolate chips to cut the sweet. Genius, if I do say so myself!

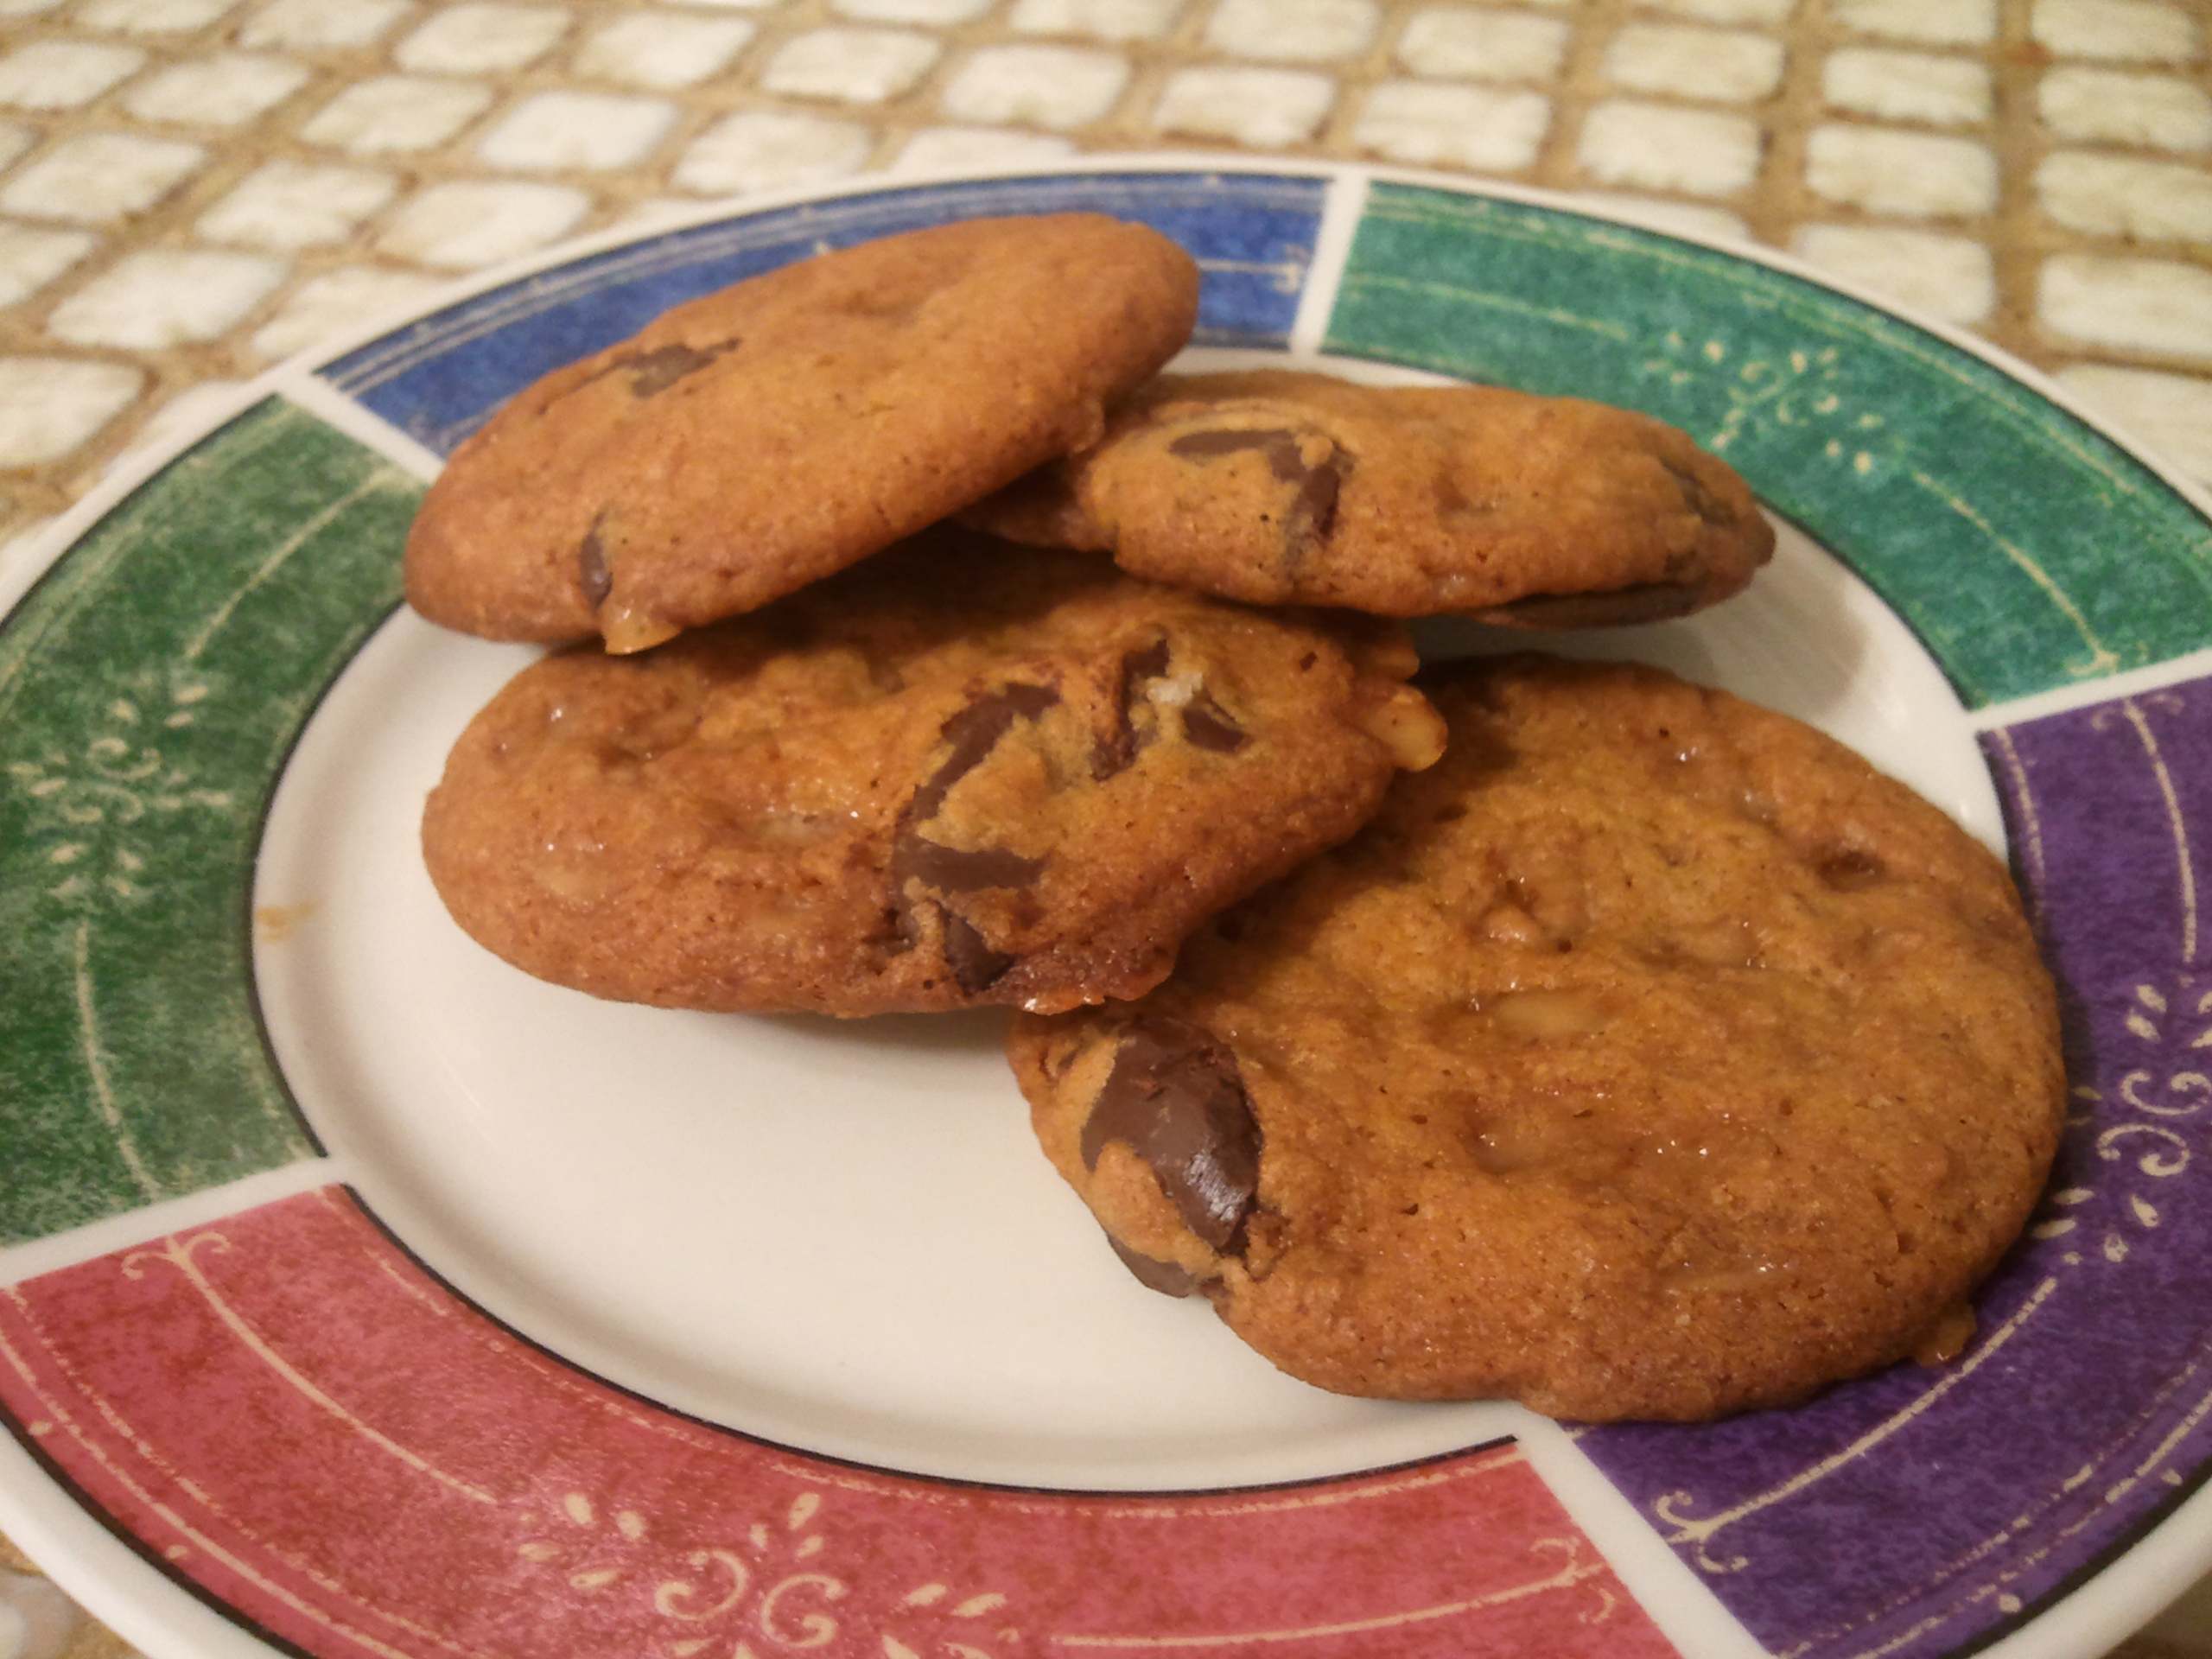
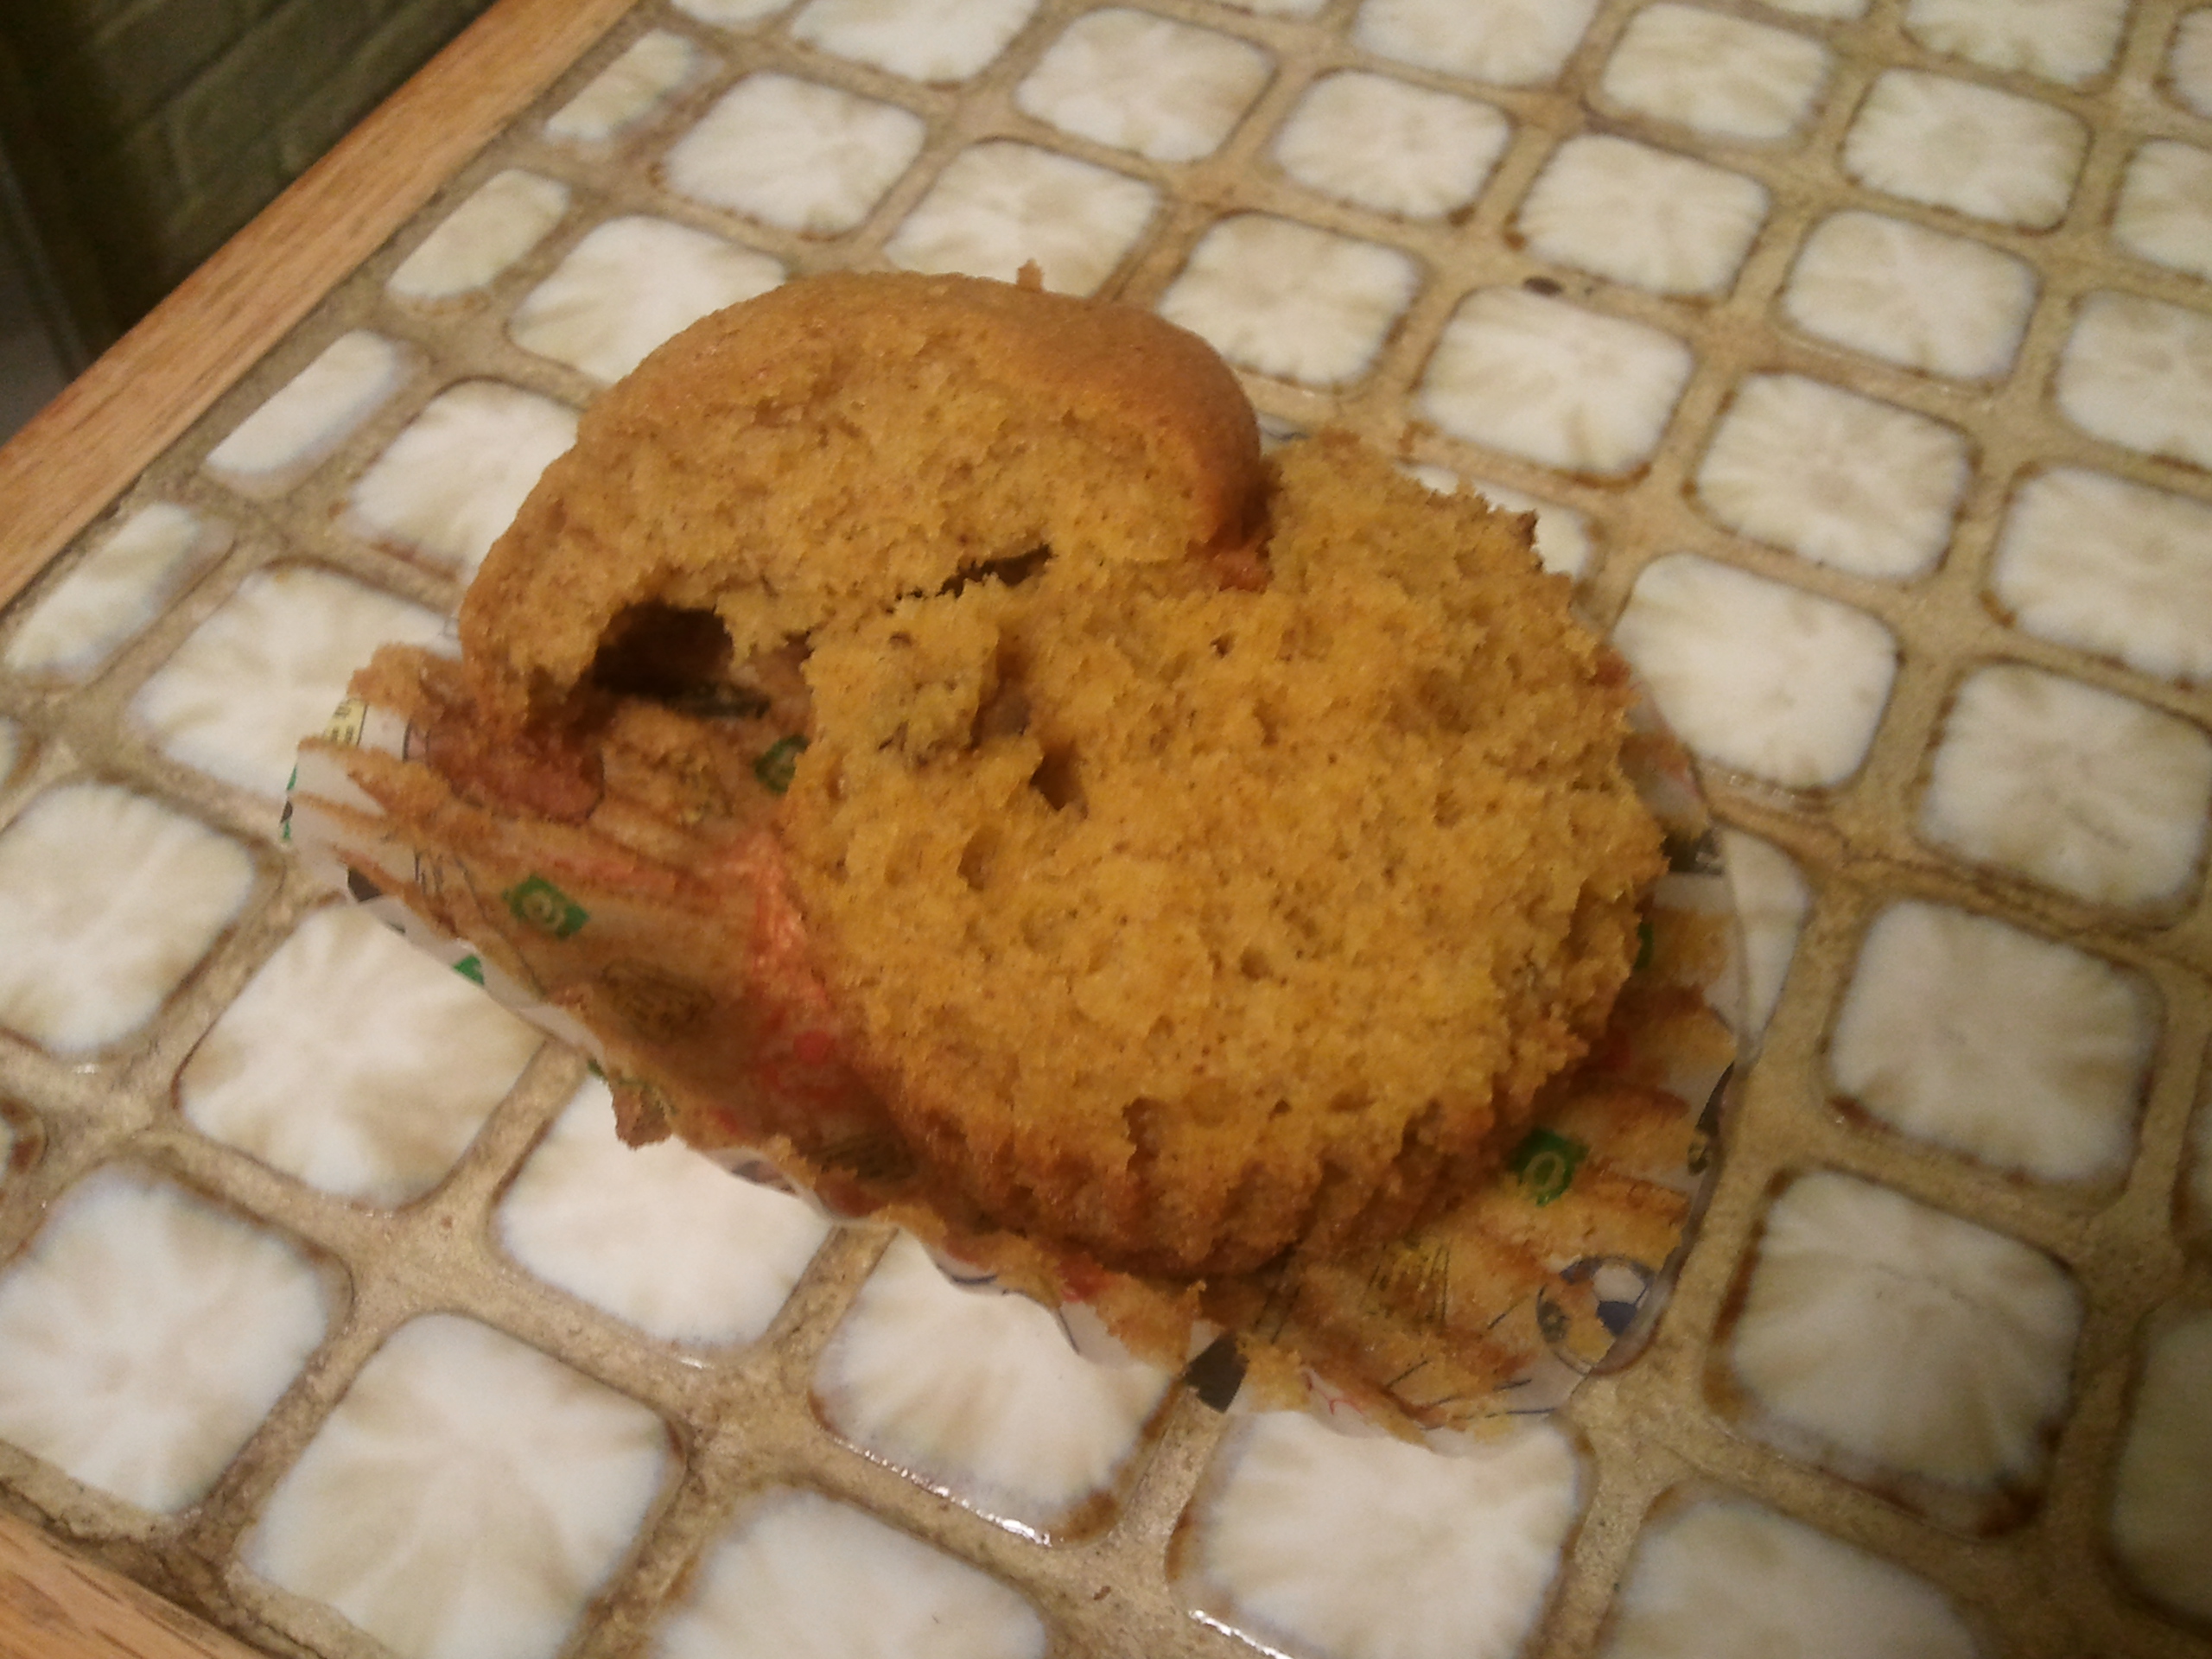
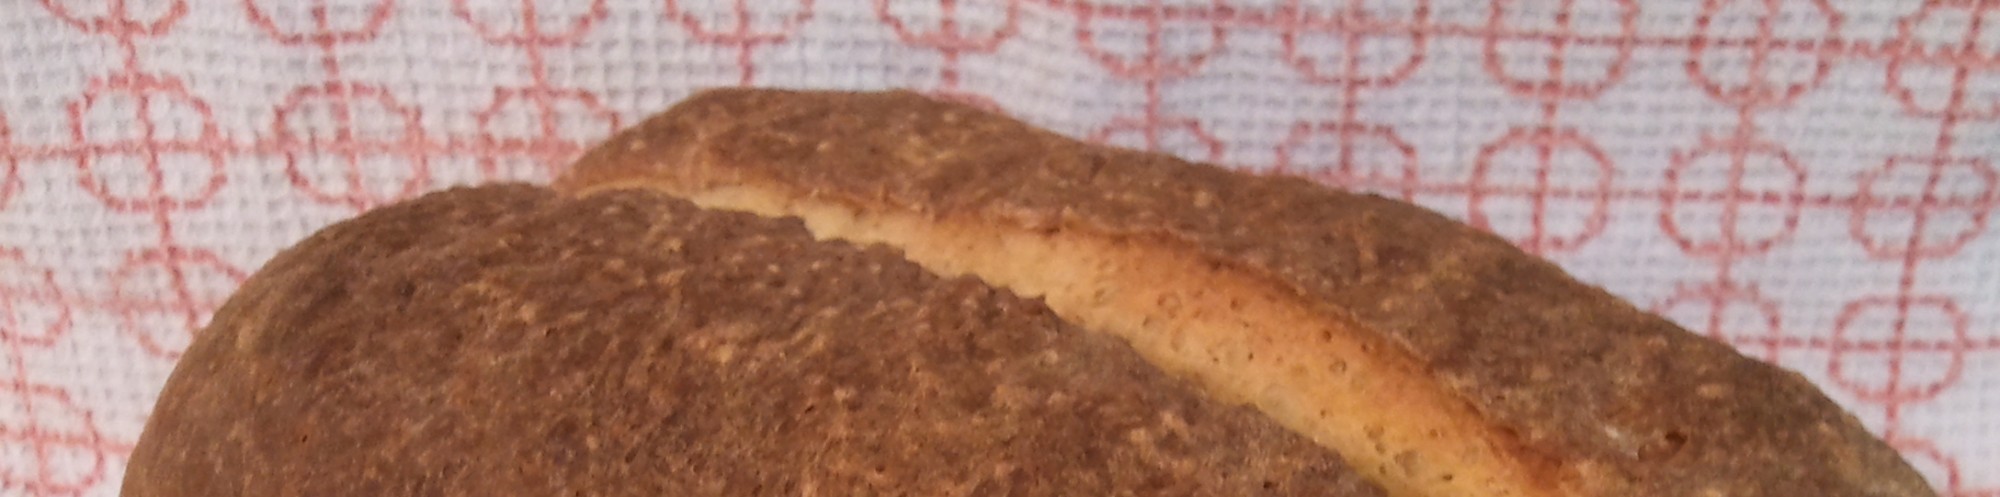
These are honest-to-goodness COOKIES. Crisp on the edges, chewy in the center. The pumpkin is subtle, but there. The bitter of the dark chocolate not only tempers the sweetness of the toffee but enhances the earthiness of the pumpkin. The spices are subtle, and besides, cinnamon and chocolate are an ancient pairing. This cookie is worth adding to your fall repertoire.

Pumpkin-Toffee-Chocolate Cookies
Makes about 2 1/2 dozen cookies

SAMSUNG1 stick unsalted butter, melted and cooled to room temperature
1 cup plus 2 tablespoons unbleached all-purpose flour
1/2 teaspoon baking soda
1/2 teaspoon salt
2 teaspoons “baking” spice mix
3/4 cup granulated sugar
1/3 cup canned pumpkin
1 teaspoon vanilla
2/3 cup toffee bits
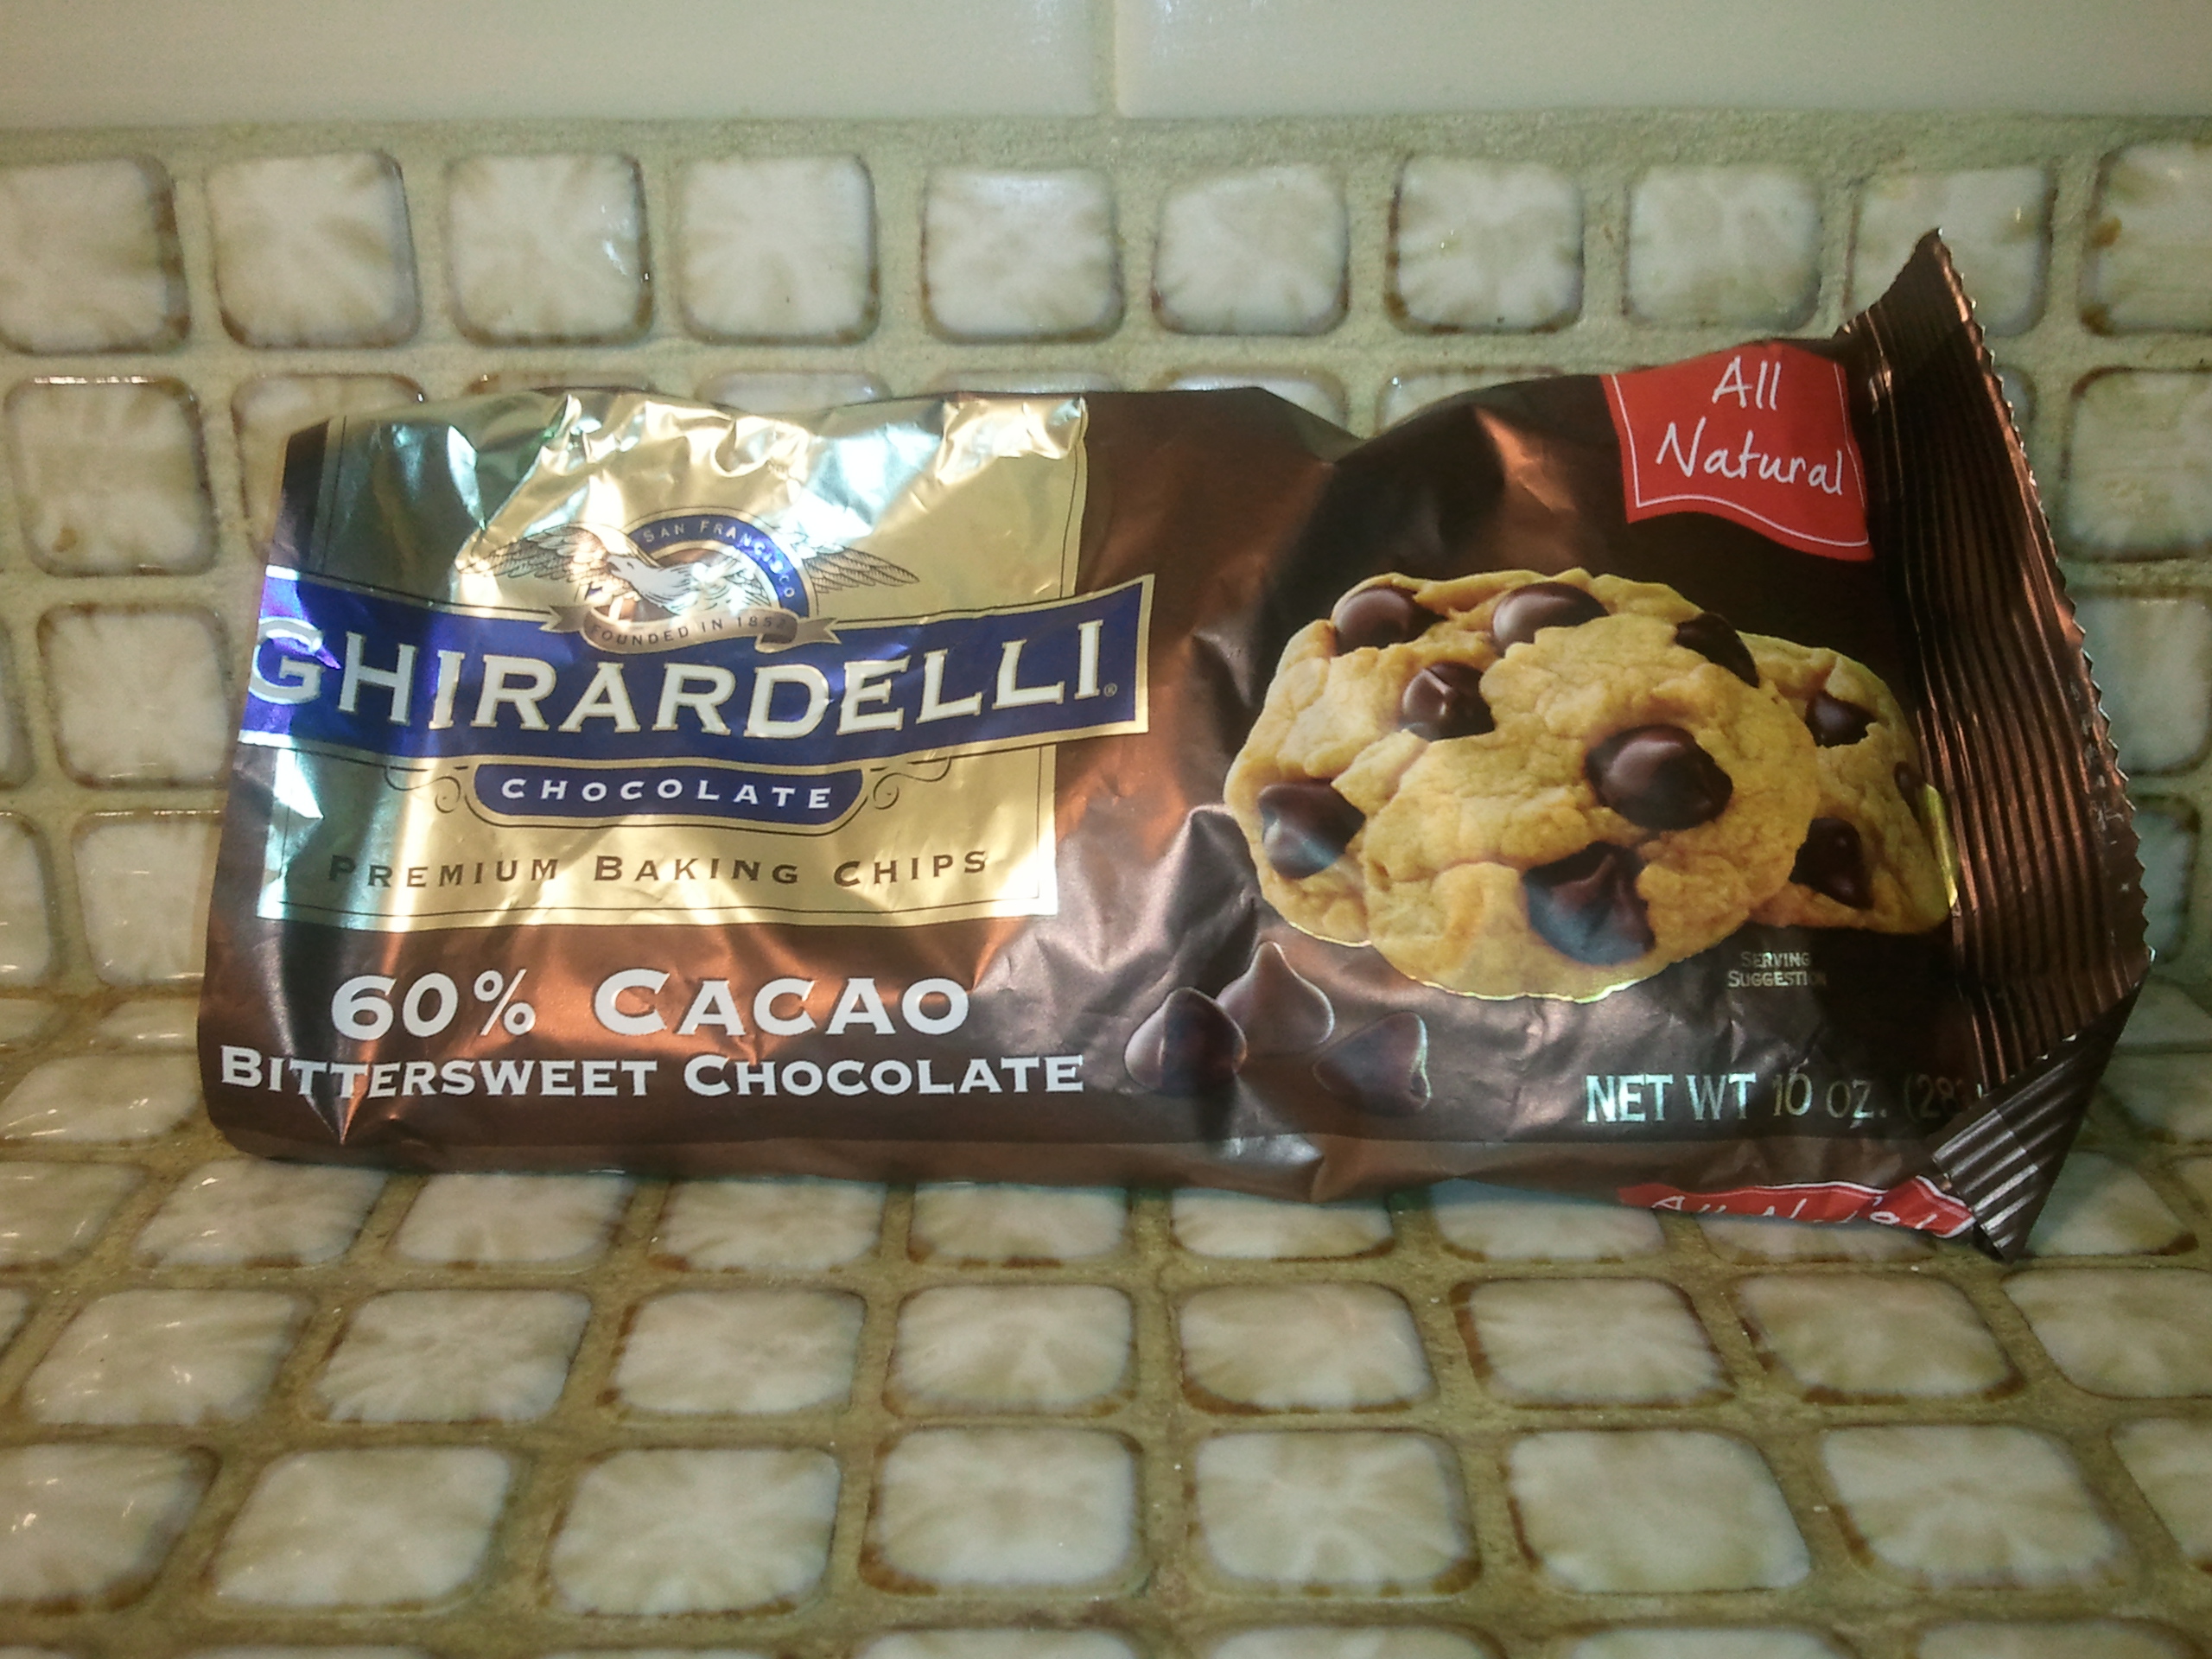
1/2 cup dark chocolate chips

Preheat oven to 375F. Line two baking sheets with parchment paper.

Gently melt the butter. I like to use a 2-cup Pyrex cup in the microwave: 30 seconds @ 50% power a couple of times with a swirl in between, 20 seconds @ 40% power, remove. Allow to cool to room temperature.

Whisk together the flour, baking soda, salt, and spices in a medium bowl. Set aside.

Pour the butter over the sugar in the bowl of a stand mixer fitted with the paddle attachment. Beat on low for about a minute. Scrape the paddle and sides, then let the butter and sugar hang out for about five minutes to better dissolve. Then, beat on medium-low for a couple of minutes until fully mixed. [NOTE: You could probably do this by hand with a wooden spoon and good arm muscles]

Add the pumpkin, mix until fully incorporated. Add the vanilla, mix until fully incorporated.

Add the dry ingredients slowly with mixer on low (I added in three increments), scraping frequently. Don’t overmix! Add the toffee and chocolate. Mix with the mixer about 3 rotations of the bowl — then stop and finish by hand.

Use a cookie scoop (mine is a generous tablespoon — probably about four teaspoons) to place eight scoops on a parchment-line cookie sheet. You need some room for spread. Put ONE cookie sheet in the oven, cook 6 minutes (set the timer!), rotate the pan, and cook for another 3 to 5 minutes.

Pull when the cookies look a bit underdone — there will be carryover cooking as you allow them to cool on the cookie sheet before moving to waxed paper on your countertop to fully cool.

Serve with ice cold milk, of course!

SAMSUNG

SAMSUNG

Best Pumpkin Muffins Ever

Both of my grandmothers were AMAZING Southern cooks (my mom is pretty good too). You know, I think my grandmothers saved their absolute BEST stuff for when us grandkids visited. So, yes, I might have had dessert at all three meals when I visited them. Drove my folks nuts, but you know, Grandma’s House, Grandma’s Rules.

SAMSUNGSo in my current pumpkin obsession, I got a hankering for pumpkin bread. My mom makes a lovely one, so I pulled out my trusty plaid Better Homes and Gardens New Cookbook (circa 1953), thinking that’s where her recipe was, but no luck. No Pumpkin Bread. So I reach for HER mother’s recipe box, the one that my sister graciously saved for me when they were cleaning out the house after my grandfather (who survived my grandmother) died. It is one of my prized possessions. Sure enough — a recipe titled Pumpkin Bread — score! I still need to find out if this is Mom’s or not :).

I read through the recipe, and the ingredients were all basic pantry items that I had on hand. But I was a little puzzled by the yield: one bundt pan and a small loaf pan, or, two medium loaf pans. How many muffins would that be? I headed over to one of my favorite blogs for a sanity check and decided that my grandmother’s full recipe would yield about 24 muffins. Since I didn’t have a full can of pumpkin any more, that meant a half recipe (rant: did pumpkin cans shrink? They hold less than 2 cups now).

SAMSUNG
So I turn the recipe card over, and find this note about the recipe’s source in her oh-so-recognizable cursive: “She wraps this bread in foil to store. It stays moist and keeps a long time, unless hungry grandchildren find out it is on hand.” I almost bawled — it’s like she had written that hoping I would find it years later. It was a moment.


So I follow her recipe pretty much as is, except that I like raisins and nuts in mine. A couple of hints about those. If your raisins are a little firmer than you like, soak them in some hot water to plump, then drain well before tossing in the batter. Also — I highly recommend toasting the walnuts before you toss them in. Nuts in wet batter just don’t develop as full a flavor. Toasting also helps them stay crunchier!

These really are the best pumpkin muffins ever. There’s a strong pumpkin flavor – no guessing about what kind of muffins! They are moist and not too sweet. The perfect accompaniment to your mid-morning coffee. Truly.

Best Pumpkin Muffins Ever
Adapted from a recipe from Erma Payne, who got it in 1970 from Mrs. Whitisell, Leawood, KS
Makes about 16 standard muffins

SAMSUNG1 3/4 cups unbleached all-purpose flour
1 teaspoon baking soda
1 teaspoon salt
2 teaspoons “baking” spice mix [*]
1 cup canned pumpkin
1/2 cup (1 stick) unsalted butter, melted and cooled slightly
2 large eggs
1 1/2 cups sugar
1/3 cup water
1/2 cup raisins
1/2 cup toasted walnuts, cooled and chopped

Preheat oven to 350F. Line 16 muffin tins with paper liners. Keep a couple extra on hand in case you can stretch it to 18.

Sift dry ingredients together in a large bowl. Separately, mix the pumpkin, butter, eggs, sugar, and water together. Pour the wet into the dry and mix until almost all of the flour is incorporated. Add the raisins and nuts and incorporate — but don’t overmix!

Fill the muffin tins about 2/3 full with batter. Bake at 350F for about 25 minutes, or until a wooden pick or cake tester inserted in center comes out clean. I would check at 20 minutes and then at 3 to 5 minute intervals thereafter.

SAMSUNG SAMSUNG SAMSUNG


[*] This is a cinnamon-based spice mix that includes such things as ginger, nutmeg, mace, cloves, and/or allspice. Sometimes labled “Pumpkin Pie Spice” or “Apple Pie Spice”. Mine contains cinnamon, mace, anise, and a touch of cardamom.

SAMSUNG

Double-dippin’

So one of our colleagues was getting married. Our office is ALWAYS up for a party, so we planned a pot-luck to wish her and her intended well in their new life together (I know it’s old-fashioned, but they weren’t cohabitating, so it really was a new life TOGETHER). We had main dishes and desserts covered, so I offered to bring an appetizer.

The bride-to-be is a flexitarian but mostly vegetarian, so I wanted to bring something that was meat-free. Also, we have a culturally diverse workforce with many dietary constraints, so going meat-free also allowed the widest possible sampling. I hoped to make two dips, one vegan and one with dairy. Not hummus.

The vegan was easy — a white bean dip. No need for dairy, no need for honey … consider it DONE. My little twist: using pan-charred garlic.

As for the dairy dip, I’ve been a little obsessed lately with pimento cheese. There are a couple of decent supermarket brands, but they are EXPENSIVE, so it feels like a splurge. But c’mon, isn’t it just cheese and mayonnaise and some red pepper? So when America’s Test Kitchen Feed posted a well-described amazingly-simple recipe for pimento cheese, well, I had to take it and improve upon it (of course).

Pan-charred Garlic

This is an alternative to the oh-so-time-consuming oven-roasted garlic. No added oil and takes as little as 10 minutes.

Throw some cloves of garlic, still in their skin, in a dry pan over medium heat. Shake and flip occasionally, until the skins are charred and starting to slip off. Allow to cool slightly, then slip the cloves out of the skins. Refrigerate any you don’t use immediately. Probably okay for 5 – 7 days (guess).

  SAMSUNG SAMSUNG SAMSUNG


Garlicky White Bean Dip

SAMSUNG1 can cannellini beans, rinsed and drained well
3 cloves pan-charred garlic
Generous squirt of lime juice
Leaves from a few sprigs of thyme
1/8 teaspoon ground chipolte (or cayenne)
Kosher Salt to taste
Fresh ground black pepper to taste
1/4 cup extra-virgin olive oil

SAMSUNG

This couldn’t be easier. Throw it all in the food processor. Process until smooth. Put it in a pretty bowl and garnish with some thyme twigs (see the image at the top). I’m embarrassed to call this a recipe.

Serve with sturdy dippers — like crackers or pita chips.


Spicy Pimento Cheese
Adapted from a recipe from America’s Test Kitchen

SAMSUNG6 ounces block sharp cheddar cheese
3 – 4 ounces block pepper jack cheese (depends on your tolerance for spicy)
4 tablespoons chopped pimientos
2 tablespoons mayonnaise
2 tablespoons sweet pickle juice
Squirt or two of lime juice
1 teaspoon Worcestershire sauce (optional) [*]

Shred your cheese by hand grater or in your food processor. Do NOT use pre-shredded cheese! The texture won’t come out right because that pre-shredded cheese is coated with stuff so it won’t stick together in the ziploc bag. I adore pre-shredded cheese for a bunch of other applications, just not THIS one.

Dump the now-shredded cheese into a medium-sized bowl. Add the rest of the ingredients. Start stirring with a fork. It will look awful at first. Keep stirring. Don’t add more mayo. Don’t add more pickle juice. Keep stirring. Suddenly — it will look perfect. STOP STIRRING. You don’t want to completely pulverize the cheese. Don’t panic if it looks a little loose … it improves after a few hours in the fridge and will firm up beautifully.

SAMSUNG SAMSUNG SAMSUNG

How to serve:

  • Put it in a pretty bowl and serve with saltine crackers
  • Spread on white bread and eat it as a sandwich
  • Spread it on buttered bread and make a grilled cheese sandwich
  • Smear it on a hot dog
  • Embed a gob within a raw hamburger patty and grill
  • Eat it straight from the fridge with a fork, at midnight

SAMSUNG

 [*] Worcestershire sauce is traditionally made with anchovies. There are vegan varieties available.

SAMSUNG

Hot Toddy Season!

There’s a definite nip in the air! Living in the DC metro area, we do have actual seasons, although the switch from one to the next is rarely well-defined. I’ve turned the furnace on, but will have to turn it off again since we have a predicted high of 70F for Halloween Day. Changing seasons inspire a change in cocktails, and have I got a versatile cold-weather stand-by. I’ve served this to crowds, heating the cider on the stovetop (the scent warming the entire house), or served it to just myself, heating the cider in the microwave.

For the rum, I am currently obsessed with the Gosling’s Black Seal Bermuda Black Rum (used in the Dark and Stormy). I especially like the caramel notes in this rum — works especially well with apples. But any full-flavored dark rum would work well.

Any unfiltered apple cider would work nicely here, but I am fond of Trader Joe’s Spiced Cider. The right balance of cinnamon, nutmeg, and citrus — they already did the work for me (also delish cold without the rum).

SAMSUNGRummed-up Spiced Cider

2 – 4 tablespoons of dark rum
Enough spiced cider to fill the mug
Cinnamon Stick


SAMSUNG

Put 2 – 4 tablespoons of rum in a mug. Separately, heat the cider in the microwave or on the stovetop to a near boil. My little secret: while the cider is heating, gently rasp some of the cinnamon into the mug with a microplane (yes, there’s already some cinnamon in the cider, but the freshly ground cinnamon adds a nice warmth). Pour the hot cider into the mug, stirring with the cinnamon stick.


I gotta remember to take this down in a thermos the next time I’m fishing for Rockfish in the brutal November wind on the end of our community’s 450′ fishing pier!

SAMSUNG

Standard caveat: This is a personal recommendation. Neither Gosling’s nor Trader Joe’s know I exist and has provided neither product nor compensation for this endorsement. In fact, they’ll probably sue me if this ever gets in a search engine.

SAMSUNG

Dessert or Breakfast?

This cooking adventure was inspired by my sister-in-law, Liz. She posted on Facebook all about her and my nephew making a apple clafoutis. Now, I have heard of clafoutis, and even looked up a recipe or two, but I was always a little intimidated by the number of eggs (as many as six!) and the use of half-and-half or cream. Not that I’m opposed to eggs or cream, but I really wanted to find a recipe that was a little lighter on the eggs and used low-fat milk, so that I didn’t have to make a special trip to the store if I got in the mood to make one.

Traditionally, clafoutis is rustic French dessert made with dark cherries. I think it gets a different name (flognarde) when you use other fruit, but I’m going with clafoutis because it’s more familiar to folks. Fancy French words aside, this is a baked custard and fruit delight! Served warm, perhaps with a dollop of lightly sweetened whipped cream or a dusting of powdered sugar, it would be a lovely end to any dinner party. Served cool or room temperature the next day, it could grace a brunch table. But it’s also rustic, and we were happy to eat it a bit too warm with a spoon and gobbled it up cold the next day for breakfast!

Mixed Berry Clafoutis
Adapted from Apple Clafouti – a Recipe from a French Girl

SAMSUNGA teaspoon or so of softened butter
2 1/2 to 3 cups mixed fresh berries (I used raspberries, blackberries, and blueberries)
2 tablespoons creme de cassis
1/2 cup sugar
3 large eggs
1 cup low-fat milk
4 tablespoons butter, melted and cooled slightly
1 teaspoon vanilla extract
2/3 cup unbleached all-purpose flour
2/3 cup sugar
1/4 teaspoon salt

Preheat oven to 400F. Set a rack in the center. Smear the softened butter evenly on the bottom and sides of a 9″ pie plate.

Rinse and drain the berries well. Mix the berries with the creme de cassis and 1/2 cup sugar in a bowl and allow to macerate (hang out) while you prepare the rest of the dish.

Put the remaining ingredients (eggs through salt) in the food processor and whir until completely smooth. You may use a blender, but be sure to scrape down the sides frequently. My sister-in-law uses a whisk and does it by hand!

Pour about half of the batter into the prepared pie plate. Gently spoon the berries over the batter, making sure that the different types are evenly distributed. There will be a little juice/liqueur in the bottom — just drizzle that over. Pour the remaining batter over the berries.

Put the nearly-overflowing pie plate in the oven. Cook for about 30 minutes until golden brown on top and the center is JUST set (check it at 25 minutes). Also, I like to rotate the plate about halfway through the cooking time.

Remove and allow to cool on the counter until warm. I cut this one just a hair too soon — notice how the center is still a little loose? Refrigerate any leftovers.

SAMSUNG SAMSUNG

SAMSUNG

Another winner from Bogle!

After that amazing Bogle Phantom a few weeks back (which I now wish I’d bought more of), and a stretch of cool weather, I had zinfandel on the brain. When I came across this Bogle Old Vine Zinfandel (2011), I knew I had to try it. At $12, this wasn’t a bargain wine, but it also wasn’t a total splurge.

This is a pretty classic zinfandel. Rich, fruity, gorgeous color. I drank it over several nights, and it actually improved over the first night. I’ll probably try to grab a bottle or two the next time I see it. But you know what I really have my eyes peeled for: this year’s Bogle Phantom!

SAMSUNG

Update: I visited my local TJ’s last night, and the Bogle Phantom has come and gone already for the year! Oh no!

Update 2: I am slightly obsessed. A little googling, and I managed to chase it down at the Alexandria Total Wine! Will post on it in within the next couple of weeks, promise :)

SAMSUNG

Green Tomato muffins … who knew?

I had two green tomatoes in the fridge. While I **love** fried green tomatoes, well, they are a bit time-consuming. And probably not the heart-healthiest way to prepare a savory side. So as I looked at these two lonely orbs, wondering how I might prepare them, I did a little googling. I found a number of recipes for green tomato pie — but I didn’t have nearly enough tomatoes. I saw a number of recipes for green tomato cake, but none really grabbed me, for multiple reasons.

So I thought to myself, how different is a green tomato from rhubarb, in terms of tartness? Why not give my rhubarb muffin recipe a try, subbing out the rhubarb for tomato? (if it’s a total flop, I’m not wasting alot of ingredients) I like that muffins are already pre-portioned, and, I think muffins last longer than a cut cake.

The CGP proclaimed the muffins a success! He said he wouldn’t have known it was tomato if I hadn’t told him. The bits of green tomato sweeten up in the oven heat and almost melt into the muffin background, similar to the rhubarb. The muffin itself isn’t too sweet, so more of a breakfast choice than a dessert. I have loads of cherry tomatoes that won’t ripen before our first frost — so I bet I can cut those in halves or quarters and whip out some muffins!

Green Tomato and Coconut Muffins
Makes six “Texas-sized” muffins

SAMSUNG1 1/4 cup unbleached all-purpose flour
1 teaspoon baking soda
1/2 teaspoon salt
5 tablespoons butter, melted and slightly cooled
3/4 cup light brown sugar, packed
1 large egg
1 tablespoon lime juice
1/4 cup plain, nonfat greek yogurt
1/2 cup chopped green tomato (most of a medium-sized one), heaping
1/2 cup sweetened, shredded coconut
1/2 cup chopped walnuts

Preheat oven to 350°. Line the muffin tin with paper liners, OR, grease them well with solid shortening.

Whisk together the flour, baking soda, and salt. Set aside.

In a big bowl, whisk together the butter, brown sugar, egg, and lime juice. Add dry ingredients with yogurt to first mixture and stir just until moistened. Stir in tomato, coconut, and walnuts. The batter will be very thick!

Spoon evenly amongst the muffin wells. Bake at 350° for about 30 minutes, or until a wooden pick or cake tester inserted in center comes out clean. I would check at 25 minutes and then at 3 to 5 minute intervals thereafter.

SAMSUNG

SAMSUNG

BLT bested by the BFGT (Bacon with Fried Green Tomatoes)

So it’s green tomato “season”. You know, the bushes are slowing down (or maybe you’ve got a frost looming) and so you start to harvest the green tomatoes. As for me, I love a fried green tomato. There’s not much to it … it’s your basic three-dredge fry process. So if you have a little patience and are willing to lose some arm hair to oil spatter, well, it can be done.

Fried green tomatoes are an amazing accompaniment to any Southern meal. They are pretty damn good with steak and eggs at breakfast. But for a truly divine experience, you must layer them with bacon and mayonnaise on a sandwich. Truly divine.

Fried Green Tomatoes

SAMSUNGUnbleached all-purpose flour
Kosher salt
Freshly ground black pepper
Ground chipotle (or cayenne)
Celery Seed
Buttermilk (or milk + lime juice)
Panko bread crumbs
Firm, medium-sized green tomatoes – 1 per person

Prepare three dredge stations:

  1. Flour seasoned with salt, peppers, and celery seed (use your dampened finger to taste for balance)
  2. Buttermilk
  3. Panko bread crumbs

Slice the tomatoes about 1/4″ thick.

Pass each slice through the seasoned flour and gently shake off the excess. Pass each through the buttermilk, ensuring all the flour is covered by the buttermilk. Place in the panko, gently pressing the panko into the buttermilk layer and shake off the excess. Gently set each slice aside on a cookie sheet. Put the cookie sheet in the refrigerator for one hour. Don’t skip this step — this allows the panko-buttermilk-flour to adhere to the tomato and stay adhered in the hot oil bubble bath. I do this for my fried oysters, too — no naked oysters. (many thanks to SteveK for the invaluable refrigeration tip!)

SAMSUNG SAMSUNG

Heat an inch or so of neutral oil in a skillet to about 325F to 350F. Fry off four or five slices at a time, ensuring the pan isn’t crowded and that the slices can move freely. Flip when the first side is golden brown. Cook until the second side is equally lusciously golden and remove to a plate lined with paper towels. Salt lightly.

SAMSUNG SAMSUNG SAMSUNG

Eat ’em while they are hot. My two favorite ways:

SAMSUNG SAMSUNG

SAMSUNG

TJ’s Coconut Water

I don’t remember exactly when coconut water became all the rage — a couple of years ago? I bought a couple of brands from the grocery store. Y U C K. They were bitter. They barely tasted like coconut. I really didn’t get the hype and decided not to waste any more money on the stuff.

Fast forward to this summer. I was wandering around a Trader Joe’s on my way to work, planning to grab a few work lunches and maybe some non-perishables for home. One of the things I like about Trader Joe’s is the sample station. On this day, they were using their coconut water and frozen tropical fruit to make smoothies. I didn’t want a smoothie — I wanted to try the coconut water. So Sample Lady pours me a little dixie cup — and I liked it! I was surprised, based on my previous experience. I could taste coconut, it was lightly sweet rather than bitter, and it was thirst quenching. Wow — maybe THIS is what all the hype was about?

One warning — this is a minimally processed product and highly perishable. You are supposed to use it within two days of opening. I don’t know what bad things happen if you don’t, but we drank it within the window, so I didn’t find out :)

Standard caveat: This is a personal recommendation. Trader Joe’s doesn’t know I exist and has provided neither product nor compensation for this endorsement. In fact, they’ll probably sue me if this ever gets in a search engine.

SAMSUNG

Roasted Shrimp and Tomatoes with Feta

So the summer before last, we planted ONE cherry tomato plant. Just one. The farmer-in-charge refused to do any pruning, so that plant TOOK OVER our tiny garden plot. It’s octopus-like arms grew to a tangle that was 4 feet deep by 8 feet wide. We couldn’t even reach all the fruit, much to the delight of wildlife. I swore NO MORE indeterminate tomato plants ever again!

The following summer (last summer), I planted ONE determinate bush tomato plant. It stayed in its place, we got a few tomatoes, I was happy, except for one thing … these volunteer cherry tomato plants that were sprouting up all over our and our neighbor’s yards! The wildlife had spread seeds far and wide and apparently these tomatoes bred true. So we continued to harvest cherry tomatoes and kept the plants in check when we mowed the grass. No staking — they just grew horizontally.

So this summer, I planted ONE determinate heirloom tomato plant. Again, It stayed in its place, we got a few tomatoes, I was happy, and we’ve STILL got the damn volunteer cherry tomatoes all over the place. We’re getting an even better harvest this year. It’s crazy. And I don’t even LIKE fresh tomatoes!

I love roasted shrimp, so I thought maybe I could use up some of these tomatoes in something not-totally-fresh yet not-fully-cooked. These flavors really do speak to summer, even if I did use the oven instead of the grill.

Roasted Shrimp and Tomatoes with Feta
Serves 3 – 4

SAMSUNG12 – 16 ounces dried pasta (I used penne)
2 cups ripe cherry tomatoes
Extra virgin olive oil
Kosher Salt
Fresh ground black pepper
Dried thyme
Crushed red pepper flakes
1 lb peeled, be-headed, de-veined shrimp (I use 21/25 count)
1 shallot lobe, peeled and sliced thinly
4 – 6 ounces feta cheese, crumbled

Preheat oven to 375F. If desired, line a large sheet pan with foil to aid in cleanup.

Start your pasta! Water-to-boil plus cook-time should just about equal the oven roasting time (fingers **crossed**).

SAMSUNGCut the tomatoes in half and put on a large sheet pan. Drizzle liberally with olive oil, then sprinkle with kosher salt (lightly), fresh ground pepper and thyme (generously), and some red pepper flakes (to taste). Roast until they start to pop and break down (you probably want to move them around or flip them once or twice). Add the shrimp and shallots, tossing all of it together to coat the shrimp and shallots with the seasoned oil and tomato drippings. Continue roasting. Check the shrimp at about 4 or 5 minutes — they should be turning pink and slightly opaque. Flip them over with tongs and cook an additional 3 to 4 minutes. Pull them when they look NOT QUITE done — there will be some carry-over cooking as they rest on the counter.

SAMSUNGDrain your pasta well. Scoop some pasta on a plate, top with some of the roasted shrimp, tomato, and shallot (making sure to get some of the ooey gooey juices too), and then sprinkle with the crumbled feta.

I served it with some simply steamed yellow and green squash, because that’s what they had at the farmstand :)