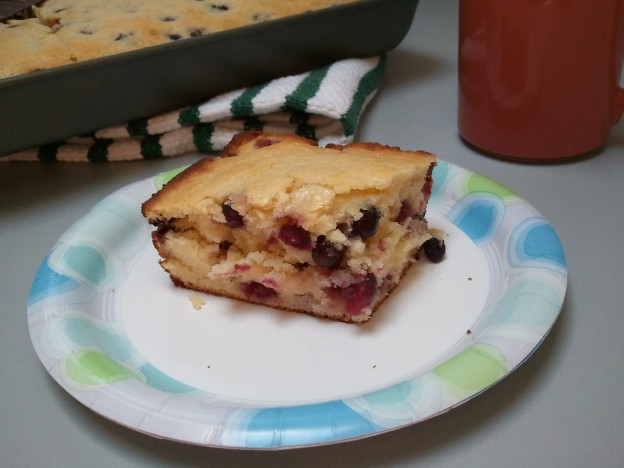
[photo credit: P. Sue Kullen]
So a couple of weekends ago, we made plans to have dinner up on the cliff at a friend’s house. While our cottage has cute peek-a-boo views, the cottages along the cliff have AMAZING 180 degree views of the Chesapeake Bay. So we bribed our way up there by saying we’d cook a hunk of meat if they’d provide a starch and a dessert. Having sampled my husband and my grilling efforts in the past, well, it wasn’t a hard sell — they knew they were in for a treat.
So off I go to Nick’s, my butcher of choice down at the beach. Standing Rib Roast was On Sale. OMG, we love standing rib roast. And everyone we’ve ever served it to now LOVES standing rib roast, too. It’s a beautiful cut of meat — the ribeye steak still on the bone. What’s not to love? So the meat guy and I have a discussion. A whole section is 7 ribs, but that’s too big for my V-rack. He can cut 2, 3, 4, or 5 ribs, or sell me the whole 7. He wants to know how many people I’m serving, I say four, but I want leftovers. He thinks 3 ribs is sufficient — HA!! I hold my hands up in the air, approximately the width of my V-rack, and we decide that’s 5 ribs. So off I march with a 12 pound rib roast. Now I know this will feed 10 – 12 people, easy (okay, 8 if they are Big Eaters), but I really don’t know how many people are coming to dinner, and I really DO want leftovers, because remember, we LOVE standing rib roast. And I won’t have to cook Sun, Mon, or Tues because I’ll keep serving my main carnivore the leftovers.
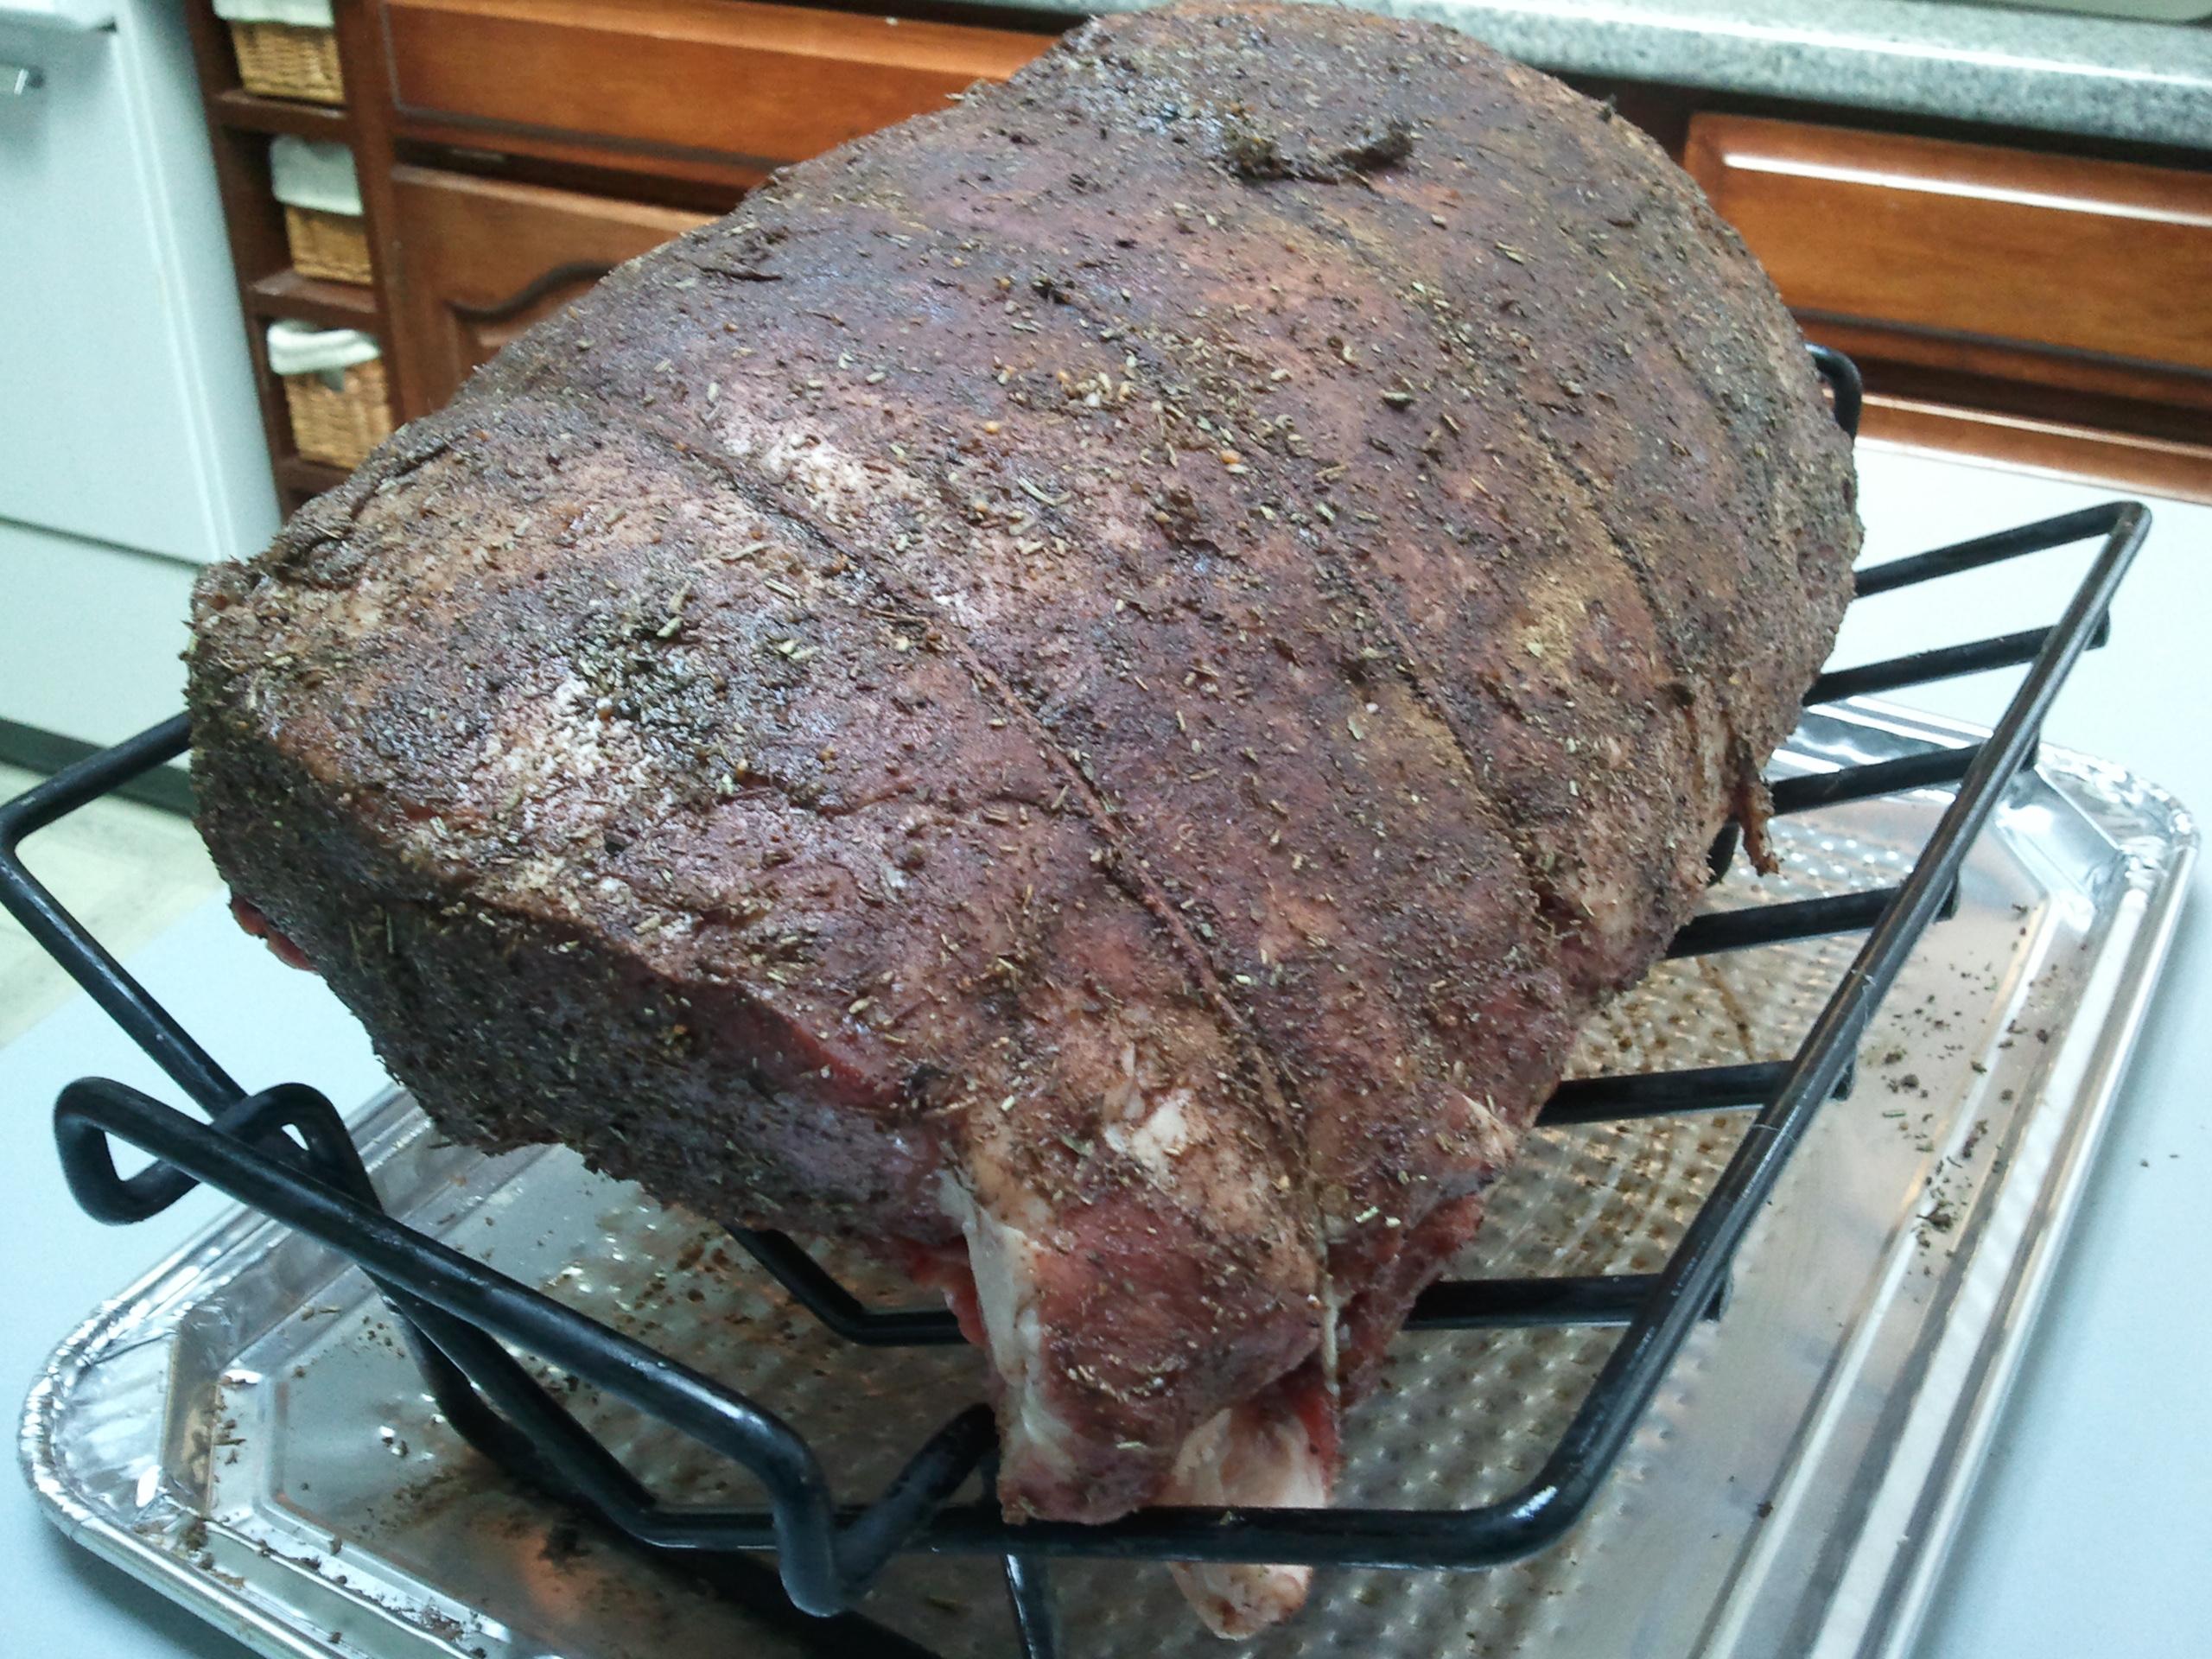
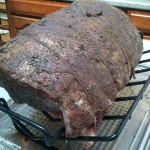
Once we get home, Keith fires up the grill. We are aiming for a nice gentle indirect 350F. Inside, I let the roast rest outside the fridge for about 30 minutes, then rub with extra virgin olive oil followed by a generous dose of spice rub (kosher salt, black pepper, dried rosemary, dried thyme, and dried garlic, ground to a fairly fine powder in a coffee grinder). I place this monster in the V-rack, bones down, fat side up:

Keith has configured our Big Green Egg for indirect grilling with a plate setter. We put the meat on, shut the lid, and begin our clock-watching. As Keith likes to say, “If you’re Lookin’, you ain’t Cookin’!” So we won’t crack the lid until the 90 minute mark. By now, I know I’m serving at least seven, so this beast doesn’t seem quite so gratuitous after all!
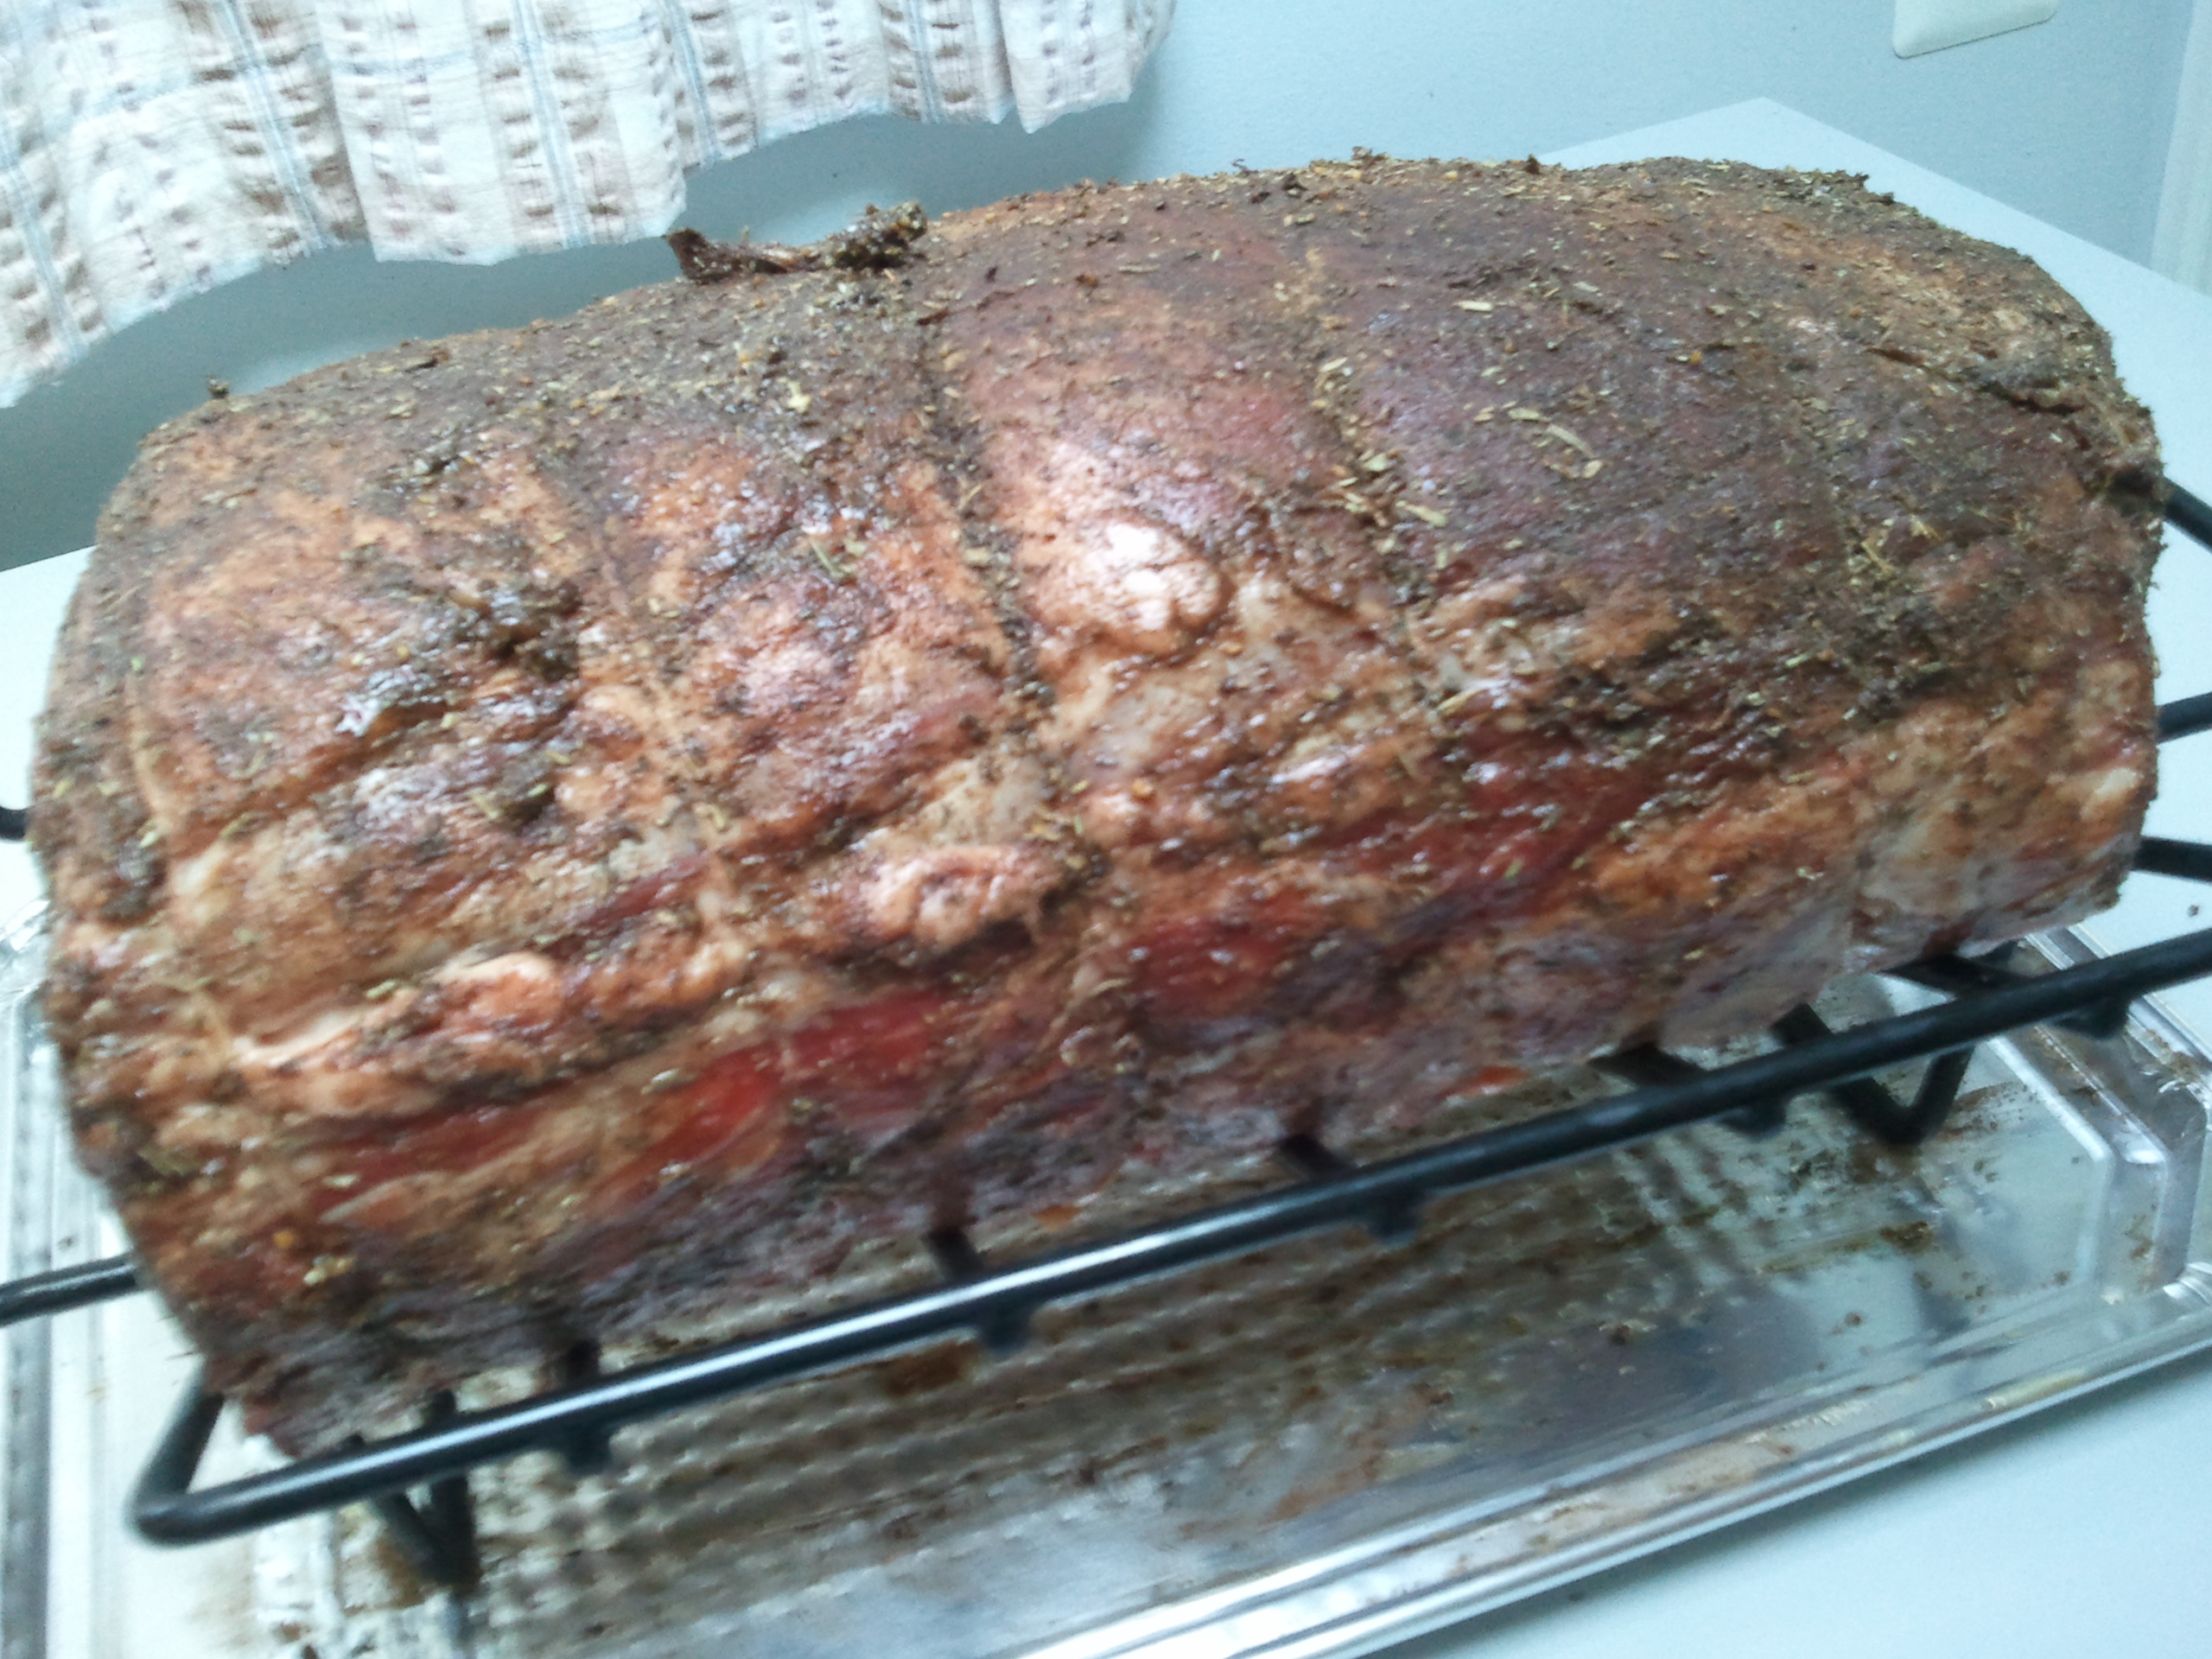
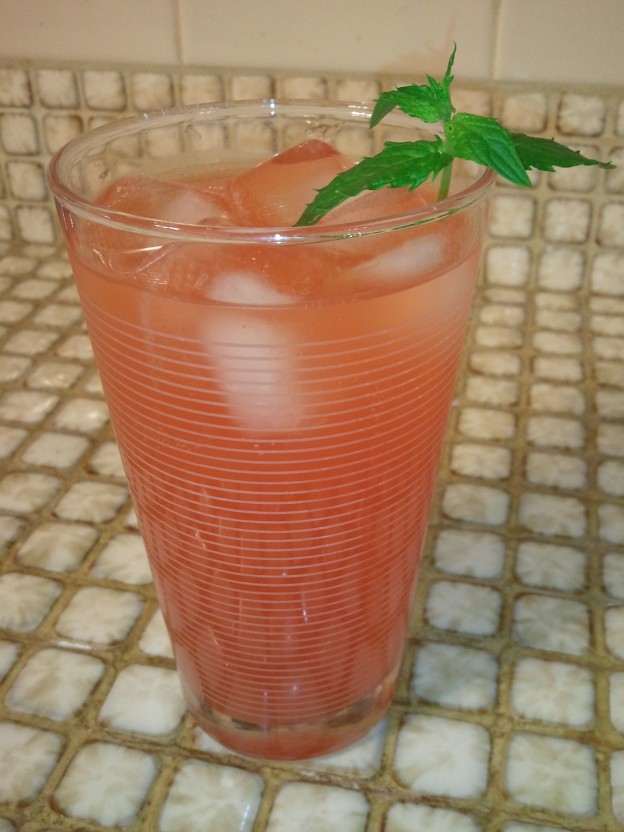
We pop the lid at the 90 minute mark and take the internal temp with my $5 meat thermometer from the grocery store. It doesn’t even register the lowest temp at 130F! No worries — it’s early by my calculations, so we shut the lid and continue drinking the strawberry mojitos I’d mixed to keep us occupied. At the 2 hour mark we check again — barely registering! I’m getting a little nervous, since we’re now 1/2 hour late to the appointed dinner hour, and I still have to grill the romaine lettuce, and oh no we are done with the mojitos. On the other hand, I know that internal temps can JUMP considerably in a short period of time right at the end, so I’m not panicked. About 15 minutes later we check again, and it’s the magic 140F to 145F we were aiming for! I know that sounds pretty rare, but there will be a significant amount of carryover cooking as this beauty rests for 20 or 30 minutes, so we’ll have more done sections at the ends and a mmmm mmmm rare at the center of the roast. Trust me — that’s when you need to pull this.
So we pull it, put the V-rack and all on a cookie sheet, tent with aluminum foil, and he hauls this hunk-o-beef up the hill (he’s an amateur strongman don’t worry about him). I quickly cut the romaine hearts down the center, drizzle with olive oil, kosher salt, and pepper, and place cut side down on the still hot grill (Keith had kindly removed the plate setter so I’m set up for direct grilling). Keep on the grill long enough for marks, flip over, and char the other side. You don’t want to wilt the entire head — just get some color and carmelization. I pull these, tent with foil, and race up the hill.
What a feast! We had potato salad (sour cream!), red cabbage slaw (vinegar not mayo!!), sesame green beans, and roasted beets to accompany the roasted beef and balsamic-drizzled romaine. Our host pulls out a bottle of pinot noir saying we ought to drink red, but this was her only bottle. Keith excitedly asks “Michelle Michelle remember that wine?!?”, reminding me of three bottles of wine I’d been saving for a night of fine food and friends — THIS was the night!
Okay — side note — I was married once before. As part of the amicable division of assets, we had to split our modest “wine collection”. I’ve long since consumed most of what I got, but I had 3 bottles of Dry Creek Vineyard wine hanging around, waiting for the right occasion. I had ’94, ’95, and ’97 Old Vines Zinfandel. These weren’t high-end wines, but I had visited the vineyard in person, and probably carried one of these bottles back on a plane (back when you could), so they held great sentimental value. And I REALLY wanted to drink them all at one time, so I could compare them.
So we drank the wines in a row with this feast of a meal. I was a little worried — because I don’t have proper storage facilities — but the wines had held. The ’94 was amazing. The ’95 was very similar to the ’94, but just a touch more delicious! The ’97 was lovely, but didn’t quite compare to the ’94 and ’95. It is such a treat when a meal and the wine complement each other so well. And the view — OMG — the view! A night to treasure.
Which is why I have so few photos — we weren’t thinking about blogging or Facebook. We were enjoying the company, the food, the wine, the view, the weather … truly a confluence of all the reasons we cook for loved ones.
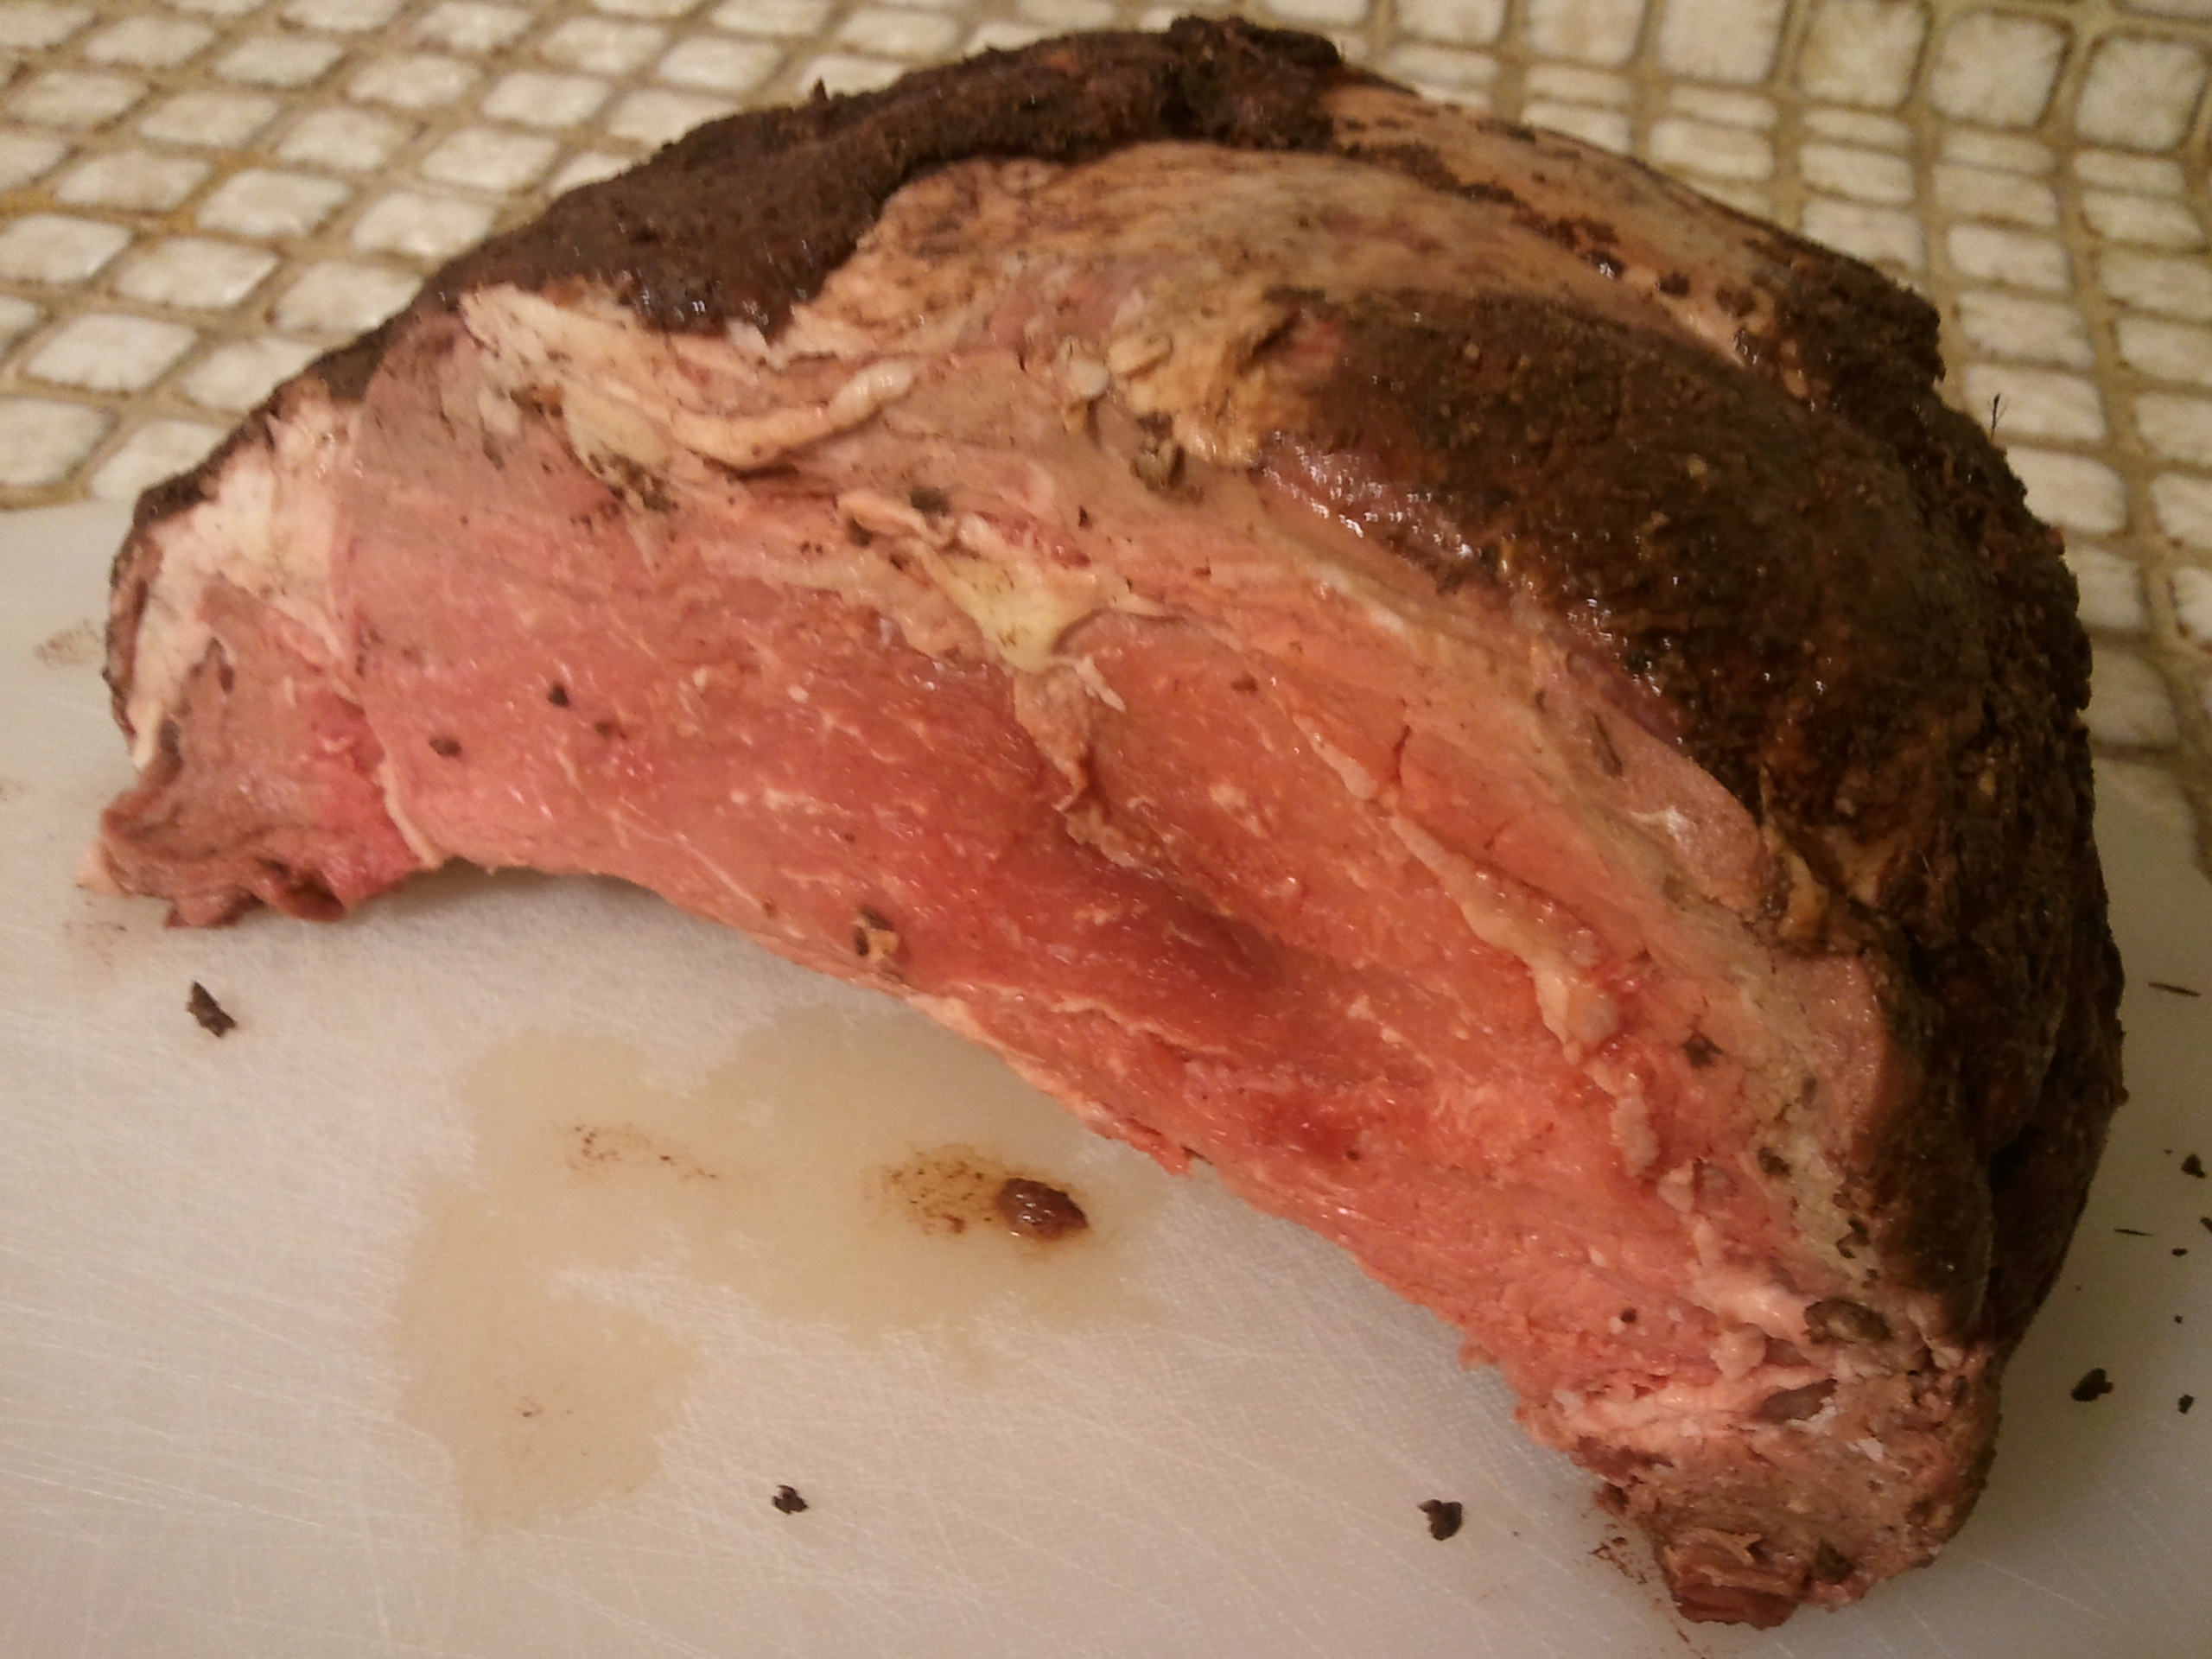
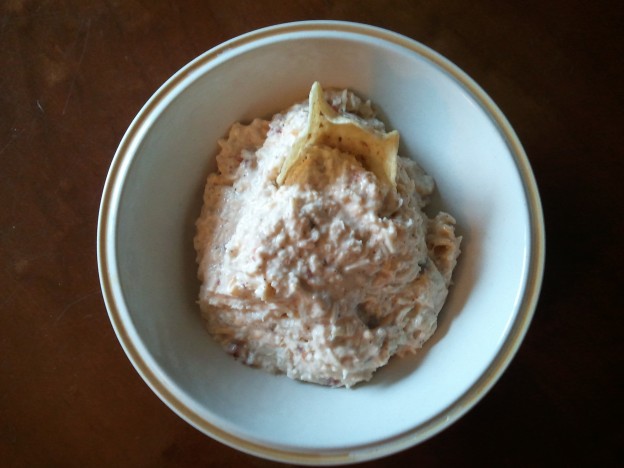
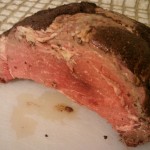
I do have one more quick photo, the leftovers we had back at the brick house:
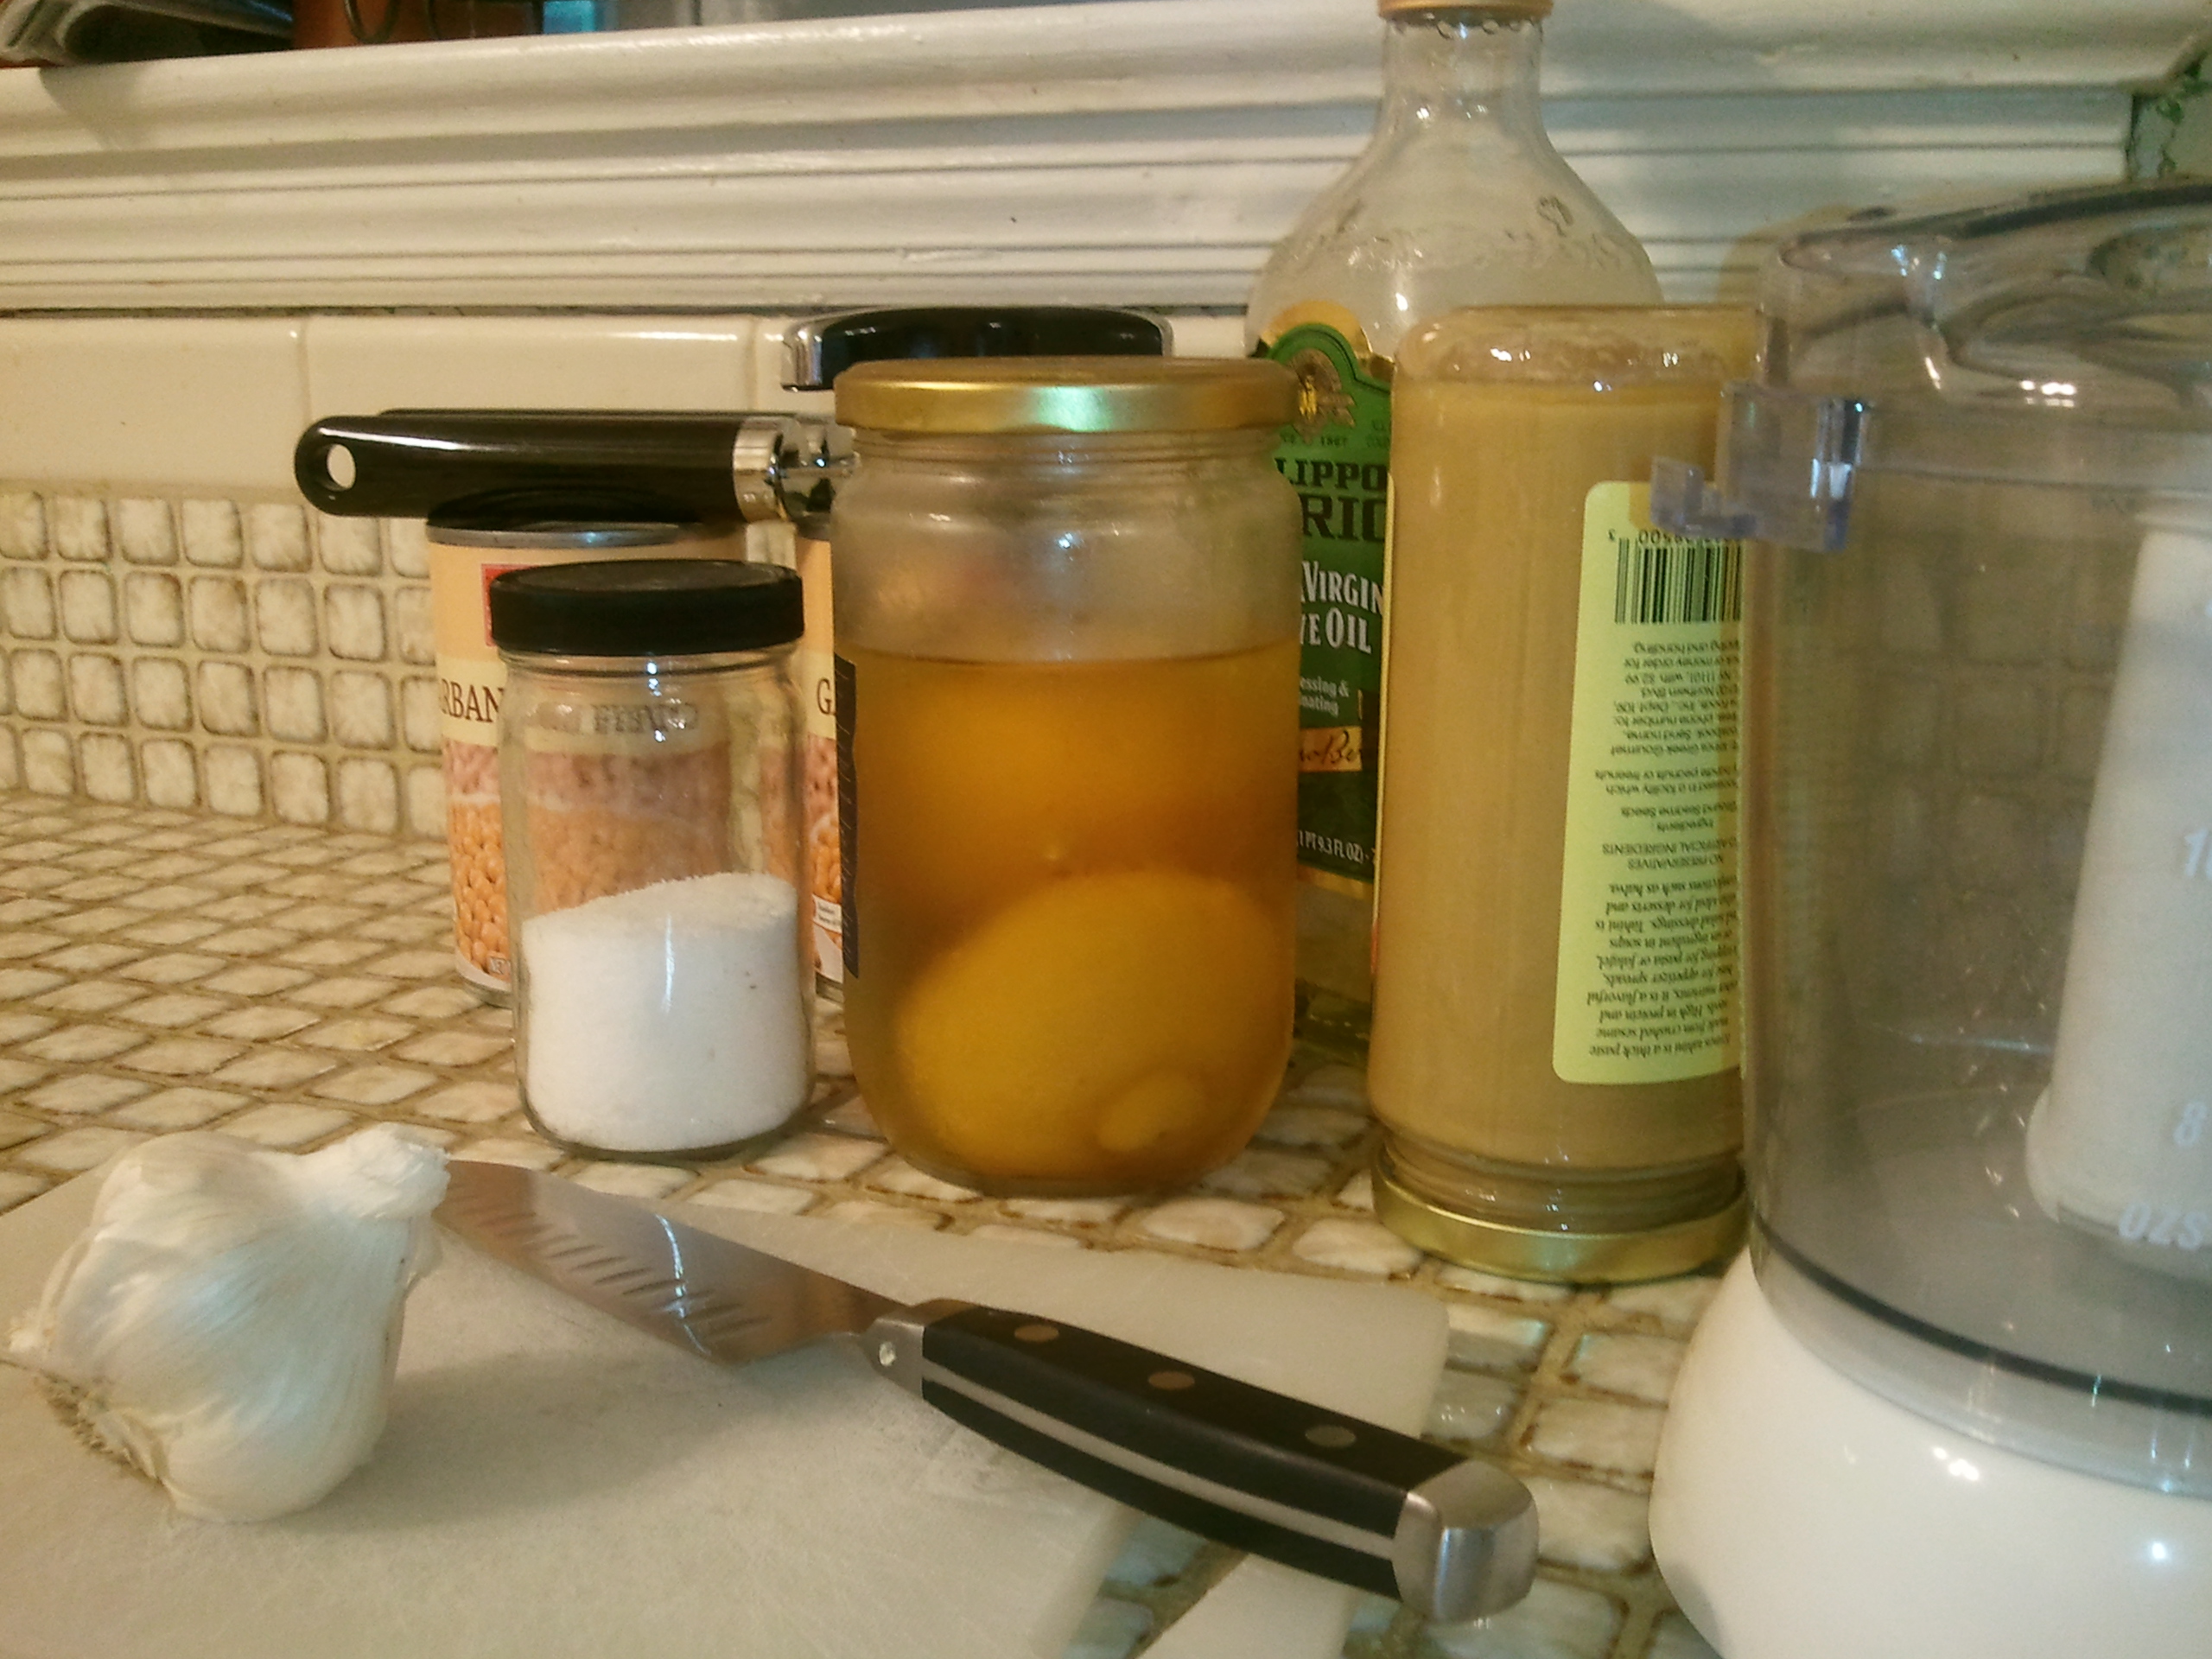 2 – 4 cloves of garlic, peeled


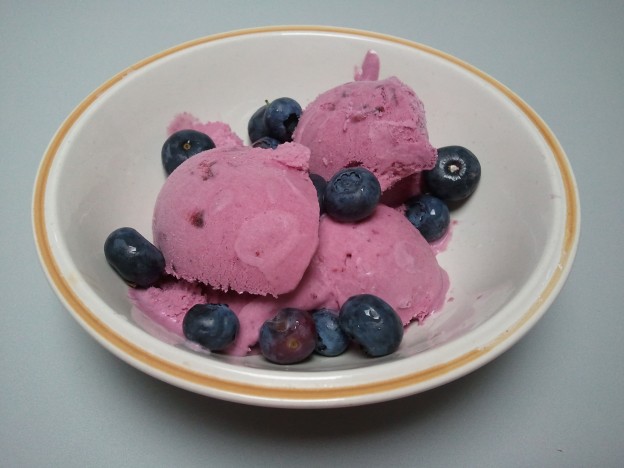

![[photo credit: P. Sue Kullen]](https://www.michellematlack.com/blog/wp-content/uploads/2013/06/2013-06-15-PSK-624x467.jpg)